June 15, 2023
To sanity check my work so far, I tried deploying a new non-development stage, but I hit a few errors:
npx sst deploy --stage test
Luckily, these errors were pretty small! I just need to JSON-ify the output values for a few lambdas I had missed:
// functions/link/get.ts
const result = await Link.get(uid!);
return {
  body: JSON.stringify({
    link: result,
  },
})
// functions/link/list.ts
const result = await Link.list();
return {
  body: JSON.stringify({
    links: result,
  },
})
For good measure, I also added eslint-config-next to package.json and upgraded SST to 2.11. These changes fixed my build issues, and I was able to deploy a prod-ish version of my code to AWS!
You can view these changes in the Enable non-dev deployments PR.
June 14, 2023
I hit a snag in my dev experience: for some reason, Visual Studio Code isn’t able to understand my submodules under the packages/ folder anymore, so any third party libraries in packages/core or packages/functions are unknown:
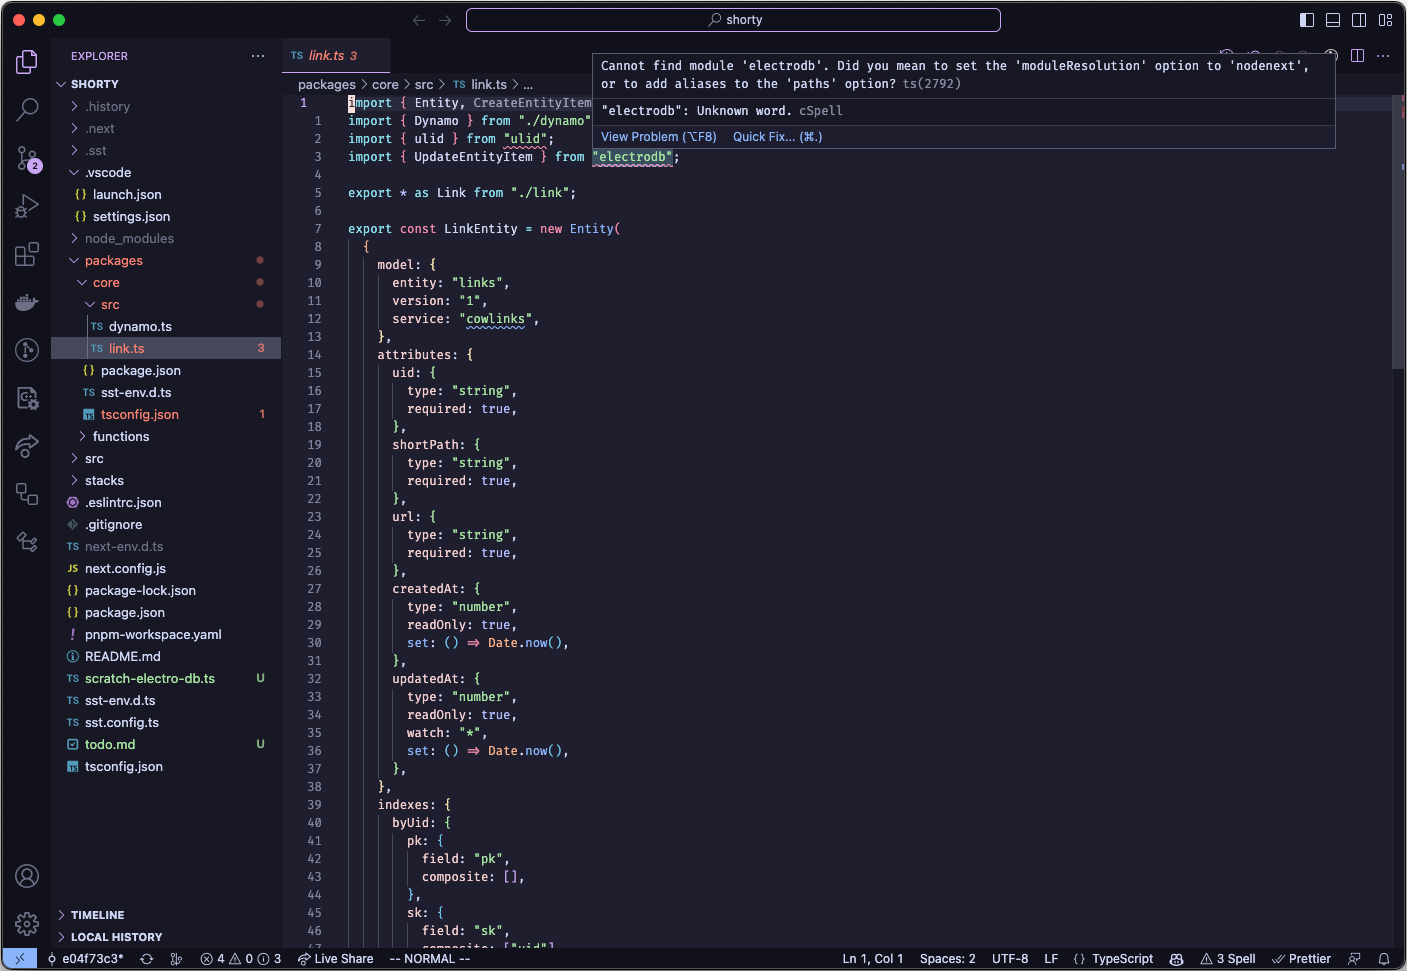
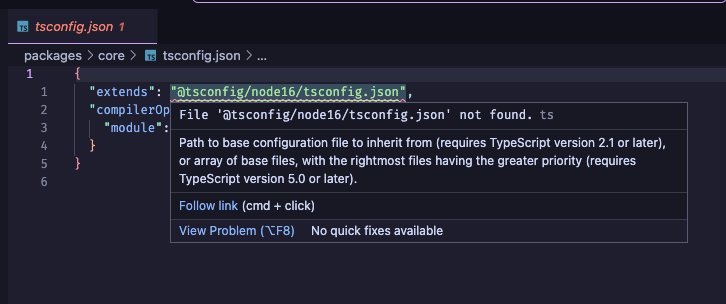
Also concerning: VSCode doesn’t appear to understand the Typescript import in tsconfig.json files in packages/:
Research didn’t turn up much; the solutions were beyond me at best. Searching the SST Discord didn’t turn up anything either, so I decided to re-examine the SST NextJS example.
The Setup Change
Previously, borrowing from the SST DynamoDB REST API example, I had a packages/ folder that included submodules for core and links:
├── packages
│   ├── core
│   │   ├── src
│   │   │   ├── dynamo.ts
│   │   │   └── link.ts
│   │   ├── package.json
│   │   └── tsconfig.json
│   └── functions
│       ├── src
│       │   ├── link
│       │   │   ├── create.ts
│       │   │   ├── get.ts
│       │   │   ├── list.ts
│       │   │   └── patch.ts
│       │   └── redirect.ts
│       ├── package.json
│       └── tsconfig.json
├── src
  # NextJS files
├── stacks
│   ├── API.ts
│   ├── Database.ts
│   └── Site.ts
├── package.json
├── sst.config.ts
└── tsconfig.json
Both packages/core and packages/functions had separate tsconfig.json and package.json files, so they were independent submodules. However, SST’s NextJS example used a “mono package” setup, with a functions/ folder at the top level that did not have its own tsconfig.json or package.json. I updated my project to use that pattern instead:
.
├── functions
│   ├── core
│   │   ├── dynamo.ts
│   │   └── link.ts
│   ├── link
│   │   ├── create.ts
│   │   ├── get.ts
│   │   ├── list.ts
│   │   └── patch.ts
│   └── redirect.ts
├── src
  # NextJS files
├── stacks
│   ├── API.ts
│   ├── Database.ts
│   └── Site.ts
├── package.json
├── sst.config.ts
└── tsconfig.json
I’m not 100% sure what the issue was here. My guess is that the way Next projects are complied is different than how the submodule pattern expects to be compiled, and while SST can deploy that without issue, VSCode doesn’t expect that setup and got confused. Neverless, I’m glad this was a relatively straightforward fix that lets me move forward.
A Minor Rename
One more thing: I missed one rename earlier for LinkEntity::service name. It’s a quick fix under (the renamed) functions/core/link:
export const LinkEntity = new Entity(
  {
    model: {
      entity: "links",
      version: "1",
      service: "shorty",
    },
    // ...
  }
)
These changes are in the PRs Switch from subpackages to one package and Switch LinkEntity service name to shorty.
June 13, 2023
So far, I’ve been referring to this project as just URL Shortener, which doesn’t do it justice. If I’m creating the Next Web Scale Startup™, I need a cool and flashy name for this project.
I spent a few hours poking at possible domain names in AWS Route 53, but it was tough to use. Every search would take a few seconds, none of my ideas were able to be purchased, and Route 53 even started recommending me domains that I had already searched for that were previously listed as unavailable.
I realized that since my plan is to host on link.nickymarino.com eventually, I don’t need a custom domain. I can just use Route 53 as the DNS service for the subdomain and import the custom domain in SST without worrying about migrating the parent domain nickymarino.com away from Hover.
So! Unconstrained by the fickle beast of whatever domains are up for grabs and don’t cost $300/month, without further ado, we’ll be doing business here as shorty.
Updating the code with the new name is pretty trivial. We’ll change the name formally in package.json:
{
  "name": "shorty",
  // ...
As well as in sst.config.ts:
export default {
  config(_input) {
    return {
      name: "shorty",
      region: "us-east-1",
    };
  },
  stacks(app) {
    app.stack(Database);
    app.stack(API);
    app.stack(Site);
  },
} satisfies SSTConfig;
And then we’ll need to update each of the sub-module package.json files, such as in packages/core/package.json:
{
  "name": "@shorty/core",
  // ...
Each import statement needs to be updated too, such as in packages/functions/src/redirect.ts:
import { Link } from "@shorty/core/link";

// ...
This was super straightforward using VSCode’s project-wide find and replace. However, because the name of the app changed, SST deploys my stack as test-shorty (in STAGE-APPNAME format) instead of test-cow-link. To sanity check, let’s re-populate the DB with some links and load the UI to make sure it’s all connected:
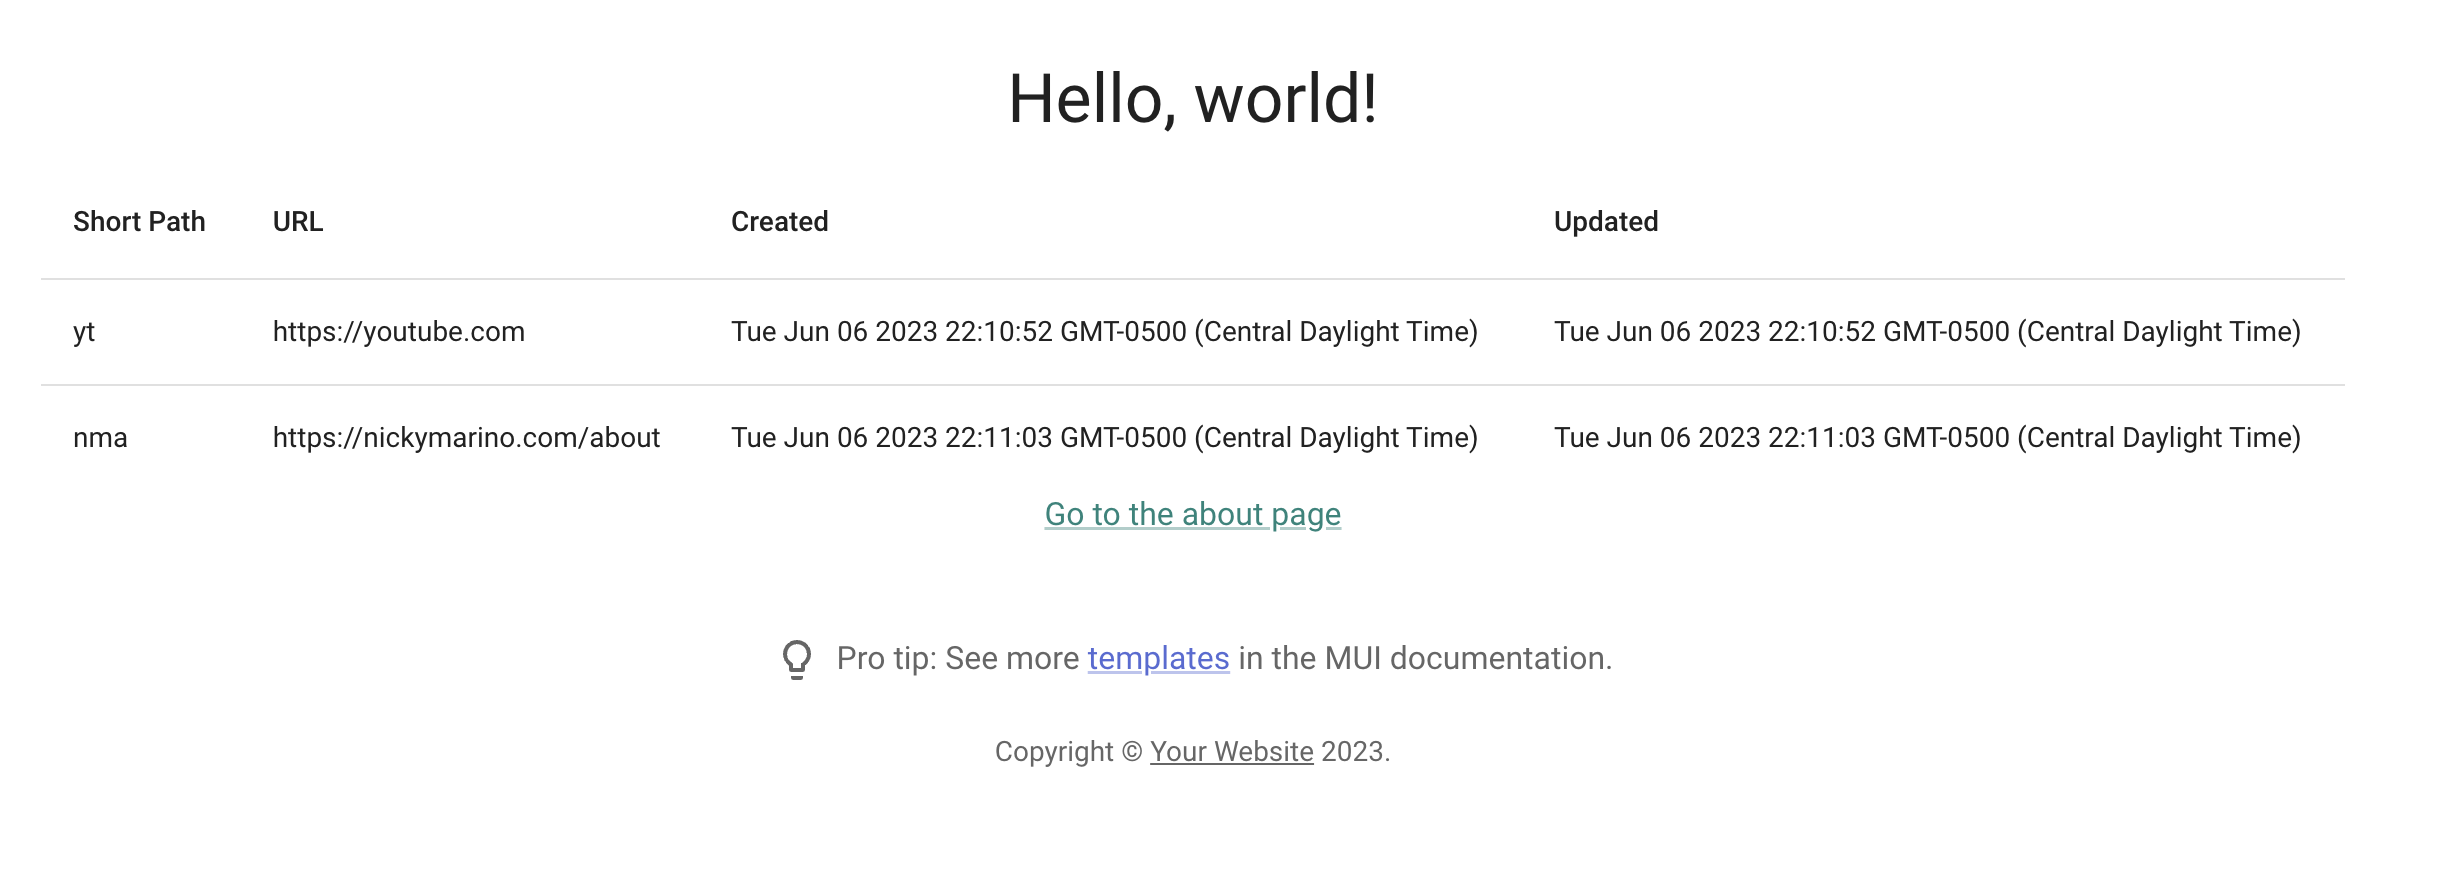
And it works! You can view the code on the Rename project to shorty PR.