November 22, 2019
By the end of this post, we will have created an API using Node, express and body-parser. Our API will have two endpoints: /magic-8-ball will return a random Magic 8-Ball response, and /to-zalgo will convert given text into Zalgo text.
Setup
First, create a new folder named node-api and navigate to it. We need to create a new npm package that will hold our API app. Run the following command and fill out the information. Each part can be left the default, except the entry point should be app.js:
Next, let’s install express and body-parser, as we’ll need both later:
$ npm install express body-parser
In order to run our app, we’ll add a command inside package.json for npm start. Add this item to the "scripts" array:
  "scripts": {
    ...
    "start": "node app.js"
  },
Express Hello World
Now that we have our package set up, we can begin writing the web app. Let’s return “Hello world!” at the root of our app (/, or http://localhost:3200/):
// Load the modules we installed
const express = require('express')
const bodyparser = require('body-parser')

// Tell express to run the webserver on port 3200
const app = express();
const port = process.env.port || 3200

// Use body-parser for unencoding API request bodies - more on this later
app.use(bodyparser.json())
app.use(bodyparser.urlencoded({ extended: false }))

app.listen(port, () => {
    console.log(`running on port ${port}`)
})

// Return "Hello world" when you go to http://localhost:3200
app.get('/', (req, res) => res.send('Hello world!'))
To test our app, run npm start in one terminal window, then use curl in the other:
$ curl http://localhost:3200
Hello world!
Magic 8-Ball Responses
Our first API endpoint, /magic-8-ball, will return a JSON result in the form of {"prediction": "<8-ball response>"}. I wrote a helper function to return a random item from an array:
function randomItemFromArray(arr) {
    return arr[Math.floor(Math.random() * arr.length)]
}
Then all we need to do is have our server keep an array of possible responses, pick a random one, and return the response in JSON format:
// Return a random response for http://localhost:3200/magic-8-ball
// {"prediction": "<random_prediction>"}
app.get('/magic-8-ball', (req, res) => {
    const responses = [
        'It is certain.',
        'It is decidedly so.',
        'Without a doubt.',
        'Yes - definitely.',
        'You may rely on it.',
        'As I see it, yes.',
        'Most likely.',
        'Outlook good.',
        'Yes.',
        'Signs point to yes.',
        'Reply hazy, try again.',
        'Ask again later.',
        'Better not tell you now.',
        'Cannot predict now.',
        'Concentrate and ask again.',
        "Don't count on it.",
        'My reply is no.',
        'My sources say no.',
        'Outlook not so good.',
        'Very doubtful.'
    ]

    res.status(200).json({
        prediction: randomItemFromArray(responses)
    })
})
Run npm start, and we can test it a few times using curl:
$ curl http://localhost:3200/magic-8-ball
{"prediction":"Without a doubt."}

$ curl http://localhost:3200/magic-8-ball
{"prediction":"Yes - definitely."}

$ curl http://localhost:3200/magic-8-ball
{"prediction":"Signs point to yes."}
Zalgo Text
Our Zalgo endpoint (/to-zalgo) is a little more advanced. A user will send a POST request including a message in the form {"text": "your text here"}, and the endpoint will return a response in the form {"code": 200, "original": "your text here", "zalgo": "zalgo-ified text"}. The endpoint will also return a 400 HTTP Status Code error if the input data is incorrect:
// Return Zalgo-ified text for http://localhost:3200/to-zalgo
// Input:   {"text": "your text here"}
// Returns: {"code": 200, "original": "your text here", "zalgo": "zalgo-ified text"}
app.post('/to-zalgo', (req, res) => {
    // Return 400 if the input doesn't contain a "text" element
    if (req.body.text === undefined) {
        res.status(400).json({
            "code": 400,
            "message": "Missing 'text' argument"
        })
        return
    }

    original = req.body.text
    zalgo = toZalgo(original)

    res.status(200).json({
        "code": 200,
        "original": original,
        "zalgo": zalgo
    })
})
Let’s test it a few times with curl. To send data in a POST request, like our text in JSON format, use -d "data". Because we’re sending data in a JSON format, our requests via curl will need to include -H "Content-Type: application/json" as well.
(If you’re wondering why the text looks odd, I’d recommend checking out another Zalgo converter first)
$ curl -d '{"text":"Sphinx of black quartz, judge my vow"}' -H "Content-Type: application/json" http://localhost:3200/to-zalgo
{"code":200,"original":"Sphinx of black quartz, judge my vow","zalgo":"S̡̲̳͔̻ͤ̏ͦ̾̀͒̀p̰̯̐̃͒͂ͪͨͤ͘͠h̷̖̰̩̍ͯi̸̩̜͇̪͍͉̭ͨ͐̆͞ͅn̡̧̤̭͚̤̯̼̹ͪͫ́̌ͫ̇̑̋ͅx̧̻̤̄ͩ͋ͣ͂ ̥̤̩̳̠͖ͧ͡ͅö͍̮̅ͯ̋ͣf̠͎̗͕̯̈́̀͑̐͌͊̍͒́ͅ ̦̬̱͉̫͍̞ͤͯͦ͂͜b̡̼̱̊ͅl̵̻̹͇̘̒̌̊̄aͩ̏͛̋̇̅̇ͩ̀͏̘̳̲̫͕ͅc̢̛̗̱͗́̓̆̌k̡͉͉̼̾̍̒͌̀ ̡̳͈͓̞̦̞̱̥̒̌ͦ̅̃q̰̪̟̥̿̀͝ȕ̗a͓̟͍͐̓̂ͣ̀͜r̞̭̪̦̩̹̂̒̐͗̕t̺͎͛̿̽͒̑̓̆ͧz̸͖̟͓̪̻͓̝̦ͨ̕,̻͔͙̲̓̈ͮ̍ ͍̘̟̖̩͊̀̈́ͩͯ̑j̷͕̱̖̔ͧ͌u̗̱͈ͨ̄ͩͬd̜̖̖̦̺̟́̇͐͛̒̆͊ͦ͜g̎ͩͅe̪̟̦͓̥̘͙ͭ̊ͨ̓ ͔̳̒̔̈̈́̈͠ͅm̧̪̊̌y̧͂̑ͯͤ͏͔͔͓͕̮ ̸̛͎͚͇͔̭̱̱͐ͮ̐ͪ͐̊͌v̘̬̘͋̅̽̅̄̐̀o̵̤̝̯̞̪̍͞ͅw̶̠̝̦̹͔̍ͪ͐̂ͮͭ̌͟"}

{"code":200,"original":"the blood of the ancients resides within me","zalgo":"t͍̗͖͚͙͖͖̿ͪ̍h͍̘̩̤̼̞̫̜̒͟ȩ̛̺̫̖̝̰̥͋͛̎̎̈̈ ̢̼̫͈͓ͦ̿ͯb̺̖͚̤͓̲͓ͬ͊ͬ͑̅l̼̪̞̮͖̩̥͕̎ͧ̓̋̐̒ͧͯö̱̹͔̫͇́͌ͭͩ̉̆ͬ͆͠ͅô̸̶̲̫̞͔̻̝̰͓͋d̹̫̠͚͉͎ͨ͑ͯ̀ ̨̫͍̹̺̰̑͛̂̾͗ͪ̓ͅô͙̰͍͓̯͍̼̟ͭ́̽̑́͐̓f̯̥͙͈̺̮̙̙̅̌͂̓ͦ ̸͚̝̥̮̅̾t̨̟̗̟̼͔̑ͥ̊̾ͧͮ̿̿h̜̉͋ͮ͐e̪̳ͧ̾̏ ͬͤ̄̽̾̈̓͊͏̖̗̪͖͚a̢̩̖̯̹͗̊̽͢n̴̔ͥ̓͐͏̙̞̙̭̞͉c̖͕̘̗͉̠̬͂ͤͦ͋ì͕̥̱͍̗̐̅̆̓ͫe̮̩̩̮̬͕͈̾͂͒ͪ͛̇͞n̸̳̹̗͊ͦ̋ͅt͎̯̖̟̫ͯͪs͔̮͋ͧͩ͋̏ͯ̆͢ ̺̤̘̫̗̻̂r̡͚̮͇̘̻͔̉ͅĕ͔̪͖͓̯̙͙͗̂ͯ͛ͭs̵̝̘̺̠̘ͬͮi̴͖̤̟̭͚̞ͪͣd̶̛̪͈̉e͉̺̖̫ͥ̔̽̂̄͒́ͬ́́ͅṡ̵͕͟ͅ ̷̜̤̝̹̦̼͖̅ͭ̈͌͐̍ͦ͗ͅw̧̠͍̻̜͆̔ͣ͗͜i̵̶̙͉̺̦̲̅͋t̗̽͑͐ͣ̇ͣ͛ͧh̢̗͍͎̪̪̹̳̎͗̑̔̎̏͛͜i̶̱̪̺̖̻͓ͥ̿ͨ̇̅̔͗̎ͅņ̪ͬ̇ͭ̉ͬͩ͢ ̶̨̲̩̙ͦ̔̈́̄m̡̳̬̟͐e̱̩̠̙ͨ̓̇̽͑̋"}
Conclusion
Now our API has two endpoints, /magic-8-ball and /to-zalgo for you to use as a starting point for your own web app.
Here’s the full version of our app.js:
// Load the modules we installed
const express = require('express')
const bodyparser = require('body-parser')
var toZalgo = require('to-zalgo')

// Tell express to run the webserver on port 3200
const app = express();
const port = process.env.port || 3200

// Use body-parser for unencoding API request bodies - more on this later
app.use(bodyparser.json())
app.use(bodyparser.urlencoded({ extended: false }))

app.listen(port, () => {
    console.log(`running on port ${port}`)
})

// Return "Hello world" when you go to http://localhost:3200
app.get('/', (req, res) => res.send('Hello world!'))

// Return a random response for http://localhost:3200/magic-8-ball
// Returns: {"prediction": "<random_prediction>"}
app.get('/magic-8-ball', (req, res) => {
    const responses = [
        'It is certain.',
        'It is decidedly so.',
        'Without a doubt.',
        'Yes - definitely.',
        'You may rely on it.',
        'As I see it, yes.',
        'Most likely.',
        'Outlook good.',
        'Yes.',
        'Signs point to yes.',
        'Reply hazy, try again.',
        'Ask again later.',
        'Better not tell you now.',
        'Cannot predict now.',
        'Concentrate and ask again.',
        "Don't count on it.",
        'My reply is no.',
        'My sources say no.',
        'Outlook not so good.',
        'Very doubtful.'
    ]

    res.status(200).json({
        prediction: randomItemFromArray(responses)
    })
})

// Return Zalgo-ified text for http://localhost:3200/to-zalgo
// Input:   {"text": "your text here"}
// Returns: {"code": 200, "original": "your text here", "zalgo": "zalgo-ified text"}
app.post('/to-zalgo', (req, res) => {
    // Return 400 if the input doesn't contain a "text" element
    if (req.body.text === undefined) {
        res.status(400).json({
            "code": 400,
            "message": "Missing 'text' argument"
        })
        return
    }

    original = req.body.text
    zalgo = toZalgo(original)

    res.status(200).json({
        "code": 200,
        "original": original,
        "zalgo": zalgo
    })
})

function randomItemFromArray(arr) {
    return arr[Math.floor(Math.random() * arr.length)]
}
The entire example app can be found as a GitHub repo as well.
October 23, 2019
Imagine you’re writing a mobile app, and your user searches for the word kitten. Unfortunately, the only search terms you expected them to enter were from the following:
smitten
mitten
kitty
fitting
written
How do we figure out which word the user meant to type?
Levenshtein Distances
A Levenshtein distance is a distance between two sequences a and b. If a and b are strings, the Levenshtein distance is the minimum amount of character edits needed to change one of the strings into the other. There are three types of edits allowed:
- Insertion: a character is added to
a
- Deletion: a character is removed from
b
- Substitution: a character is replaced in
a or b
For example, if the first string a = 'abc' and the second string is b = 'abc', the Levenshtein distance between the two strings is 0 because a and b are equal. If a = 'abcd' and b = 'a', the distance is 3. If a = 'abcd' and b = 'aacc', the distance is 2.
The definition of the Levenshtein distance for a string a with a length i and a string b with a length j is:

This definition is a recursive function. The first portion, max(i, j) if min(i, j) = 0, is the base cases where either the first string or the second string is empty.
The function 1_(ai != bi) at the end of the third minimum element is the cost. If a[i] != b[i], the cost is 1, otherwise the cost is 0. The first minimum element is a deletion from a, the second is an insertion, and the third is a substitution.
A Naive Implementation
First, let’s implement a straightforward implementation in Swift. We’ll create a function named levenshtein_distance and write the base cases to check whether either of the strings are empty:
func levenshtein_distance(a: String, b: String) -> Int {
    // If either array is empty, return the length of the other array
    if (a.count == 0) {
        return b.count
    }
    if (b.count == 0) {
        return a.count
    }
}
Then we add the recursive portion. We calculate the cost for the substitution, then find the minimum distance between the three different possible edits (deletion, insertion, or substitution):
func levenshtein_distance(a: String, b: String) -> Int {
    // ...

    // Check whether the last items are the same before testing the other items
    let cost = (a.last == b.last) ? 0 : 1

    let a_dropped = String(a.dropLast())
    let b_dropped = String(b.dropLast())

    return min(
        // Find the distance if an item in a is removed
        levenshtein_distance(a: a_dropped, b: b) + 1,
        // Find the distance if an item is removed from b (i.e. added to a)
        levenshtein_distance(a: a, b: b_dropped) + 1,
        // Find the distance if an item is removed from a and b (i.e. substituted)
        levenshtein_distance(a: a_dropped, b: b_dropped) + cost
    )
}
Let’s test our distance function with a simple test case:
print(opti_leven_distance(a: "123", b: "12"))
More example test cases can be found below in the final files. And now we can compare the distances of our words to the string kitten to figure out which word the user probably meant to type:
// Print out the distances for our test case
let first_word = "kitten"
let test_words = ["smitten", "mitten", "kitty", "fitting", "written"]

for word in test_words {
    let dist = opti_leven_distance(a: first_word, b: word)
    print("Distance between \(first_word) and \(word): \(dist)")
}
Distance between kitten and smitten: 2
Distance between kitten and mitten: 1
Distance between kitten and kitty: 2
Distance between kitten and fitting: 3
Distance between kitten and written: 2
The user probably meant to type mitten instead of kitten!
An Improved Implementation
The recursive implementation of the Levenshtein distance above won’t scale very well for larger strings. What if we needed to find the distance between a thousand strings, each with hundreds of characters?
One improved way to calculate a Levenshtein distance is to use a matrix of distances to “remember” previously calculated distances. First, the distance function should check for empty strings. Then, we’ll create a matrix to hold the distance calculations:
func opti_leven_distance(a: String, b: String) -> Int {
    // Check for empty strings first
    if (a.count == 0) {
        return b.count
    }
    if (b.count == 0) {
        return a.count
    }

    // Create an empty distance matrix with dimensions len(a)+1 x len(b)+1
    var dists = Array(repeating: Array(repeating: 0, count: b.count+1), count: a.count+1)
}
The first column and first row of the distance matrix are zeros as an initialization step. The next column goes from 1 to the length of a to represent removing each character to get to an empty string, and the next row goes from 1 to the length of b to represent adding (or inserting) each character to get to the value of b:
func opti_leven_distance(a: String, b: String) -> Int {
    //...

    // a's default distances are calculated by removing each character
    for i in 1...(a.count) {
        dists[i][0] = i
    }
    // b's default distances are calulated by adding each character
    for j in 1...(b.count) {
        dists[0][j] = j
    }
}
Similar to our naive implementation, we’ll check the remaining indices in the distance matrix. This time, however, we’ll use the previous values stored in the matrix to calculate the minimum distance rather than recursively calling the distance function. The final distance is the last element in the distance matrix (at the bottom right):
func opti_leven_distance(a: String, b: String) -> Int {
    //...

    // Find the remaining distances using previous distances
    for i in 1...(a.count) {
        for j in 1...(b.count) {
            // Calculate the substitution cost
            let cost = (a[i-1] == b[j-1]) ? 0 : 1

            dists[i][j] = min(
                // Removing a character from a
                dists[i-1][j] + 1,
                // Adding a character to b
                dists[i][j-1] + 1,
                // Substituting a character from a to b
                dists[i-1][j-1] + cost
            )
        }
    }

    return dists.last!.last!
}
We can use our test cases again to verify that our improved implementation is correct:
print(opti_leven_distance(a: "123", b: "12"))

// Print out the distances for our test case
let first_word = "kitten"
let test_words = ["smitten", "mitten", "kitty", "fitting", "written"]

for word in test_words {
    let dist = opti_leven_distance(a: first_word, b: word)
    print("Distance between \(first_word) and \(word): \(dist)")
}
1
Distance between kitten and smitten: 2
Distance between kitten and mitten: 1
Distance between kitten and kitty: 2
Distance between kitten and fitting: 3
Distance between kitten and written: 2
Swift and Python Implementations
Distance.playground:
import Foundation


/// Calculates the Levenshtein distance between two strings
/// - Parameter a: The first string
/// - Parameter b: The second string
func levenshtein_distance(a: String, b: String) -> Int {
    // If either array is empty, return the length of the other array
    if (a.count == 0) {
        return b.count
    }
    if (b.count == 0) {
        return a.count
    }

    // Check whether the last items are the same before testing the other items
    let cost = (a.last == b.last) ? 0 : 1

    let a_dropped = String(a.dropLast())
    let b_dropped = String(b.dropLast())

    return min(
        // Find the distance if an item in a is removed
        levenshtein_distance(a: a_dropped, b: b) + 1,
        // Find the distance if an item is removed from b (i.e. added to a)
        levenshtein_distance(a: a, b: b_dropped) + 1,
        // Find the distance if an item is removed from a and b (i.e. substituted)
        levenshtein_distance(a: a_dropped, b: b_dropped) + cost
    )
}

/// String extension to add substring by Int (such as a[i-1])
extension String {
    subscript (i: Int) -> Character {
      return self[index(startIndex, offsetBy: i)]
    }
}

/// A more optimized version of the Levenshtein distance function using an array of previously calculated distances
/// - Parameter a: The first string
/// - Parameter b: The second string
func opti_leven_distance(a: String, b: String) -> Int {
    // Check for empty strings first
    if (a.count == 0) {
        return b.count
    }
    if (b.count == 0) {
        return a.count
    }

    // Create an empty distance matrix with dimensions len(a)+1 x len(b)+1
    var dists = Array(repeating: Array(repeating: 0, count: b.count+1), count: a.count+1)

    // a's default distances are calculated by removing each character
    for i in 1...(a.count) {
        dists[i][0] = i
    }
    // b's default distances are calulated by adding each character
    for j in 1...(b.count) {
        dists[0][j] = j
    }

    // Find the remaining distances using previous distances
    for i in 1...(a.count) {
        for j in 1...(b.count) {
            // Calculate the substitution cost
            let cost = (a[i-1] == b[j-1]) ? 0 : 1

            dists[i][j] = min(
                // Removing a character from a
                dists[i-1][j] + 1,
                // Adding a character to b
                dists[i][j-1] + 1,
                // Substituting a character from a to b
                dists[i-1][j-1] + cost
            )
        }
    }

    return dists.last!.last!
}

/// Function to test whether the distance function is working correctly
/// - Parameter a: The first test string
/// - Parameter b: The second test string
/// - Parameter answer: The expected answer to be returned by the distance function
func test_distance(a: String, b: String, answer: Int) -> Bool {
    let d = opti_leven_distance(a: a, b: b)

    if (d != answer) {
        print("a: \(a)")
        print("b: \(b)")
        print("expected: \(answer)")
        print("distance: \(d)")
        return false
    } else {
        return true
    }
}

// Test the distance function with many different examples
test_distance(a: "", b: "", answer: 0)
test_distance(a: "1", b: "1", answer: 0)
test_distance(a: "1", b: "2", answer: 1)
test_distance(a: "12", b: "12", answer: 0)
test_distance(a: "123", b: "12", answer: 1)
test_distance(a: "1234", b: "1", answer: 3)
test_distance(a: "1234", b: "1233", answer: 1)
test_distance(a: "1248", b: "1349", answer: 2)
test_distance(a: "", b: "12345", answer: 5)
test_distance(a: "5677", b: "1234", answer: 4)
test_distance(a: "123456", b: "12345", answer: 1)
test_distance(a: "13579", b: "12345", answer: 4)
test_distance(a: "123", b: "", answer: 3)
test_distance(a: "kitten", b: "mittens", answer: 2)

print(opti_leven_distance(a: "123", b: "12"))

// Print out the distances for our test case
let first_word = "kitten"
let test_words = ["smitten", "mitten", "kitty", "fitting", "written"]

for word in test_words {
    let dist = opti_leven_distance(a: first_word, b: word)
    print("Distance between \(first_word) and \(word): \(dist)")
}
Here’s a Python implementation of the Swift code above as distance.py. The Python version also can handle any list as well as any str
# Calculates the Levenshtein distance between two strings
def levenshtein_distance(a, b):
    # If either array is empty, return the length of the other array
    if not len(a):
        return len(b)
    if not len(b):
        return len(a)

    # Check whether the last items are the same before testing the other items
    if a[-1] == b[-1]:
        cost = 0
    else:
        cost = 1

    return min(
        # Find the distance if an item in a is removed
        levenshtein_distance(a[:-1], b) + 1,
        # Find the distance if an item is removed from b (i.e. added to a)
        levenshtein_distance(a, b[:-1]) + 1,
        # Find the distance if an item is removed from a and b (i.e. substituted)
        levenshtein_distance(a[:-1], b[:-1]) + cost
    )

# A more optimized version of the Levenshtein distance function using an array of previously calculated distances
def opti_leven_distance(a, b):
    # Create an empty distance matrix with dimensions len(a)+1 x len(b)+1
    dists = [ [0 for _ in range(len(b)+1)] for _ in range(len(a)+1) ]

    # a's default distances are calculated by removing each character
    for i in range(1, len(a)+1):
        dists[i][0] = i
    # b's default distances are calulated by adding each character
    for j in range(1, len(b)+1):
        dists[0][j] = j

    # Find the remaining distances using previous distances
    for i in range(1, len(a)+1):
        for j in range(1, len(b)+1):
            # Calculate the substitution cost
            if a[i-1] == b[j-1]:
                cost = 0
            else:
                cost = 1

            dists[i][j] = min(
                # Removing a character from a
                dists[i-1][j] + 1,
                # Adding a character to b
                dists[i][j-1] + 1,
                # Substituting a character from a to b
                dists[i-1][j-1] + cost
            )

    return dists[-1][-1]

# Function to test whether the distance function is working correctly
def test_distance(a, b, answer):
    dist = opti_leven_distance(a, b)

    if dist != answer:
        print('a:', a)
        print('b:', b)
        print('expected:', answer)
        print('distance:', dist)
        print()

if __name__ == '__main__':
    # Test the distance function with many different examples
    test_distance('', '', 0)
    test_distance('1', '1', 0)
    test_distance('1', '2', 1)
    test_distance('12', '12', 0)
    test_distance('123', '12', 1)
    test_distance('1234', '1', 3)
    test_distance('1234', '1233', 1)
    test_distance([1, 2, 4, 8], [1, 3, 4, 16], 2)
    test_distance('', '12345', 5)
    test_distance([5, 6, 7, 7], [1, 2, 3, 4], 4)
    test_distance([1, 2, 3, 4, 5, 6], [1, 2, 3, 4, 5], 1)
    test_distance([1, 3, 5, 7, 9], [1, 2, 3, 4, 5], 4)
    test_distance([1, 2, 3], [], 3)
    test_distance('kitten', 'mittens', 2)


    first_word = 'kitten'
    test_words = ['smitten', 'mitten', 'kitty', 'fitting', 'written']
    for word in test_words:
        dist = opti_leven_distance(first_word, word)
        print(f'Distance between {first_word} and {word}: {dist}')
October 6, 2019
I’m so excited to announce that my first iOS app, Darkscreen - A Dark App, has a public beta on Testflight! Ever since I was given my first iPod (all the way back in 7th grade!) I’ve dreamed of creating something that millions of people have the ability to enjoy, and I can’t express how excited I am. Here’s the official description:
Darkscreen allows you to use other iPad apps in Split View without any distractions, no hassle.
Darkscreen provides multiple themes, including:
- Dark
- Light
- 80s
- 90s
- Outrun
Download using Testflight today!
Why Darkscreen?
I really love using Apollo for Reddit by Christian Selig, but he hasn’t gotten a chance to create a true iPad experience for his Reddit client yet. I use Darkscreen next to Apollo in Split View so that Apollo can be in an iPhone-sized container while keeping the rest of the screen black.
For example, posts shown in Apollo don’t quite look right when in full horizontal mode on iPad:
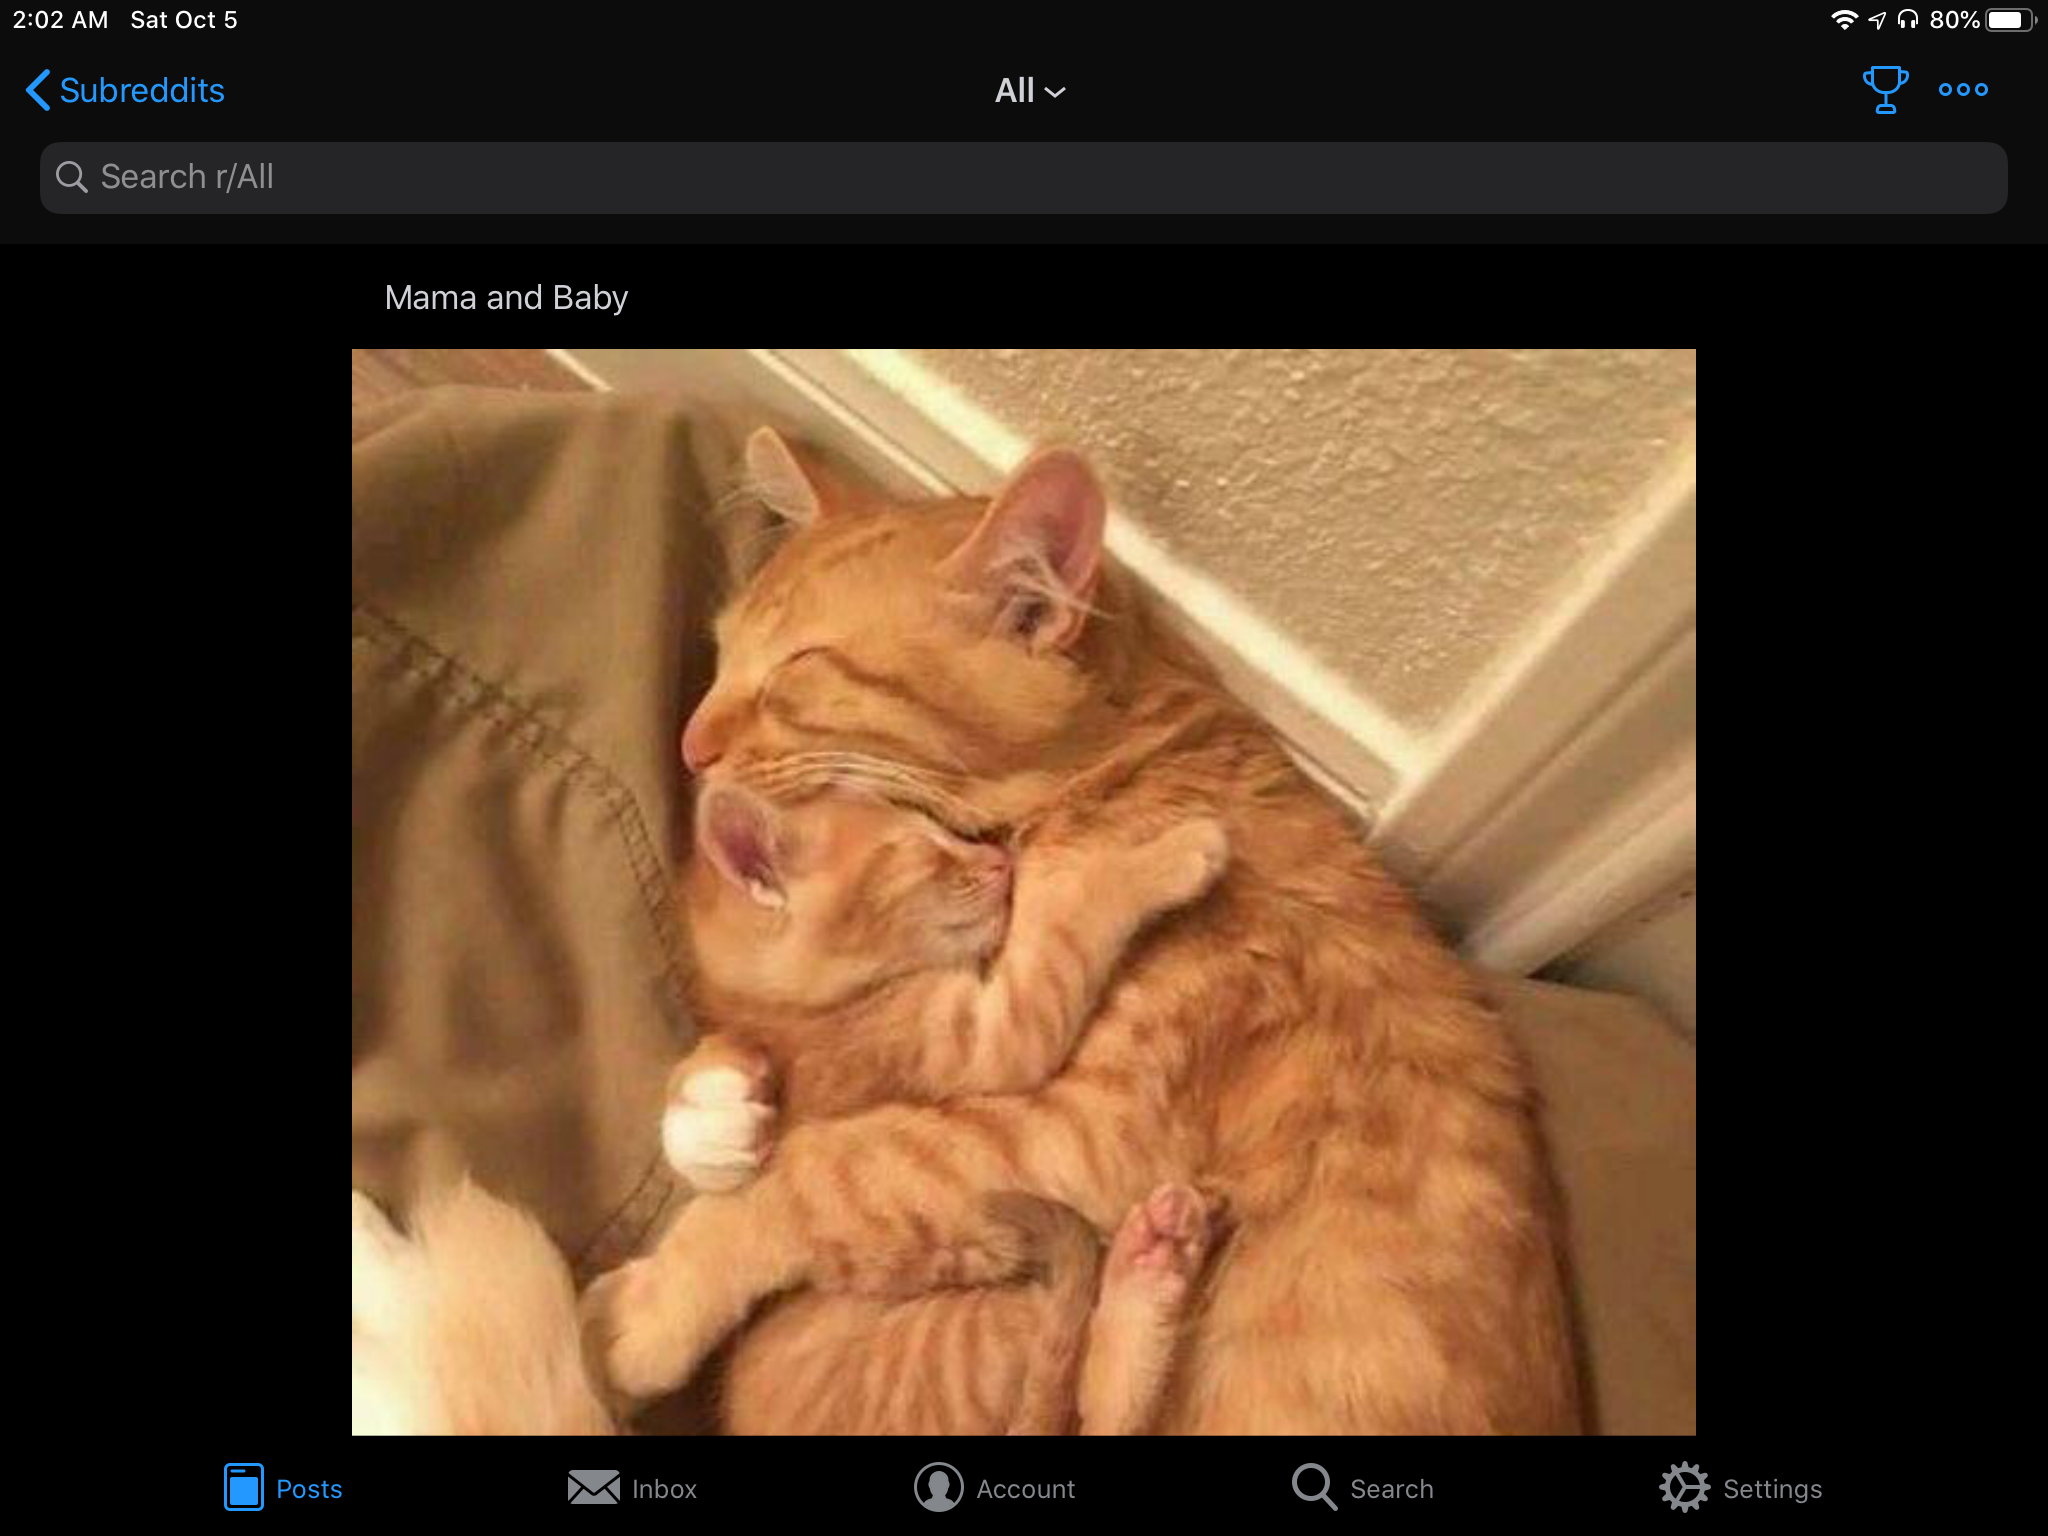
Now with Darkscreen, I can browse Apollo in its intended view size without being distracted by other apps:
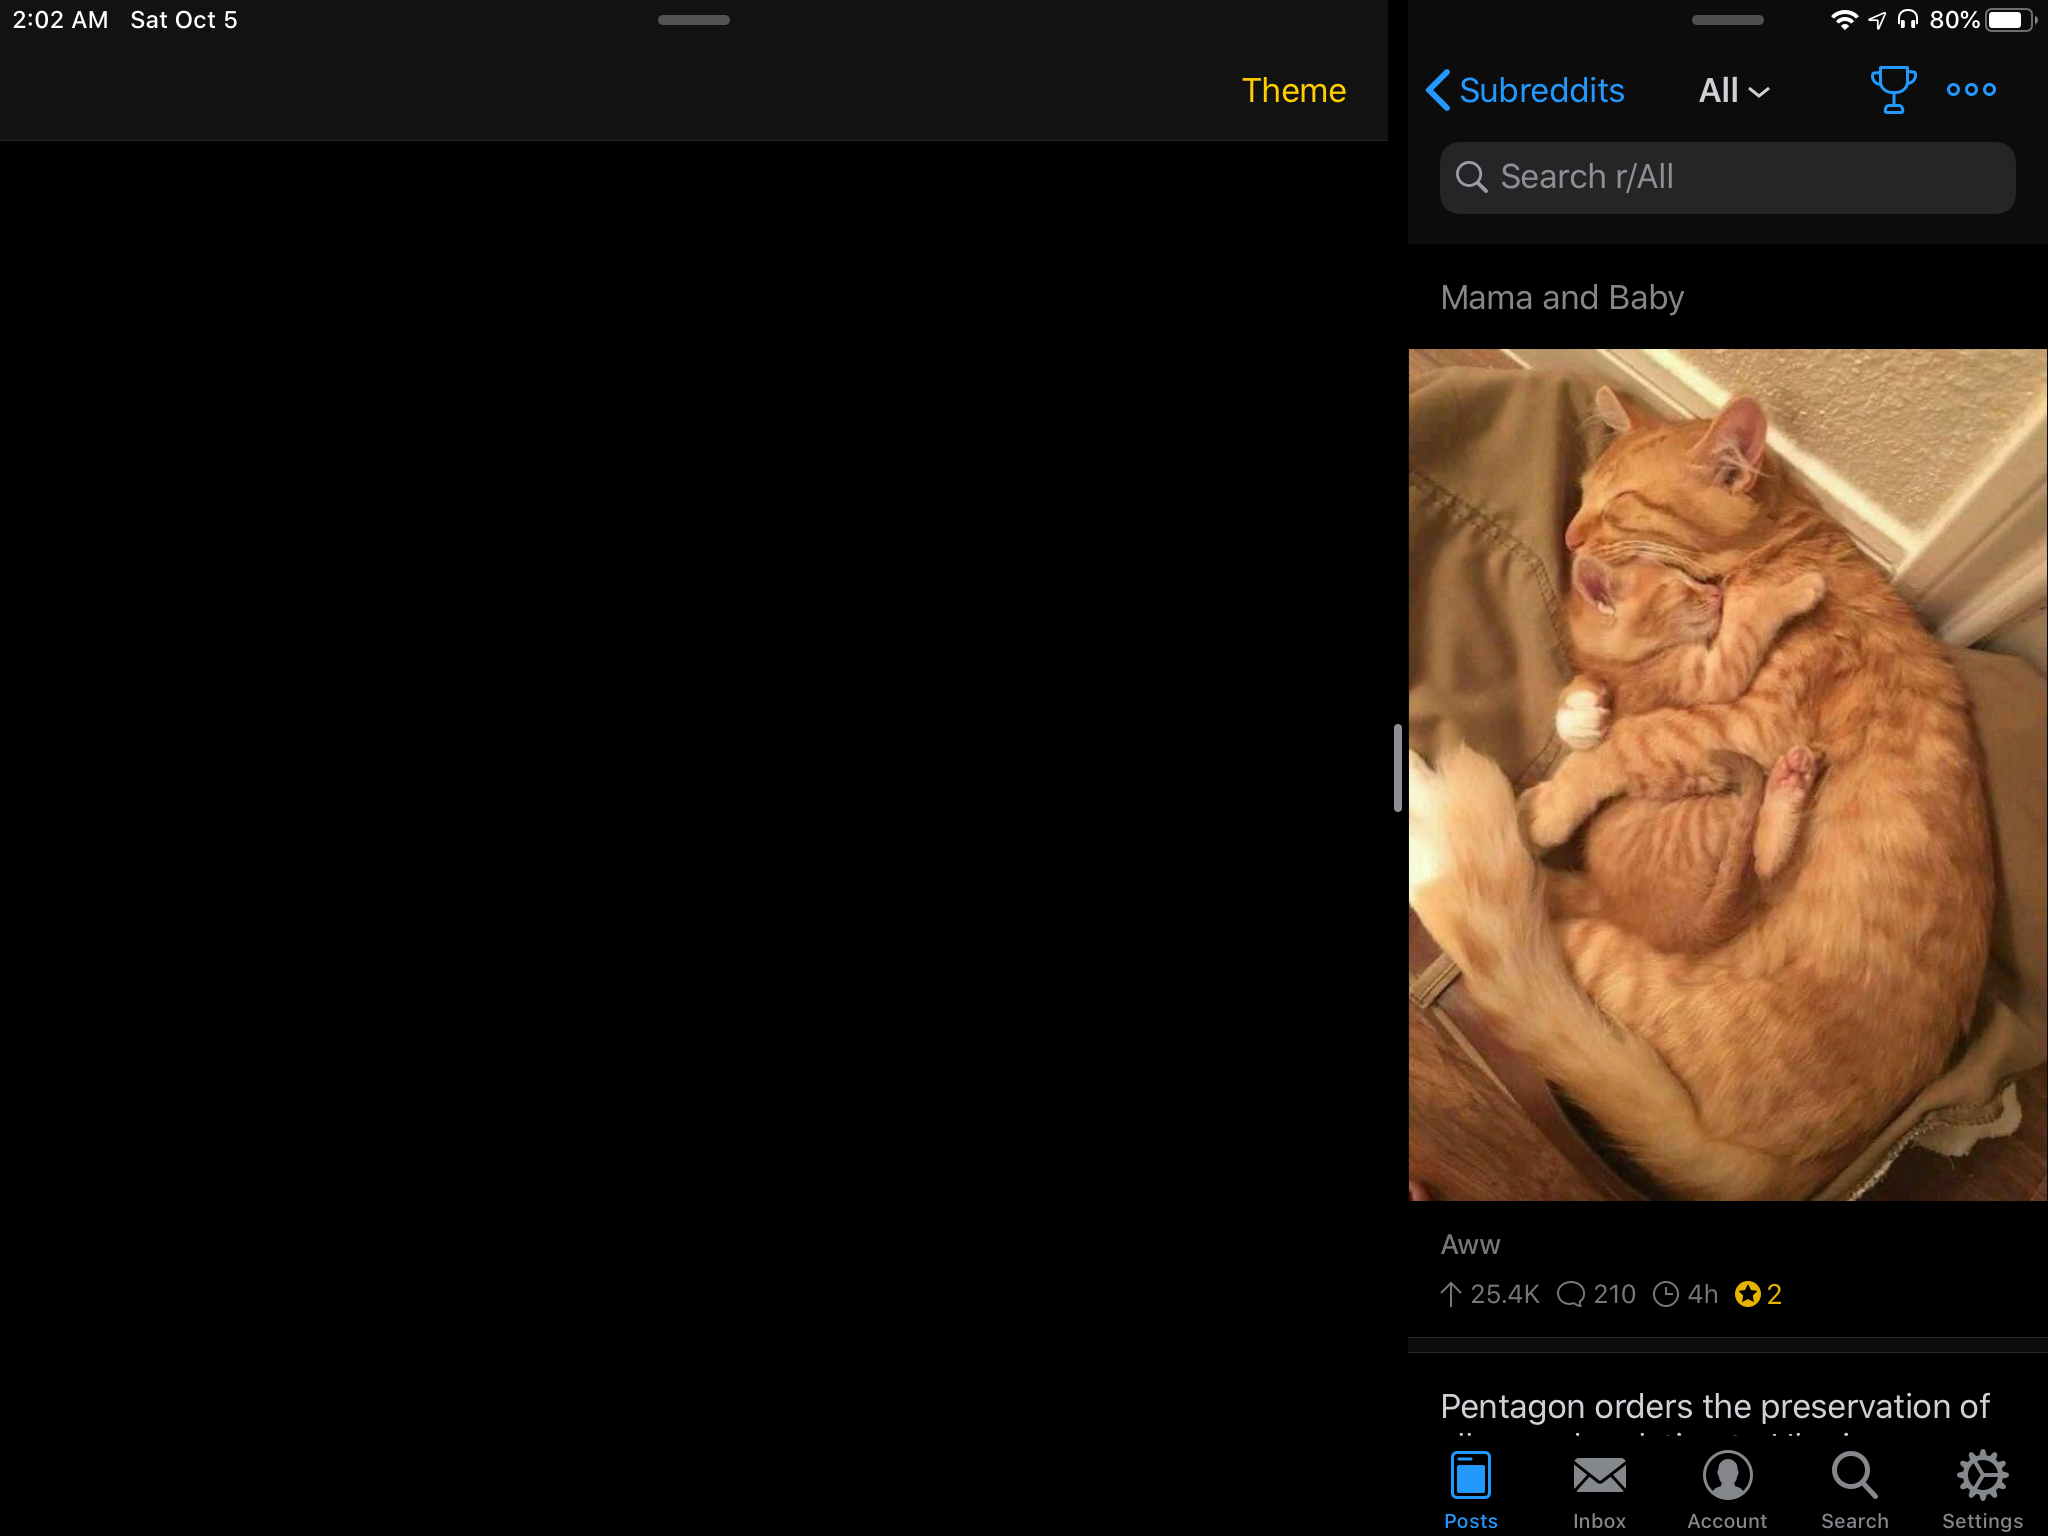
Switching to a new theme in Darkscreen automatically updates the table view as well as the root view underneath:
My next goal, of course, is for Darkscreen to respond to the system-wide Dark Mode setting.
Why Open Source?
I found it an interesting challenge to modify the appearance of all of all views in the app immediately after a user selects a theme in a UITableView, and I hope this brief example can help other developers implement their own theme system.
Even though iOS 13 introduces system-wide Dark Mode, this example app can be helpful to support any custom themes that go beyond the default dark and light styles.
How to Update the Theme for a View
I’ve implemented the theme system using a Settings Bundle, so the BaseViewController can subscribe to settings (theme) changes:
func registerForSettingsChange() {
    NotificationCenter.default.addObserver(self,
                                            selector: #selector(BaseViewController.settingsChanged),
                                            name: UserDefaults.didChangeNotification,
                                            object: nil)
}
A Theme corresponds to UI styles and colors:
class Theme {

    // ...

    init(_ name: String, statusBar: UIStatusBarStyle, background: UIColor, primary: UIColor, secondary: UIColor) {
        self.name = name
        statusBarStyle = statusBar
        backgroundColor = background
        primaryColor = primary
        secondaryColor = secondary
    }
}
When a setting changes, BaseViewController updates its UI elements:
@objc func settingsChanged() {
    updateTheme()
}

func updateTheme() {
    // Status bar
    setNeedsStatusBarAppearanceUpdate()

    // Background color
    self.view.backgroundColor = Settings.shared.theme.backgroundColor

    // Navigation bar
    self.navigationController?.navigationBar.updateTheme()
}
And UINavigationBar is extended to support theme switching:
public extension UINavigationBar {
    func updateTheme() {
        // Background color
        barTintColor = Settings.shared.theme.backgroundColor

        // Bar item color
        tintColor = Settings.shared.theme.secondaryColor

        // Title text color
        titleTextAttributes = [NSAttributedString.Key.foregroundColor: Settings.shared.theme.secondaryColor]

        // Status bar style
        barStyle = Settings.shared.theme.navbarStyle

        // Tell the system to update it
        setNeedsDisplay()
    }
}