How to Draft Blog Posts in Notion
November 20, 2020Maintaining a streamlined process to draft, edit, and publish technical articles can be tricky. For example, I write across multiple topics such as Python tutorials, bash commands, and Ruby optimizations. I also publish to three different locations—my website, dev.to, and Hashnode, so I write my posts in Markdown-friendly tools for cross compatibility.
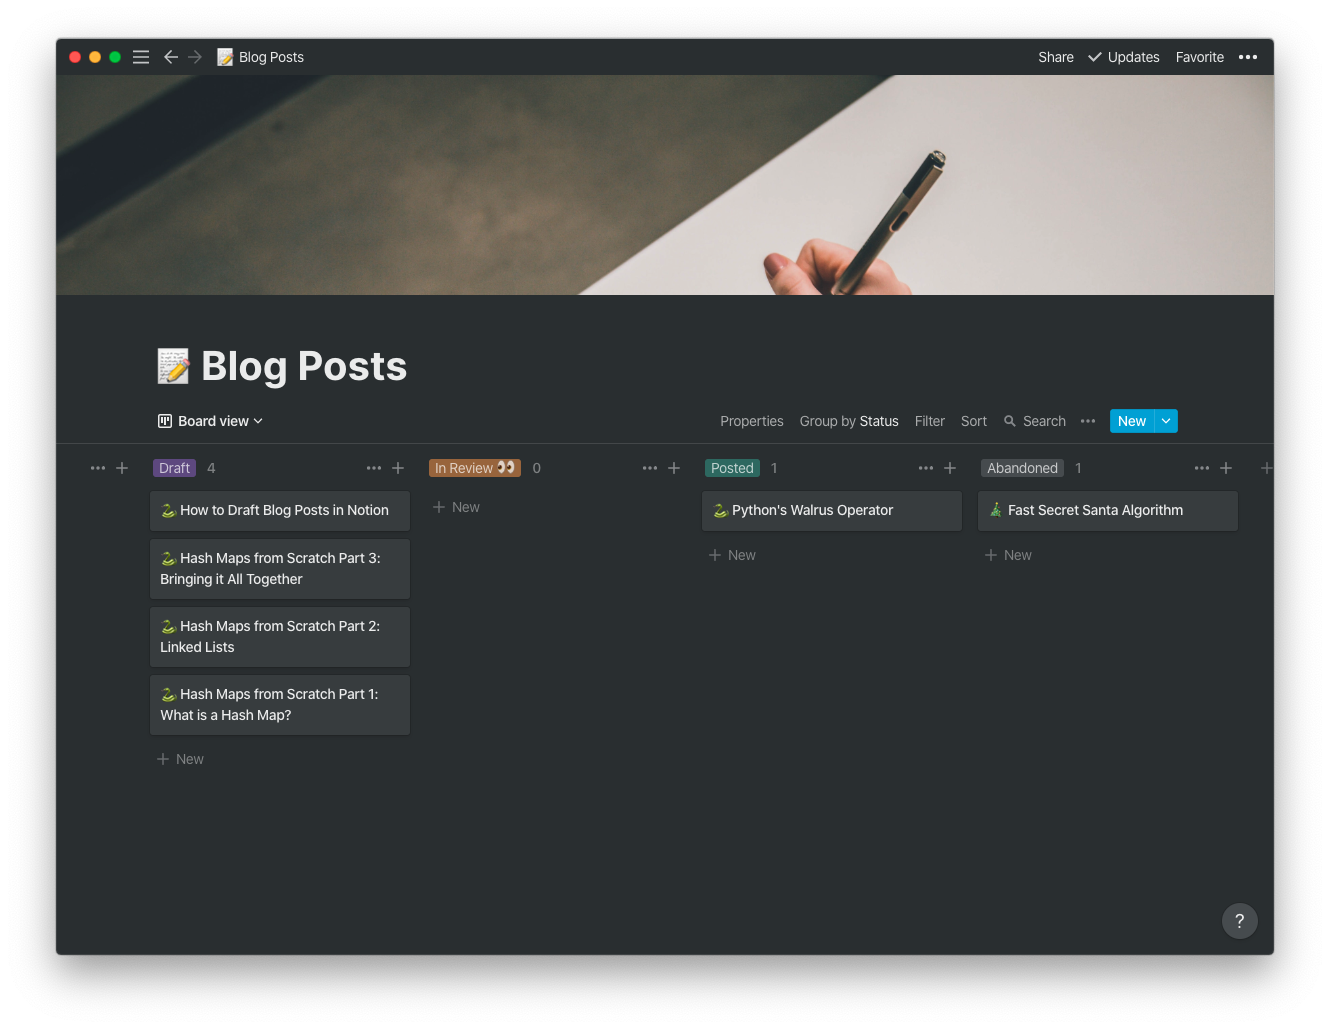
Notion is a great tool for drafting blog posts, technical or otherwise. Notion has an entire suite of tools to make drafting easy: Markdown exports, page properties and filters, a beautiful interface, and many more. With Notion, I quickly draft articles, publish each one across multiple sites, and monitor each article’s progress at a glance. Here’s what my setup looks like:
In this article, we will walk through creating an Articles page in Notion. We’ll create:
- A page for hold articles
- An articles database
- A new draft template, and
- A Kanban board to display each draft’s status
Markdown, Jekyll, and Drafts! Oh My!
For a while, I kept my drafts in a _drafts folder in my website’s repo. Jekyll, my static site generator of choice, ignores any Markdown files in the _drafts folder. However, I’ve been hesitant to heavily draft and edit posts in a publicly available location, so I haven’t been drafting many posts lately. I love that my website is open source for others to use as an example for static site layouts, but I would like to keep the messiness of article writing to myself.
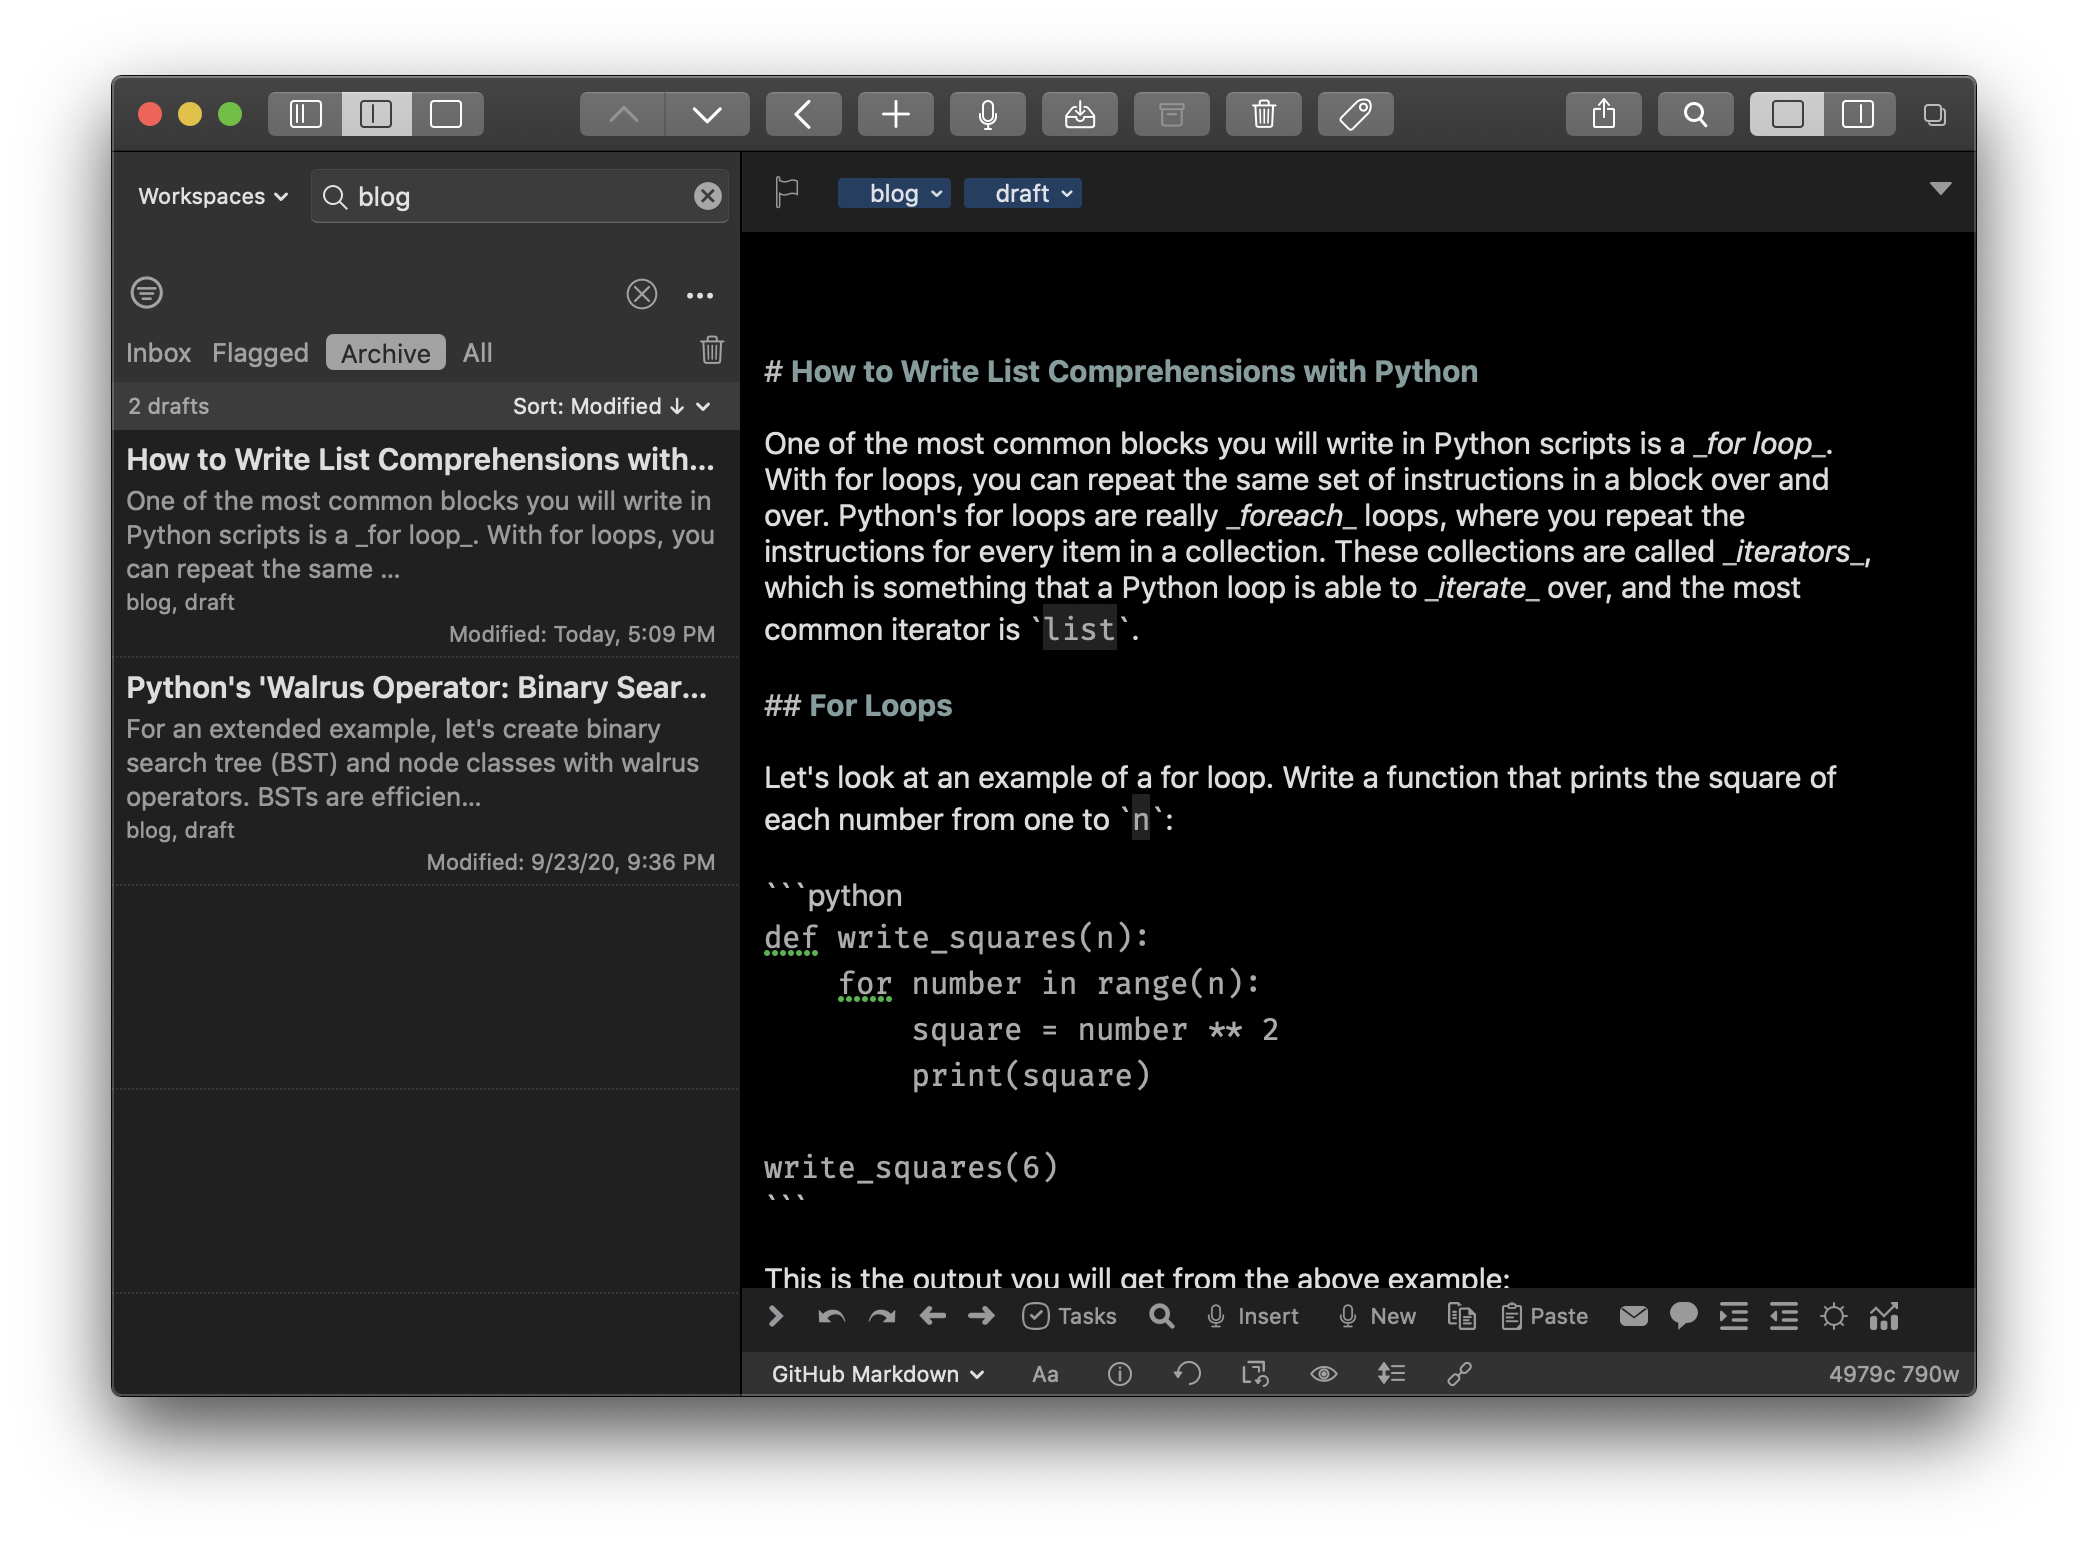
Then, I tried drafting my articles in the app Drafts. Using Drafts, I could write posts in Markdown and preview them privately, but the only way to mark the status of a post (draft, edit, published, abandoned, etc.) was via tags. I used tags like blog and draft for quick filtering:
Unfortunately, tags didn’t scale for me. The only way to view each draft is from the small sidebar on the left, and I had to remember what combination of tags I used to mark blog drafts. Often, I’d forget to tag posts, or I’d forget to update the tags after I had drafted it. I also wanted to have a space devoted only to my articles so that I could get a bird’s eye view of what I had in the pipeline. That’s where Notion databases come to the rescue.
The Notion Database
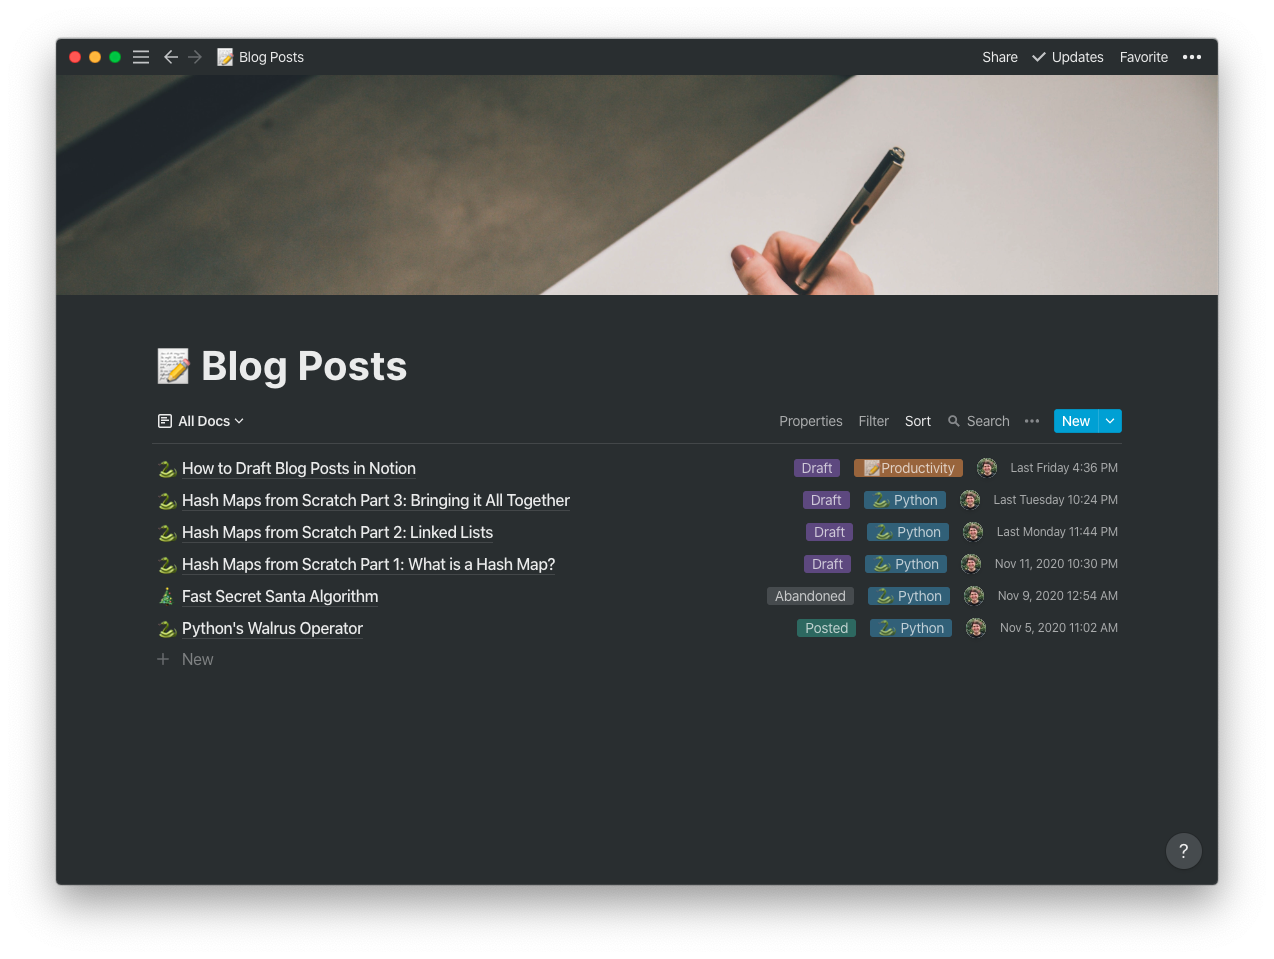
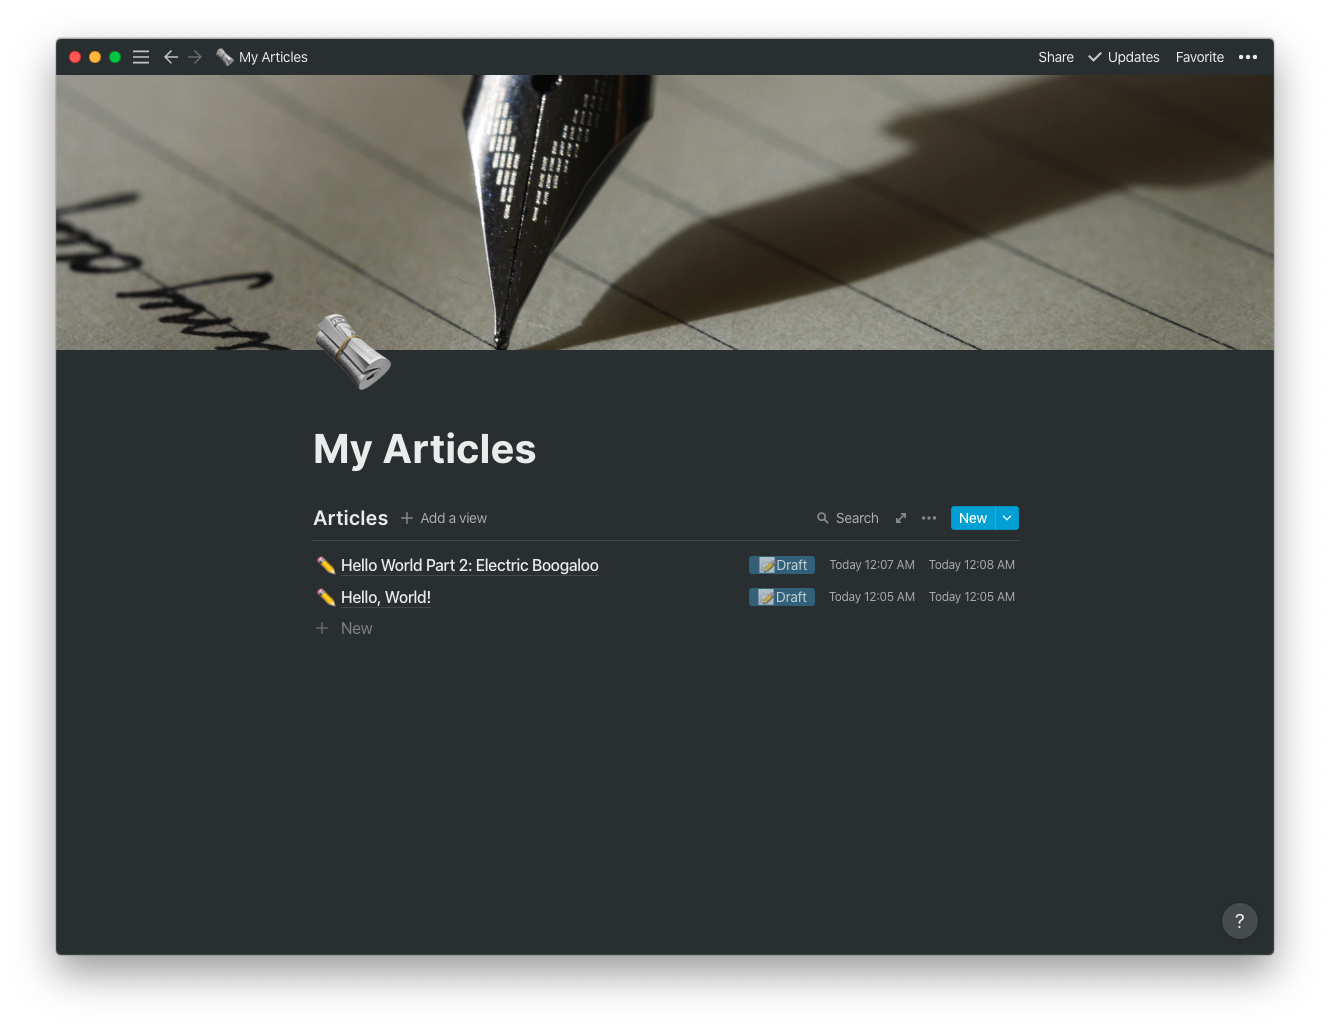
Databases in Notion let me organize and structure related pages. Now that my articles are in a database, I can label, search, and create views of articles. For example, I can look at all of my articles as a list:
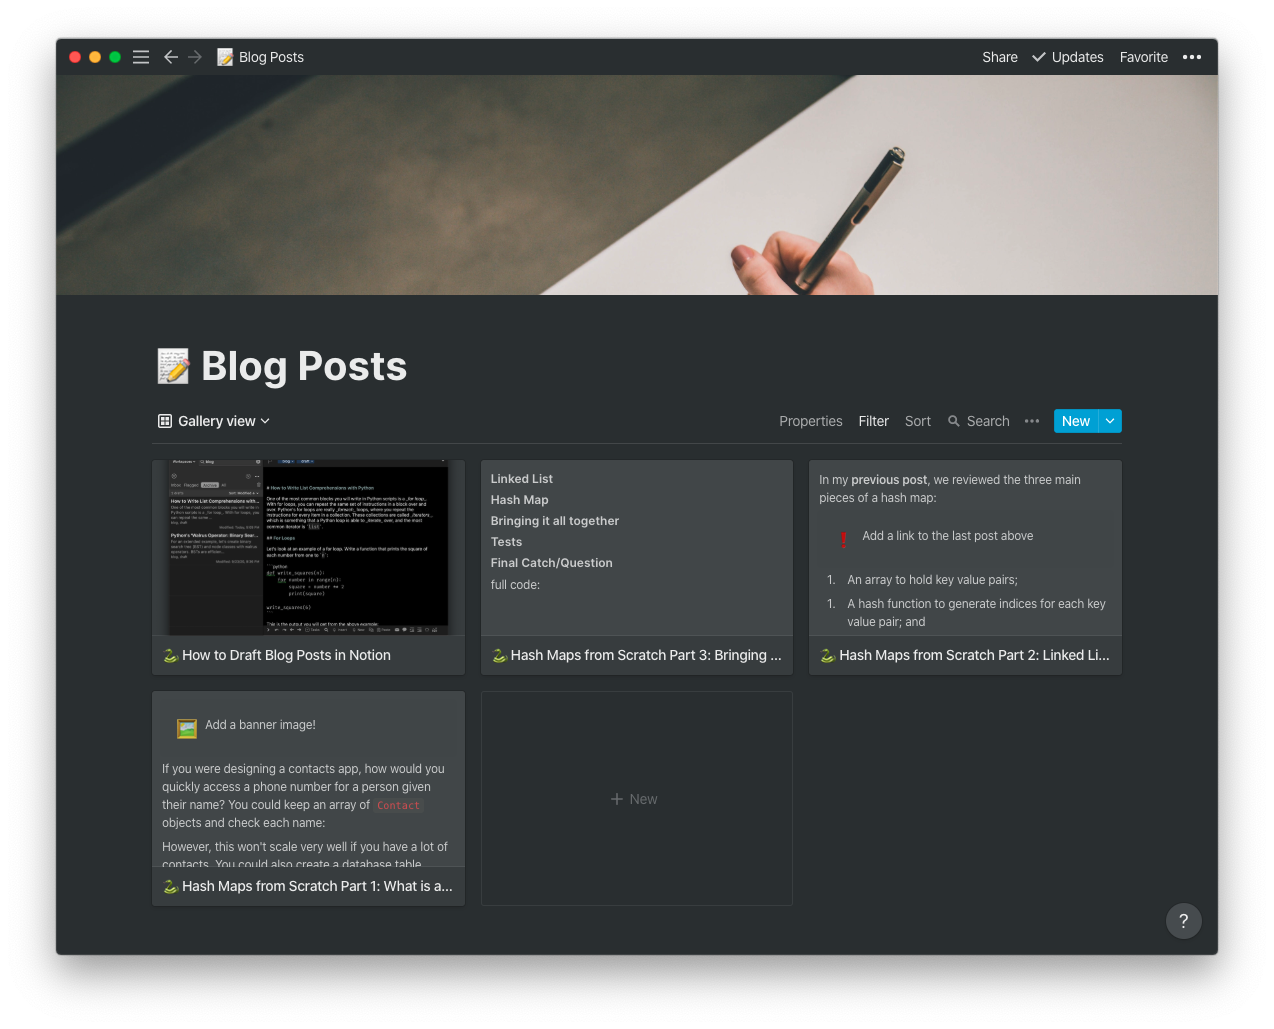
I can also view article drafts as a gallery, with a preview of each article:
I can even view my articles as a Kanban board based on their status. I use this birds eye view to see what articles are currently being drafted, which are in review, and which have been posted or abandoned:
Creating the Table
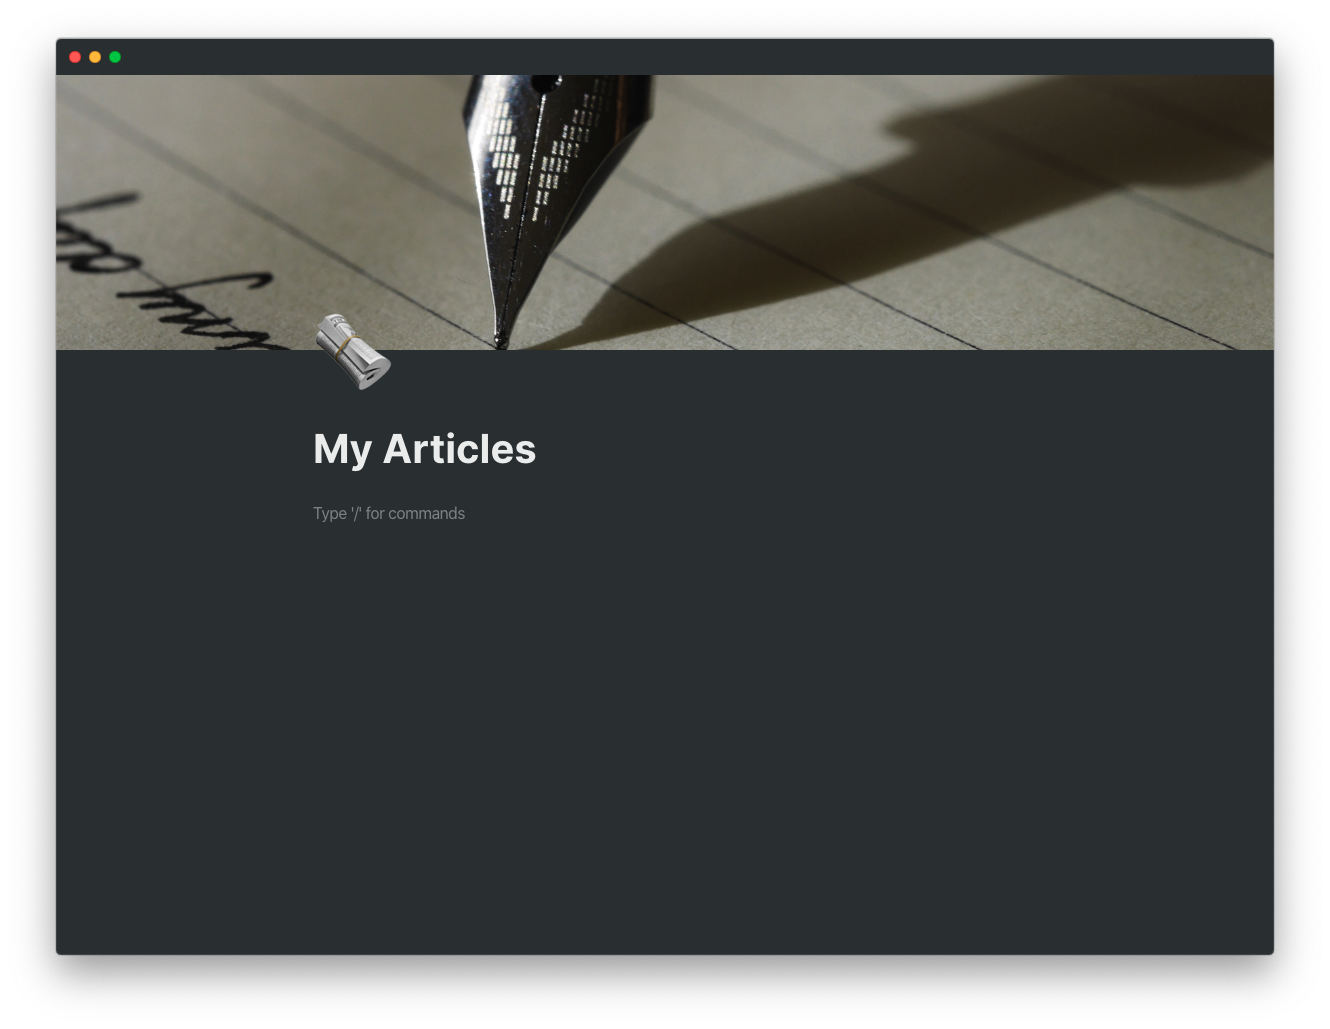
Let’s start by creating a page and a database to hold the articles. First, click “+ Add a page” on the left sidebar. Give the page any title, icon, and header that you want. I titled mine “My Articles”:
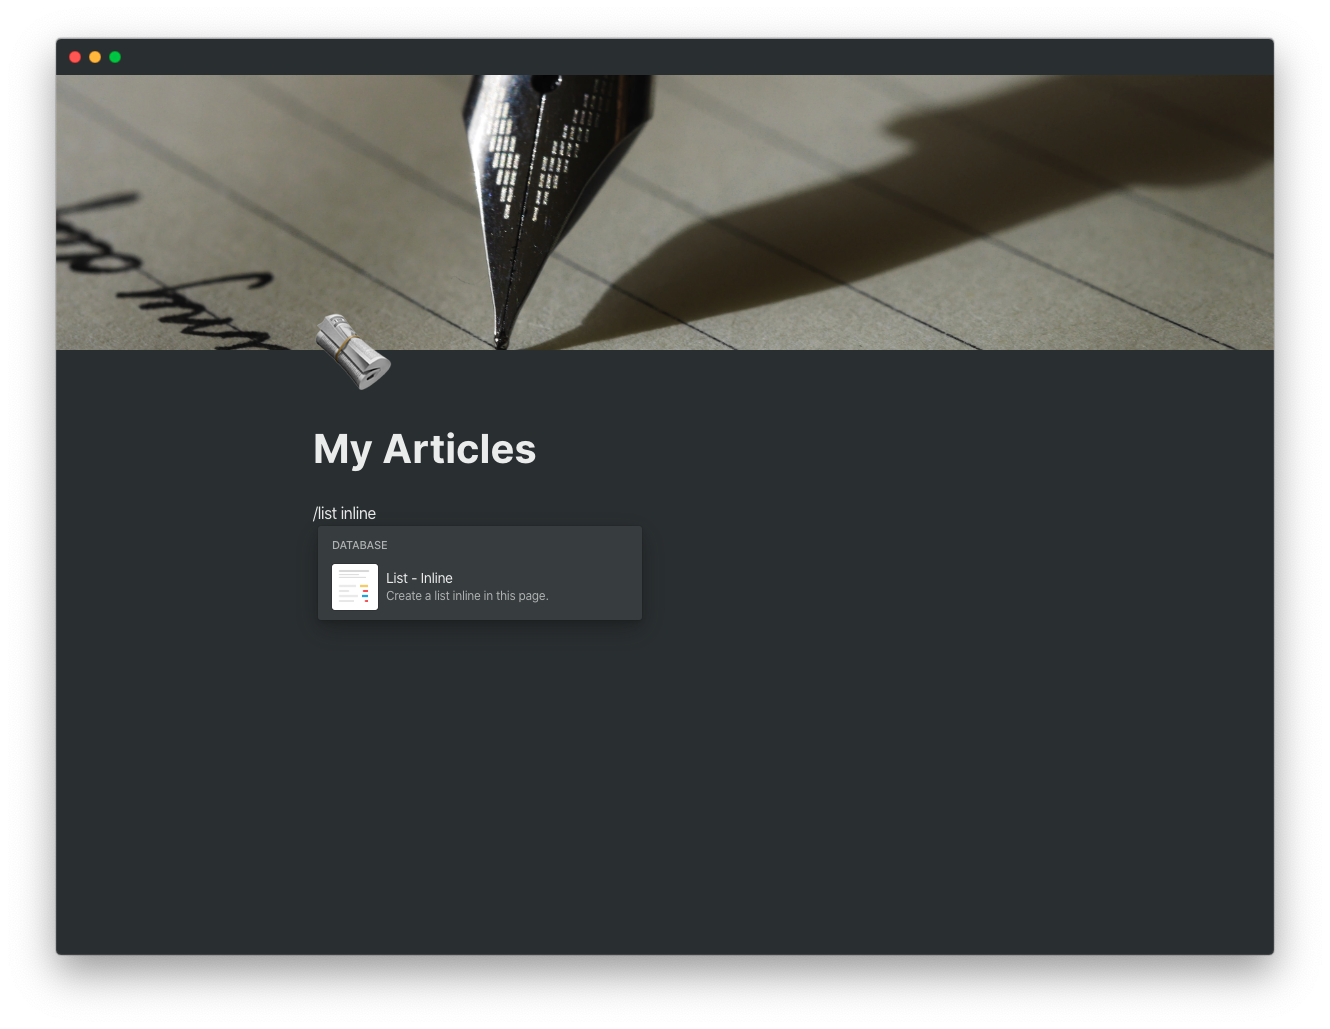
Next, we need to create an article database. Click the text that says “Type ‘/’ for commands”, then type /list inline. Choose the option labelled “List - Inline” under “Database”:
Notion will create a new list for you and populate a few example pages:
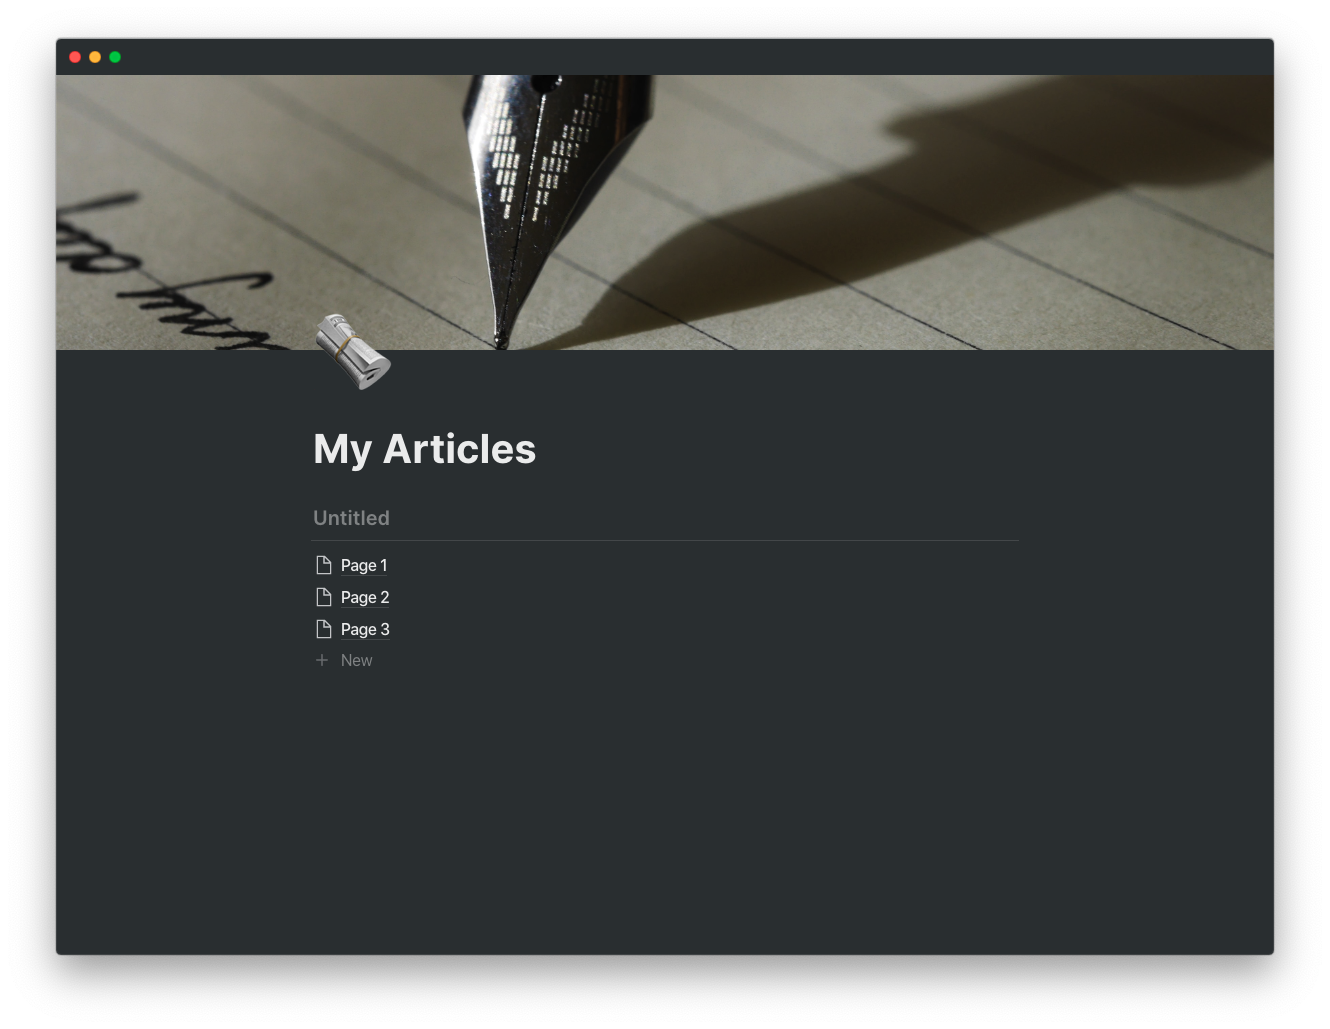
Add a title to your table by clicking on “Untitled” and adding a title, such as “Articles”:
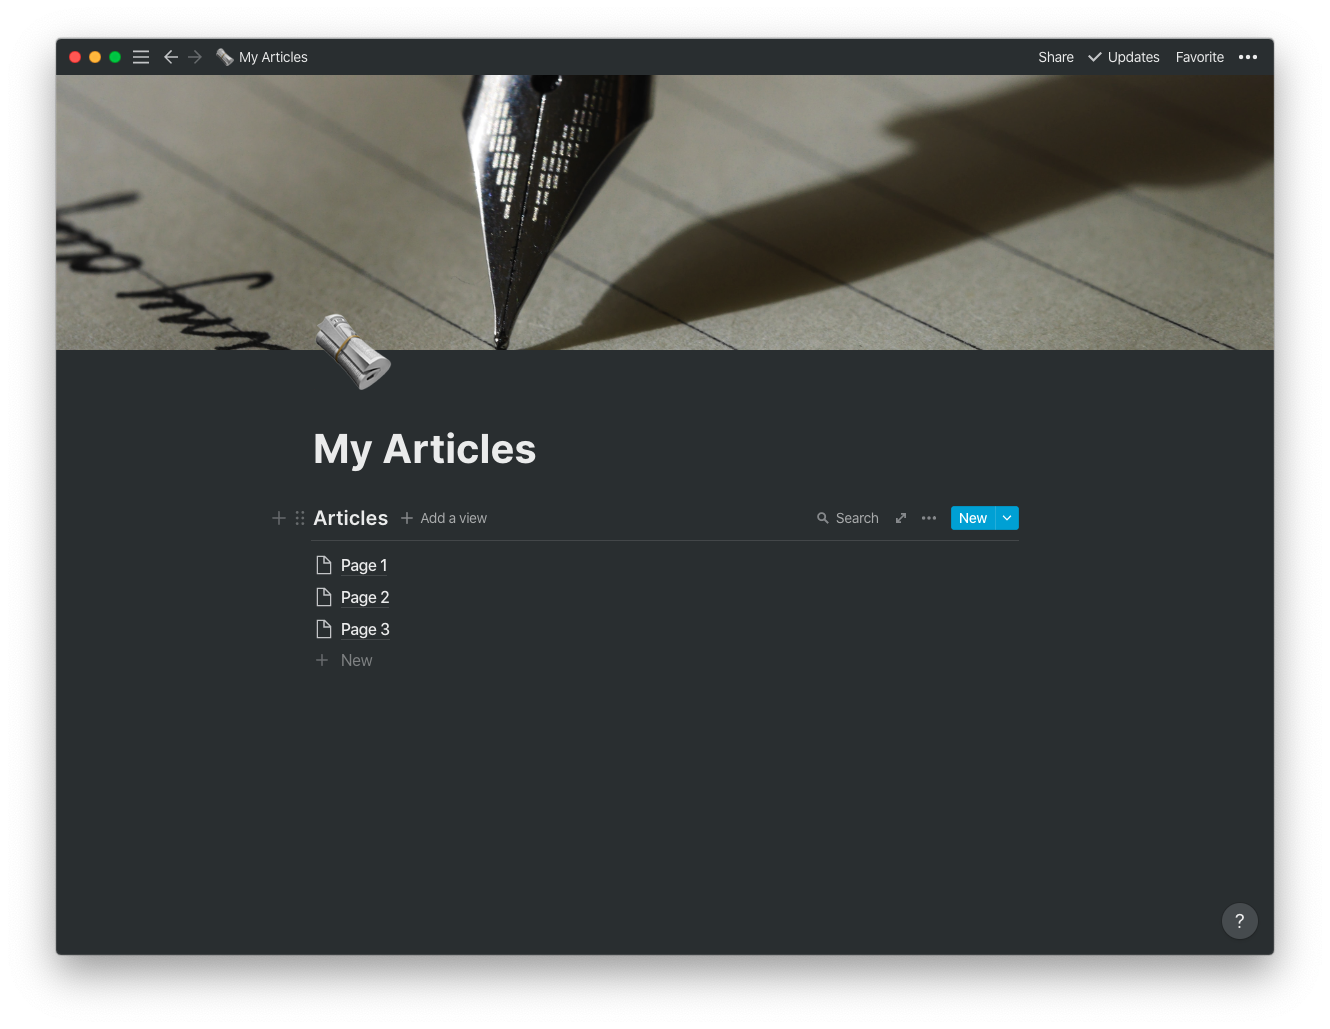
Table Properties
Let’s add some article properties for our pages. In this database, each article will be a page in Notion. Any properties we add to the Articles database will be shown in each page. Each article needs a title, creation date, last edited time, and status. For articles, the title property will be the the title of the Notion page, but we need to add the rest of the properties to the table.
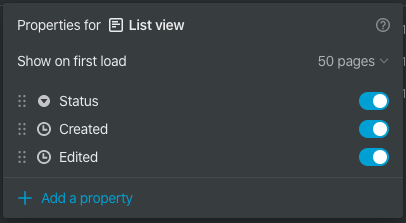
To add properties, hover over the Articles table, click on the three dots on the right, and select “Properties”. Add a status property by clicking “+ Add a property”. Then, for “Property Type”, pick “Select”. To show the property in the table view, enable the toggle next to Select. Similarly, add a “Created” property by selecting the type “Created time”, and add an “Edited” property by selecting the type “Last edited time”. Delete the “Tags” property by selecting the dots on the left, and then select “Delete”. The Articles table properties now look like this:
Now that our table is set up for articles, we can create a “New Draft” page template!
The Page is as Mighty as the Table
Most likely, you’ll add new pages to your Articles table when you’re creating a new draft. With a “New Draft” page template, it’s easy to start drafting and not need to worry about setting any page properties. To create a new draft, click the dropdown arrow next to “New” on the Articles table, and then click “+ New template”.
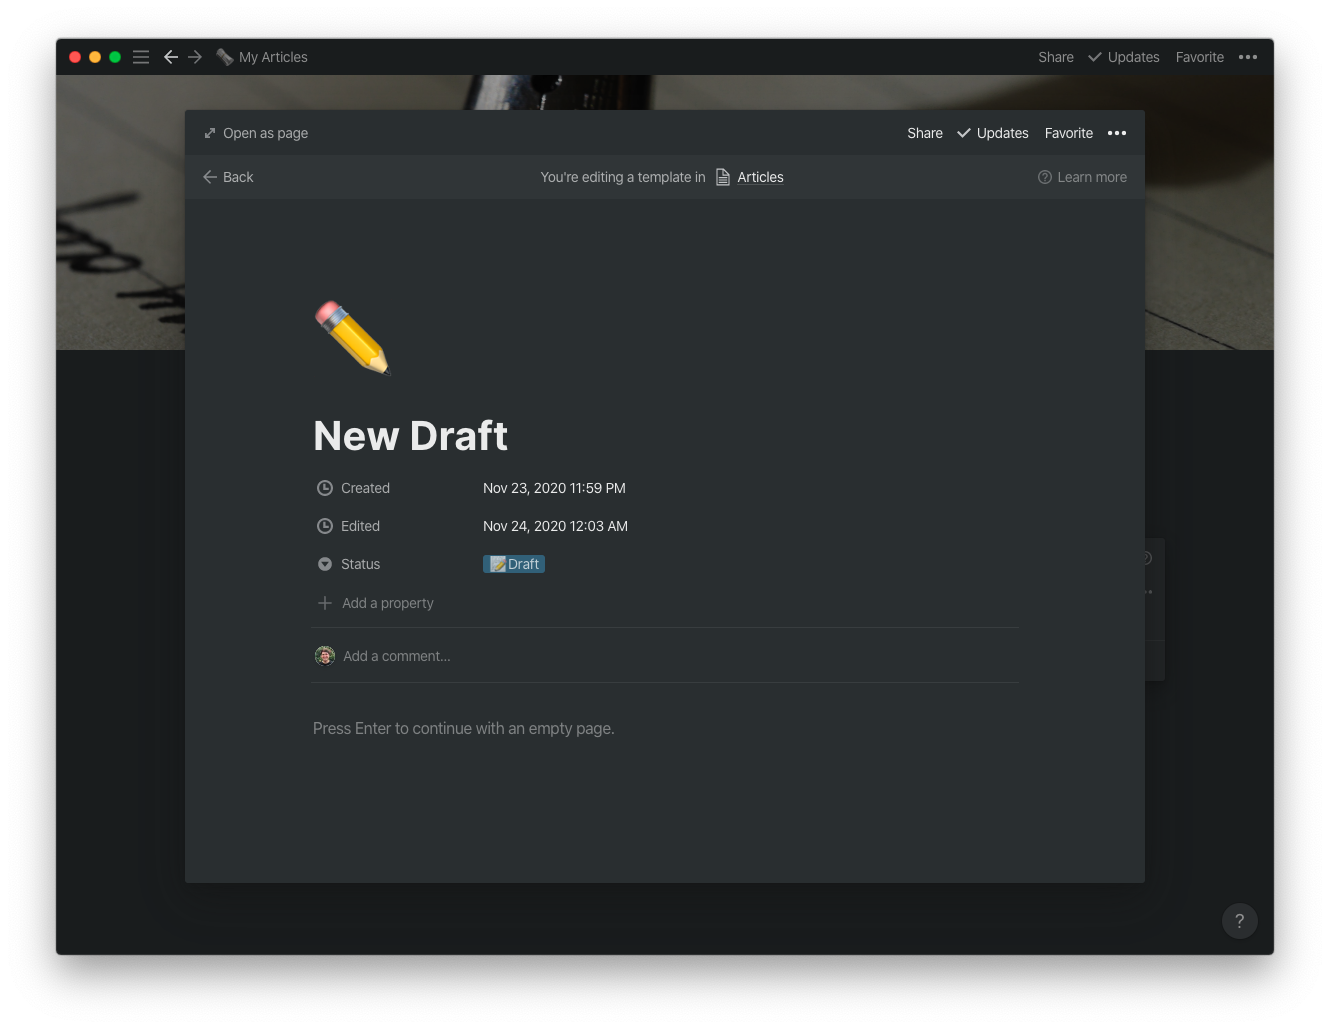
Name the template “New Draft”. We’ll want any new draft to have a Draft status, so we need to create that status. Click the text “Empty” next to the Status property, type in “Draft”. This will create the Draft status for any Article page, and assign the Draft status to any page that is created with the New Draft template. I also added a ✏️ icon to the New Draft template and the Draft that they’re easy to find in lists:
Hello World
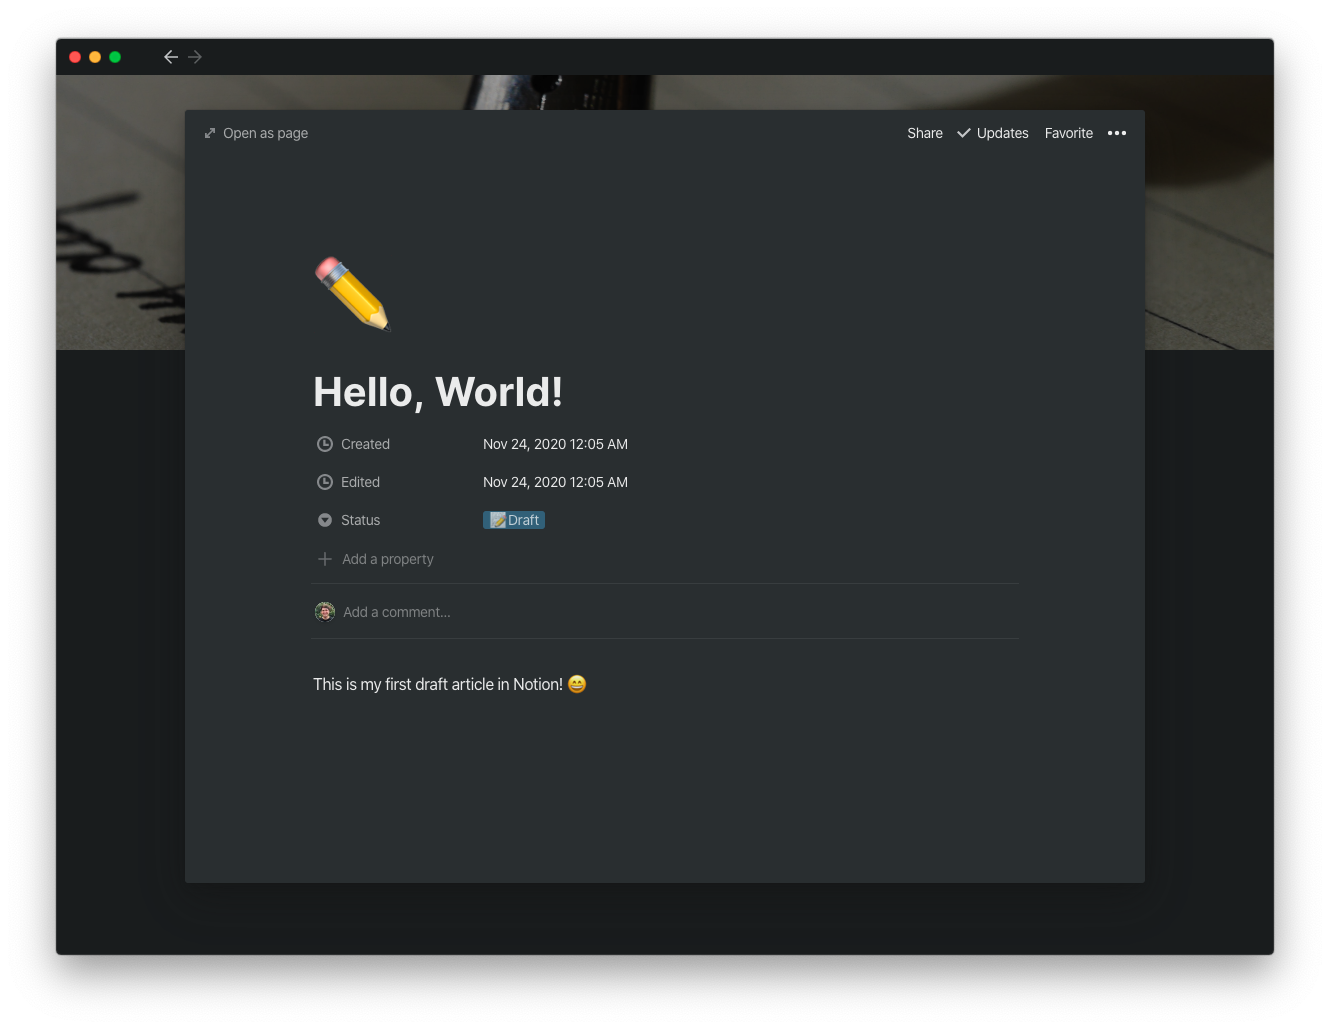
Let’s write our first article draft! Click the “Back” button to go back to the Articles table, then select “New Draft” to begin writing. Add a title and some example text for your first draft:
Click “Back” again to go to the Articles table, and delete the old example pages. Practice using Notion page templates by adding another draft:
You are Your Own Publisher
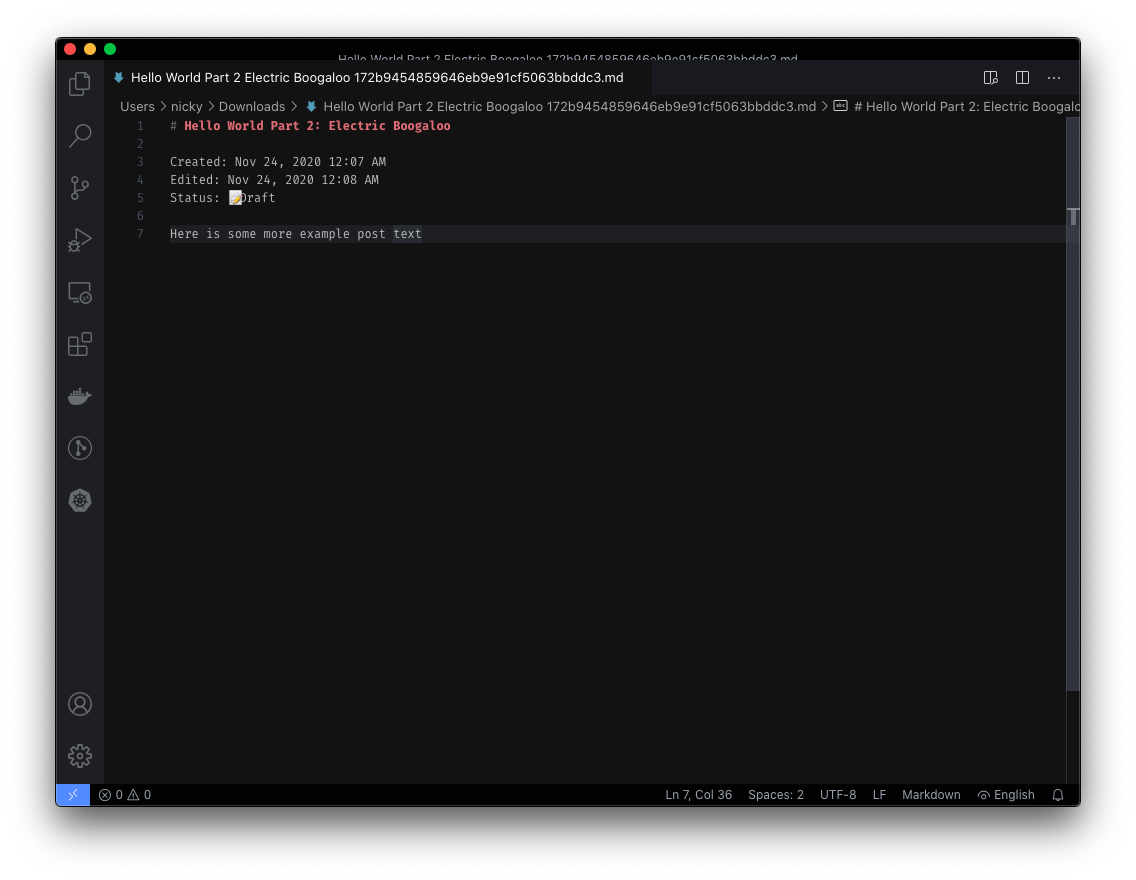
One way to publish your articles is to make the page publicly accessible in Notion. You can also use Notion’s Markdown exporter to convert a page into Markdown and then import the content into sites such as dev.to or Hashnode. To export a page to Markdown, click the three dots in the top right of a page, select “Export”, then select “Markdown & CSV”. The page contents will be converted into Markdown for cross compatibility:
Great, Now There’s Two of Them
You’ve finished editing and publishing your “Hello, World!” article. Now it’s time to change the status of that article to Posted, but we don’t have an easy way to do that yet. Let’s create a new Kanban board view of our Articles table. With a Kanban board, you can move articles as cards from one status to the next.
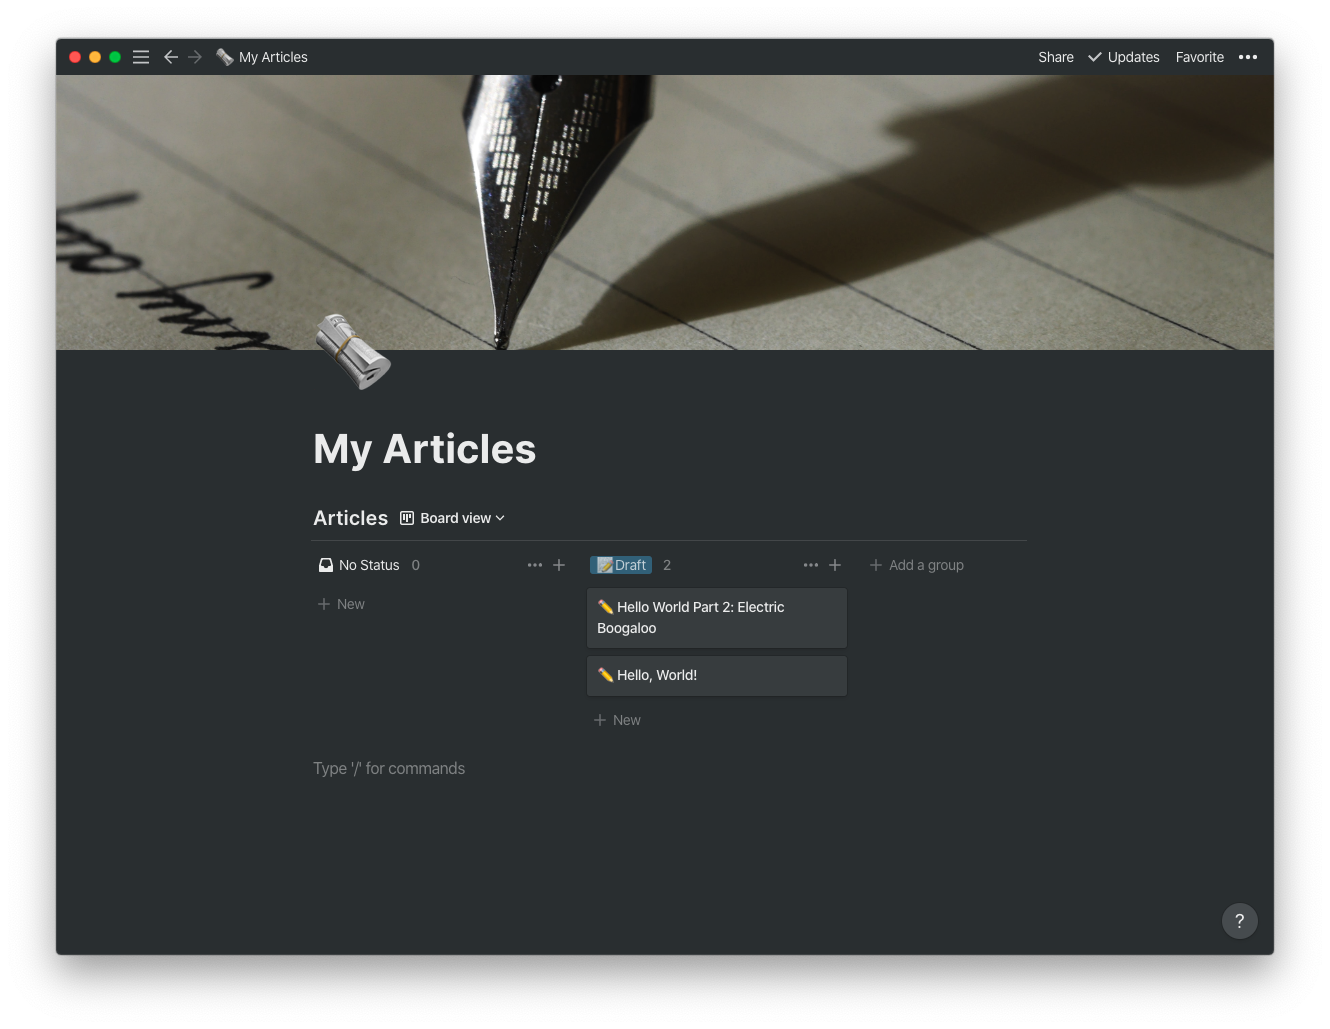
To create a new table view, click “+ Add a view” at the top of the Articles table. Select the “Board” option and then click “Create”. Notion will automatically set up the Board view to sort articles by the Status property:
To add the Posted status, click “+ Add a group” and enter “Posted”. No pages have the Posted status yet, so the column will be empty:

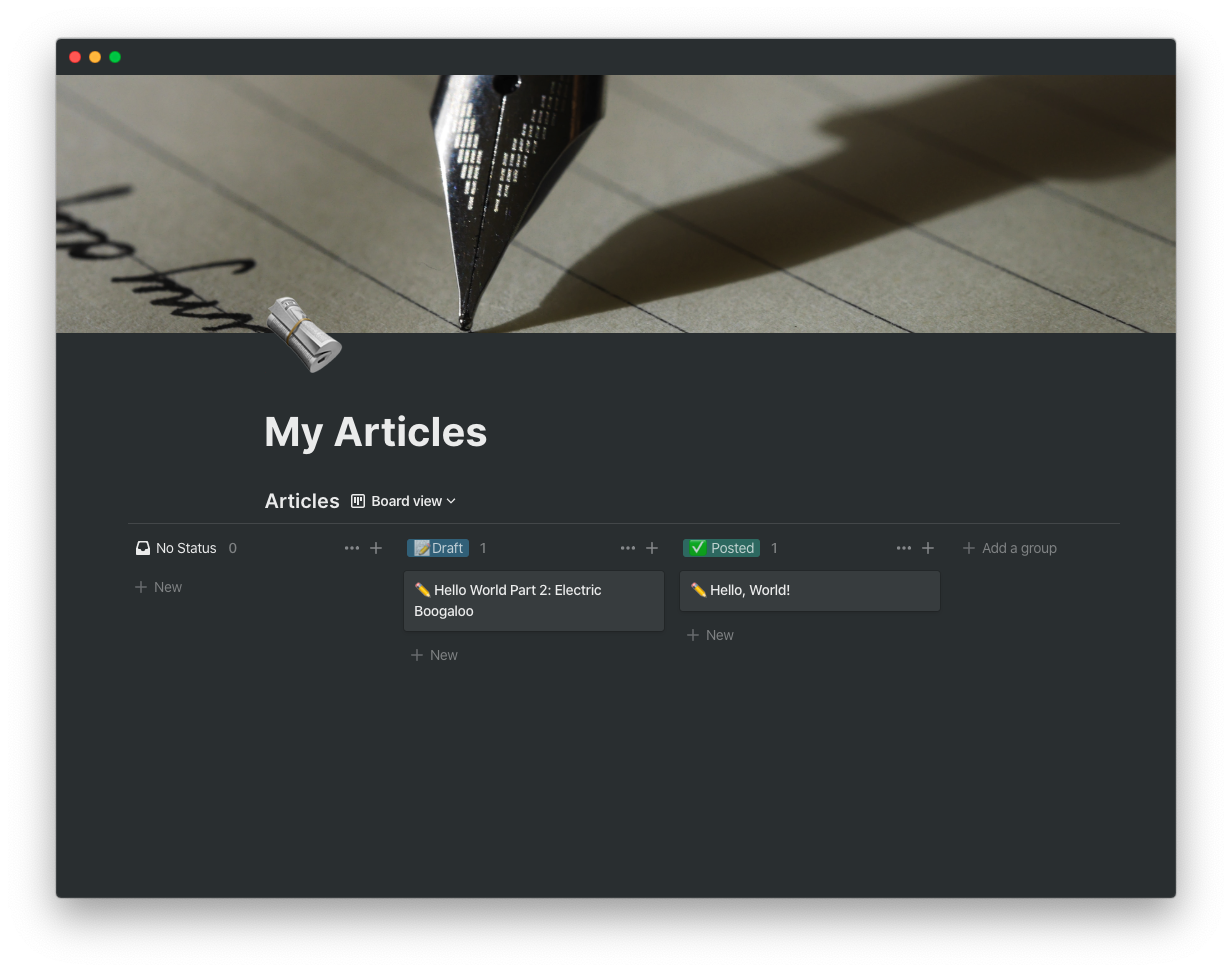
To mark the “Hello, World!” article as posted, simply drag that article’s card from Draft to Posted, and it’s done!
With Notion’s databases, page properties, and custom views, you can create your own system to keep track of your blog posts and articles. I’m looking forward to using Notion more to structure my data in different aspects of my life.