How to Fix Liquid Syntax Errors in React Code Snippets
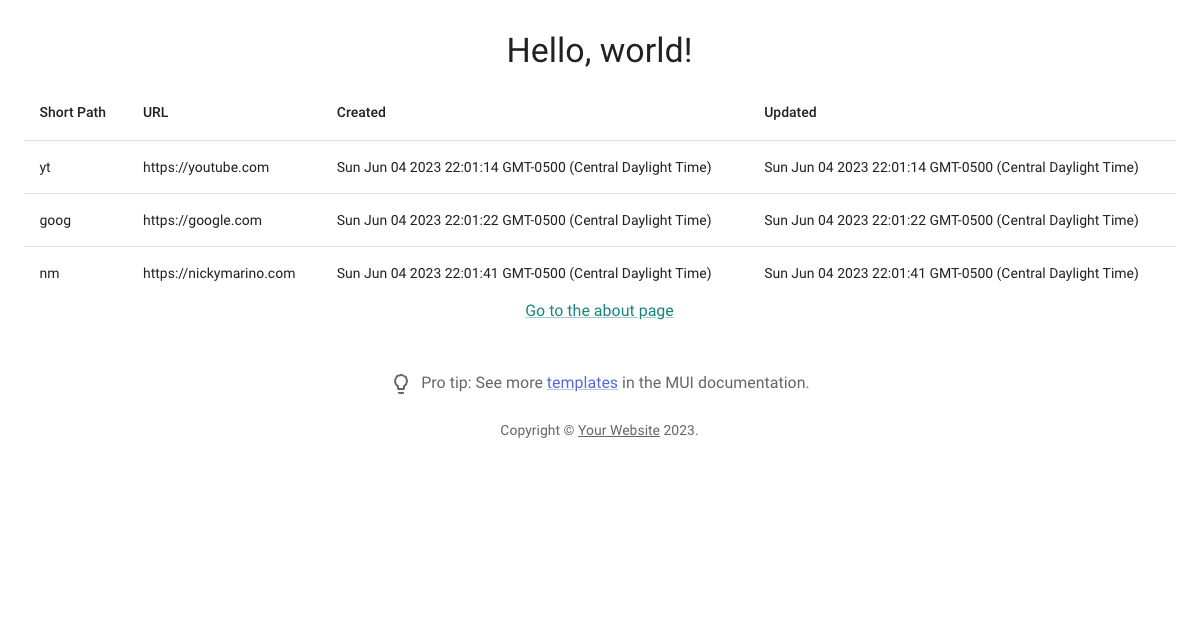
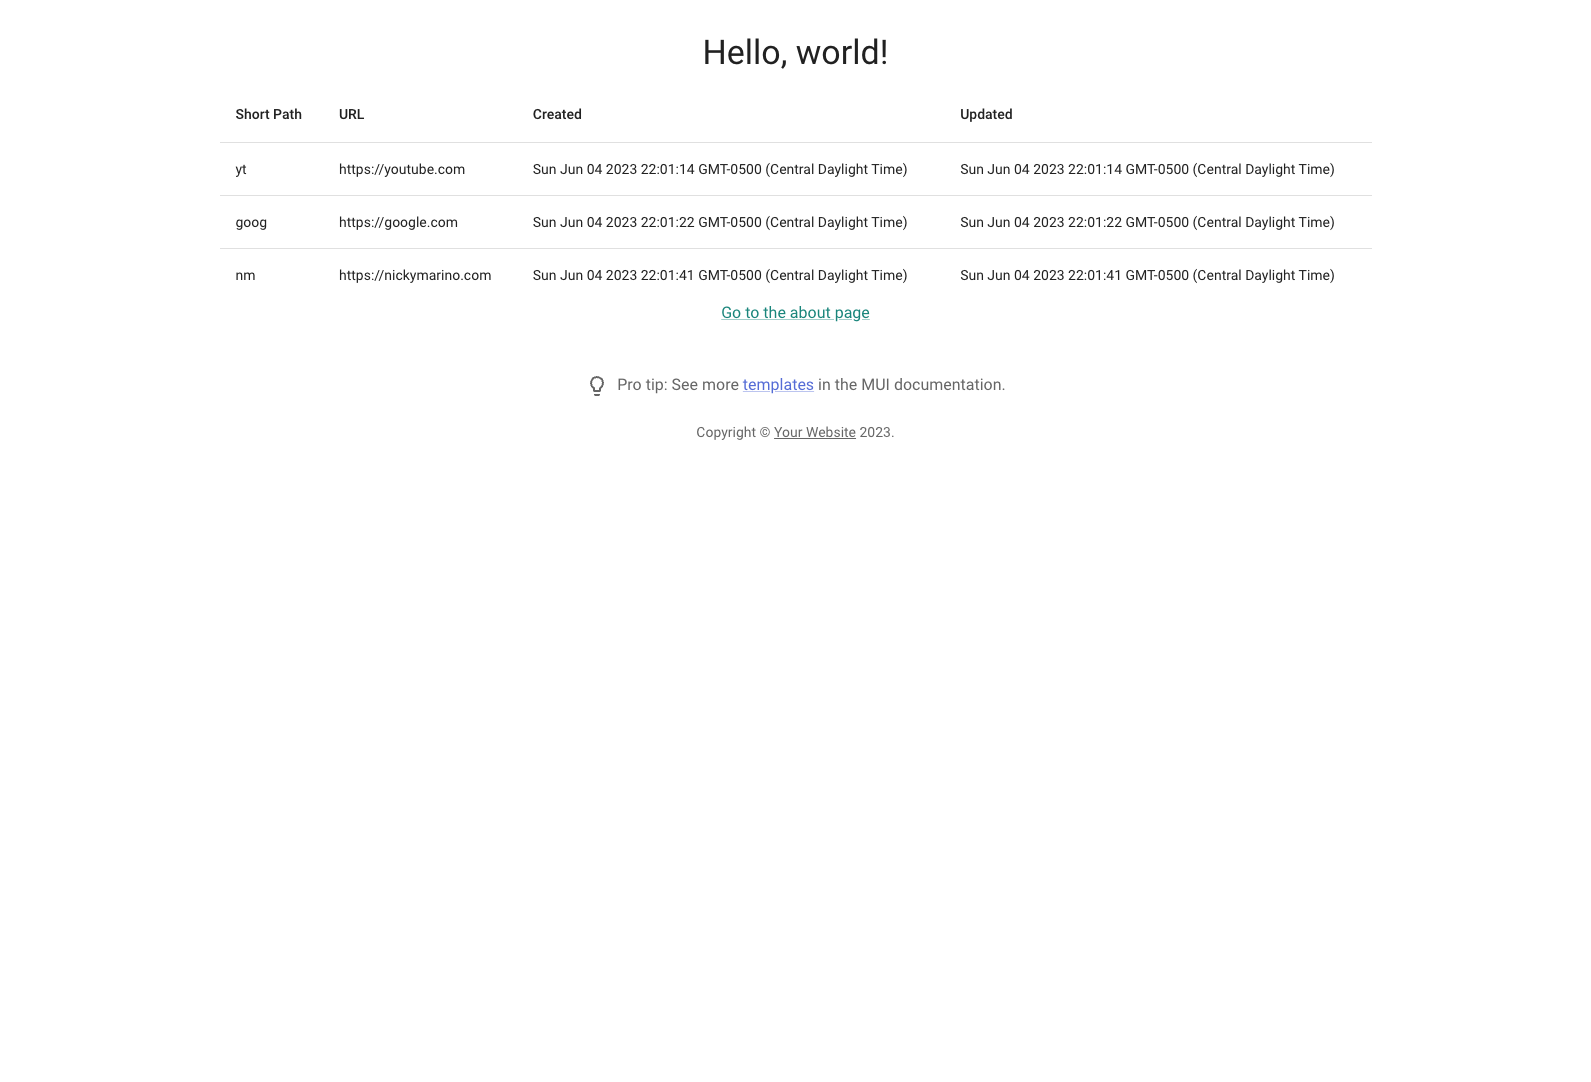
While publishing my series of dev diaries for my URL shortener project, I encountered some strange errors from Jekyll. Below is example code to create a table using MUI in React:

  return (
    <Table sx={{ minWidth: 650 }} aria-label="simple table">
      <TableHead>
        <TableRow>
          <TableCell>Short Path</TableCell>
          <TableCell>URL</TableCell>
          <TableCell>Created</TableCell>
          <TableCell>Updated</TableCell>
        </TableRow>
      </TableHead>
      <TableBody>
        {links.map((row) => (
          <TableRow
            key={row.uid}
            sx={{ "&:last-child td, &:last-child th": { border: 0 } }}
          >
            <TableCell component="th" scope="row">
              {row.shortPath}
            </TableCell>
            <TableCell>{row.url}</TableCell>
            <TableCell>{toTimestamp(row.createdAt)}</TableCell>
            <TableCell>{toTimestamp(row.updatedAt)}</TableCell>
          </TableRow>
        ))}
      </TableBody>
    </Table>
  );
}

When I save this codeblock to a markdown file, I get a strange syntax error from liquid out of nowhere:

Regenerating: 2 file(s) changed at 2023-06-05 19:31:13
              _posts/2023-06-13-yyyy.md
              .history/_posts/2023-06-13-yyyy_20230605193112.md

Liquid Exception: Liquid syntax error (line 70): Variable '{{ "&:last-child td, &:last-child th": { border: 0 }' was not properly terminated with regexp: /\}\}/ in /Users/nickymarino/Dropbox/Mac (3)/Documents/Developer/nickymarino.github.io/_posts/2023-06-13-yyyy.md

Error: Liquid syntax error (line 70): Variable '{{ "&:last-child td, &:last-child th": { border: 0 }' was not properly terminated with regexp: /\}\}/

Error: Run jekyll build --trace for more information.

This was really strange to me. At first I couldn’t figure out what liquid even was–I had forgotten it’s a tool Jekyll uses to pre-process markdown files–and I wasn’t sure why liquid was looking inside the codeblock.

Thanks to chuckhoupt’s comment on the Jekyll help forum though, I learned I can wrap my code in a raw tag to prevent processing:

<!--
  {% raw %}

  Disable liquid parsing on this codeblock to prevent errors reading '{{'
  See: https://talk.jekyllrb.com/t/code-block-is-improperly-handled-and-generates-liquid-syntax-error/7599/2
-->

```ts
  return (
    <Table sx={{ minWidth: 650 }} aria-label="simple table">
      <TableHead>
        <TableRow>
          <TableCell>Short Path</TableCell>
          <TableCell>URL</TableCell>
          <TableCell>Created</TableCell>
          <TableCell>Updated</TableCell>
        </TableRow>
      </TableHead>
      <TableBody>
        {links.map((row) => (
          <TableRow
            key={row.uid}
            sx={{ "&:last-child td, &:last-child th": { border: 0 } }}
          >
            <TableCell component="th" scope="row">
              {row.shortPath}
            </TableCell>
            <TableCell>{row.url}</TableCell>
            <TableCell>{toTimestamp(row.createdAt)}</TableCell>
            <TableCell>{toTimestamp(row.updatedAt)}</TableCell>
          </TableRow>
        ))}
      </TableBody>
    </Table>
  );
}
```

<!-- {% endraw %} -->

While writing this post, I also discovered this trick by Josh to wrap the double quotes in a variable:

{{

The downside is that it leads to some strange looking code. For example, to escape the above raw and endraw tags, I used:

<!--
  {% raw %}

  ...
-->

<!-- {% endraw %} -->

Outside of code snippets, you can use the HTML entities as well: { and }. And to write this post, I had to use this trick by Waylan to use more backticks to mark the start and end of a snippet:


````text
<!-- ... -->

```ts
  return ( ... )
```

<!-- ... -->
````

Dev Journal #7: Project Management via GitHub Projects
 Cover Image

Dev Journal #7: Project Management via GitHub Projects

I’m pretty big into the productivity space; for a long while I bounced back and forth between Todoist, OmniFocus, Apple Reminders, and even a few bullet journals. These days, I’m heavily invested in Todoist, which begs the question: what’s the best way to keep track of features, ideas, and tasks for this project?

While Todoist was an obvious option, I initially started with GitHub Issues for a few reasons:

  • Issues are on the public repo, so they force me to build in public.
  • I can create new PRs from issues easily.
  • Most open source projects use issues to track items, and this is a good sandbox to test out developer flows.

At first, I was throwing things into issues and gave them “labels” using suffixes like Feature and DevOps:

List of GitHub issues for this repo

I hit a few snags quickly though. For one, it takes a lot of clicking to rename titles or add new labels to each issue. Most importantly, I don’t have a way of sorting issues by priority like a todo list.

GitHub projects was recently re-released and refreshed, so I decided to give it a go. It’s still pretty easy to create a new project, and I honestly don’t see much of a difference other than the list view is now the default.

GitHub's "Create project" UI

After some tweaks, the project is in a place I’m happy with. It’s a kanban board with three states:

  1. No Status: These are ideas I’d like to do at some point in the future, but they’re not critical to an MVP, such as improved error handling and a polished index page.
  2. Prioritized: A ranked list of tasks that are critical to get the app working, where the top item is the one I want to do next.
  3. Done: These are items that are complete and merged via PR.

I’m really happy with this setup; I can put all good ideas under No Status, I move the critical ones to Prioritized, and I only need to create issues for those that are actively on my plate to complete in the short term. Here’s a snapshot of the board:

Current kanban board

You can view the issues for this repo here and the kanban project here.

Dev Journal #6: Add a MUI table component
 Cover Image

Dev Journal #6: Add a MUI table component

Next, let’s use a proper MUI table component to display the list of links. At first, I toyed with using MUI X’s Data Grid component, but because it was an additional package with a freemium model, I decided to use a more basic display for the first crack.

MUI’s basic table example is pretty good, so we’ll more or less lift that and modify it slightly to show our link-specific columns in src/pages/index.tsx:

function LinkTable({ links }: { links: Link[] }) {
  function toTimestamp(epoch: number) {
    return new Date(epoch).toString();
  }

  return (
    <Table sx={{ minWidth: 650 }} aria-label="simple table">
      <TableHead>
        <TableRow>
          <TableCell>Short Path</TableCell>
          <TableCell>URL</TableCell>
          <TableCell>Created</TableCell>
          <TableCell>Updated</TableCell>
        </TableRow>
      </TableHead>
      <TableBody>
        {links.map((row) => (
          <TableRow
            key={row.uid}
            sx={{ "&:last-child td, &:last-child th": { border: 0 } }}
          >
            <TableCell component="th" scope="row">
              {row.shortPath}
            </TableCell>
            <TableCell>{row.url}</TableCell>
            <TableCell>{toTimestamp(row.createdAt)}</TableCell>
            <TableCell>{toTimestamp(row.updatedAt)}</TableCell>
          </TableRow>
        ))}
      </TableBody>
    </Table>
  );
}

We’ll use the new LinkTable component on the Home page in the same file:

export default function Home({ links }: { links?: Link[] }) {
  console.log({ links });
  return (
    <Container maxWidth="lg">
      {/* ... */}
        {links && LinkTable({ links })}

And then our links show up in a neat table! You can view this stage of the project on the Use table for link list PR. Here’s what the UI looks like now:

Links show in a table on the UI