 April 13, 2021
I wrote this tutorial for Code Your Dreams, an incubator of youth voice, tech skills, and social justice. Their project-based and student-centered programs enable youth to be the change makers we know they are through code. To find out how to get involved, visit their website here.
Replit is a free, collaborative, in-browser IDE for creating new projects without setting up any environments on your computer. With Replit, you don’t need to “deploy” your projects to any service; they’ll be instantly available to you as soon as you start typing. In this post, we’ll review how to create a Flask app, set up folders for HTML and CSS templates, and learn how to navigate your Flask app.
Before following these steps, you must first create an account on replit.
Creating a Flask Project
First, let’s create a blank Python project. On your replit homepage, create new project by clicking “Python” under the “Create” heading:
.png)
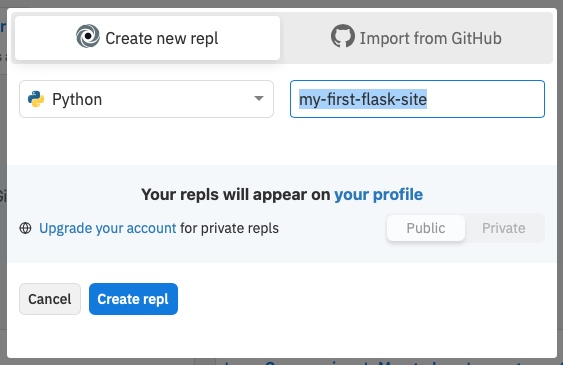
For the project name, type my-first-flask-site and click “Create repl”:
Your new project will automatically create a file named main.py and open a Python IDE for you, but we need to install Flask before we can start writing our app. On the left sidebar, click the “Packages” icon, which looks like a hexagonal box:
.png)
From here, we can install any Python packages that you want to import in your app. Install the Flask package by typing “flask” and selecting the first item from the list named “Flask”:
.png)
Then, click the “Files” icon on the left sidebar to go back to the files list. You should see main.py, which was already created for you.
Hello, World!
Our first Flask app will have one page—the index page—that says Hello World! when we go to the home page. Copy the below code into the file named main.py:
from flask import Flask, render_template

# Create a flask app
app = Flask(
  __name__,
  template_folder='templates',
  static_folder='static'
)

# Index page
@app.route('/')
def hello():
  return "Hello World!"

if __name__ == '__main__':
  # Run the Flask app
  app.run(
	host='0.0.0.0',
	debug=True,
	port=8080
  )
In this code, we have one page that’s controlled by the hello() function. It’s route is ’/‘, which means that it is at the home page of our app.
For flask projects, Replit looks for a web server at the local URL http://0.0.0.0:8080, so we need set the host to ’0.0.0.0' and the port to 8080 in app.run(…). We also set debug=True so that any changes you make to files will be automatically updated when you refresh a page.
We’ll use render_template, template_folder, and static_folder later in this tutorial, so don’t worry about those just yet.
Now, click the green “Run” button at the top of the page. Replit should install Flask, then open a browser with your first Flask app!
.png)
The bottom right window is the Python console, and will show any error messages or logs that are printed.
At any time, you can click the “Stop” button at the top and click “Run” again to restart your Flask app.
Sometimes, your app might have multiple pages. To go to a different URL (or @app.route) in your app, click the icon “Open in a new tab” on the browser window. It will be to the right of the address bar:
.png)
You can type in a new path in the address bar of the new tab, such as https://my-first-flask-site.YOUR_USERNAME.repl.co/my-second-page. Right now, your server will return a 404 for that page because it doesn’t exist.
HTML Assets and CSS Styles
Next, let’s add an HTML file and a CSS file to our Flask app. HTML files are commonly put in a templates folder in a Flask project, because they are usually templates to show information. Our Flask code will supply values to HTML templates via variables, so that our app can change via Python code.
Adding an Index Page
In main.py, we already set up our Flask app to look in the templates folder for HTML files:
# Create a flask app
app = Flask(
  # ...
  template_folder='templates',
  # ...
)
Now let’s create the templates folder and create an index.html file. Next to the “Files” header on the top left, click the “Add folder” button and name the new folder templates. Then, click the three dot icon on the templates folder and click “Add file”. Name the new file index.html. To have both index.html and main.py open at the same time in your editor, right click main.py on the files list and click “Open tab”.
Your editor should now look like this (note that there’s two tabs in the editor now: one for templates/index.html and one for main.py):
.png)
Copy the below code into the templates/index.html file:
<!doctype html>
<head>
	<title>My First Flask Website</title>
	<link href="/static/style.css" rel="stylesheet" type="text/css">
</head>
<body>
	<h1>Hello, World!</h1>
	<p>
		Welcome to your first Flask website
	</p>
</body>
And replace your contents in main.py with the below code. This new version updates the hello() function to index(), and it returns the contents of index.html to the user:
from flask import Flask, render_template

# Create a flask app
app = Flask(
  __name__,
  template_folder='templates',
  static_folder='static'
)

# Index page (now using the index.html file)
@app.route('/')
def index():
  return render_template('index.html')

if __name__ == '__main__':
  # Run the Flask app
  app.run(
	host='0.0.0.0',
	debug=True,
	port=8080
  )
Click the Refresh button in the browser window of the project (not the refresh button in Chrome or Firefox, but the refresh button for the smaller window in your project), and you should see the contents of your index page with a large header:
.png)
Adding CSS Styling
Now let’s add a CSS file to change the color of the text of our app. The Flask app is set up to look inside a static folder for CSS and JS assets:
# Create a flask app
app = Flask(
  # ...
  static_folder='static'
)
And the index page is set up to look for a file named style.css inside the static folder:
<!doctype html>
<head>
	<!-- ... -->
	<link href="/static/style.css" rel="stylesheet" type="text/css">
	<!-- ... -->
Click main.py on the Files list, then click the “Add a folder” icon to the left of the “Files” header. Name the new folder static. Next, click the three dot icon next to your new static folder and click “Add file”. Name the file style.css, and open it by right clicking the file and selecting “Open in tab”.
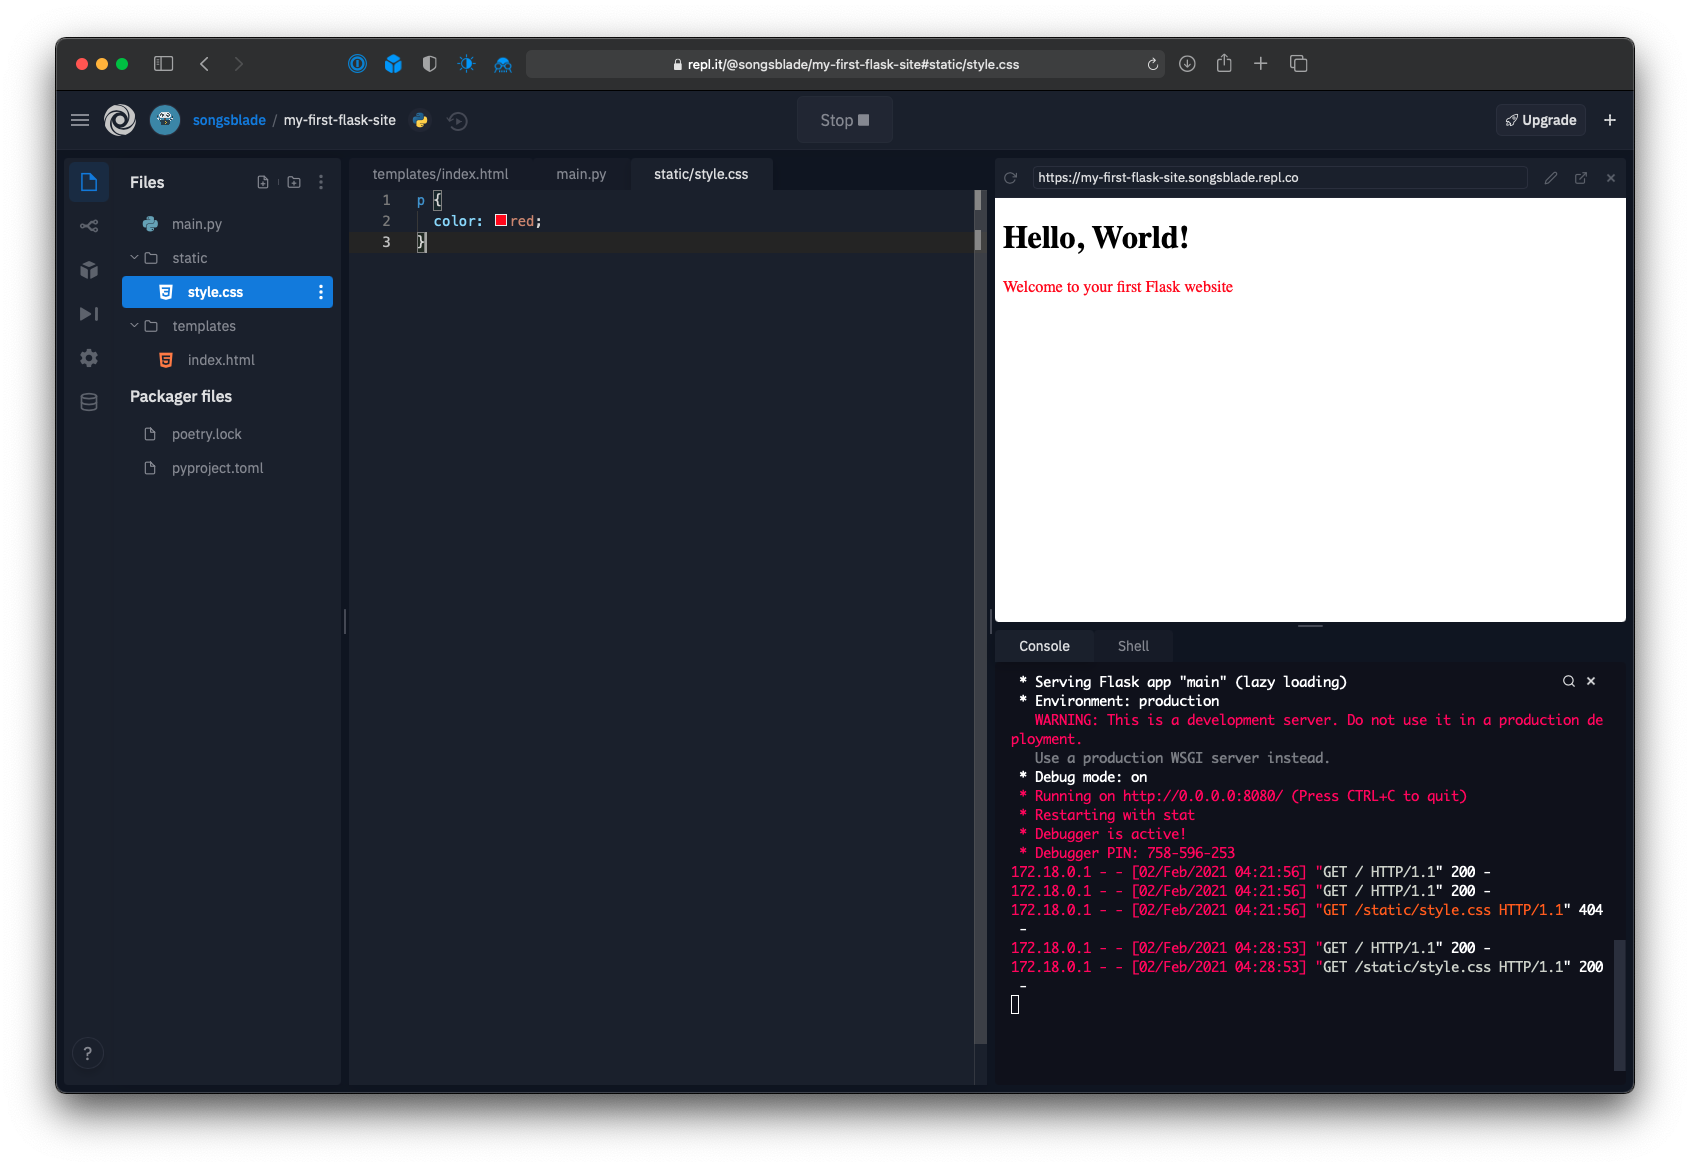
Your project should now look like this:
.png)
Let’s write some CSS to change the color of the “Welcome” message to red. Add the following code to your static/style.css file:
Click the Refresh button in the project browser window (not the refresh button in Chrome or Firefox, but the refresh button for the smaller window in your project), and the “Welcome” screen will turn red:
Congratulations, you’ve written your very first Flask app!
 November 20, 2020
Maintaining a streamlined process to draft, edit, and publish technical articles can be tricky. For example, I write across multiple topics such as Python tutorials, bash commands, and Ruby optimizations. I also publish to three different locations—my website, dev.to, and Hashnode, so I write my posts in Markdown-friendly tools for cross compatibility.
Notion is a great tool for drafting blog posts, technical or otherwise. Notion has an entire suite of tools to make drafting easy: Markdown exports, page properties and filters, a beautiful interface, and many more. With Notion, I quickly draft articles, publish each one across multiple sites, and monitor each article’s progress at a glance. Here’s what my setup looks like:
In this article, we will walk through creating an Articles page in Notion. We’ll create:
- A page for hold articles
- An articles database
- A new draft template, and
- A Kanban board to display each draft’s status
Markdown, Jekyll, and Drafts! Oh My!
For a while, I kept my drafts in a _drafts folder in my website’s repo. Jekyll, my static site generator of choice, ignores any Markdown files in the _drafts folder. However, I’ve been hesitant to heavily draft and edit posts in a publicly available location, so I haven’t been drafting many posts lately. I love that my website is open source for others to use as an example for static site layouts, but I would like to keep the messiness of article writing to myself.
Then, I tried drafting my articles in the app Drafts. Using Drafts, I could write posts in Markdown and preview them privately, but the only way to mark the status of a post (draft, edit, published, abandoned, etc.) was via tags. I used tags like blog and draft for quick filtering:
Unfortunately, tags didn’t scale for me. The only way to view each draft is from the small sidebar on the left, and I had to remember what combination of tags I used to mark blog drafts. Often, I’d forget to tag posts, or I’d forget to update the tags after I had drafted it. I also wanted to have a space devoted only to my articles so that I could get a bird’s eye view of what I had in the pipeline. That’s where Notion databases come to the rescue.
The Notion Database
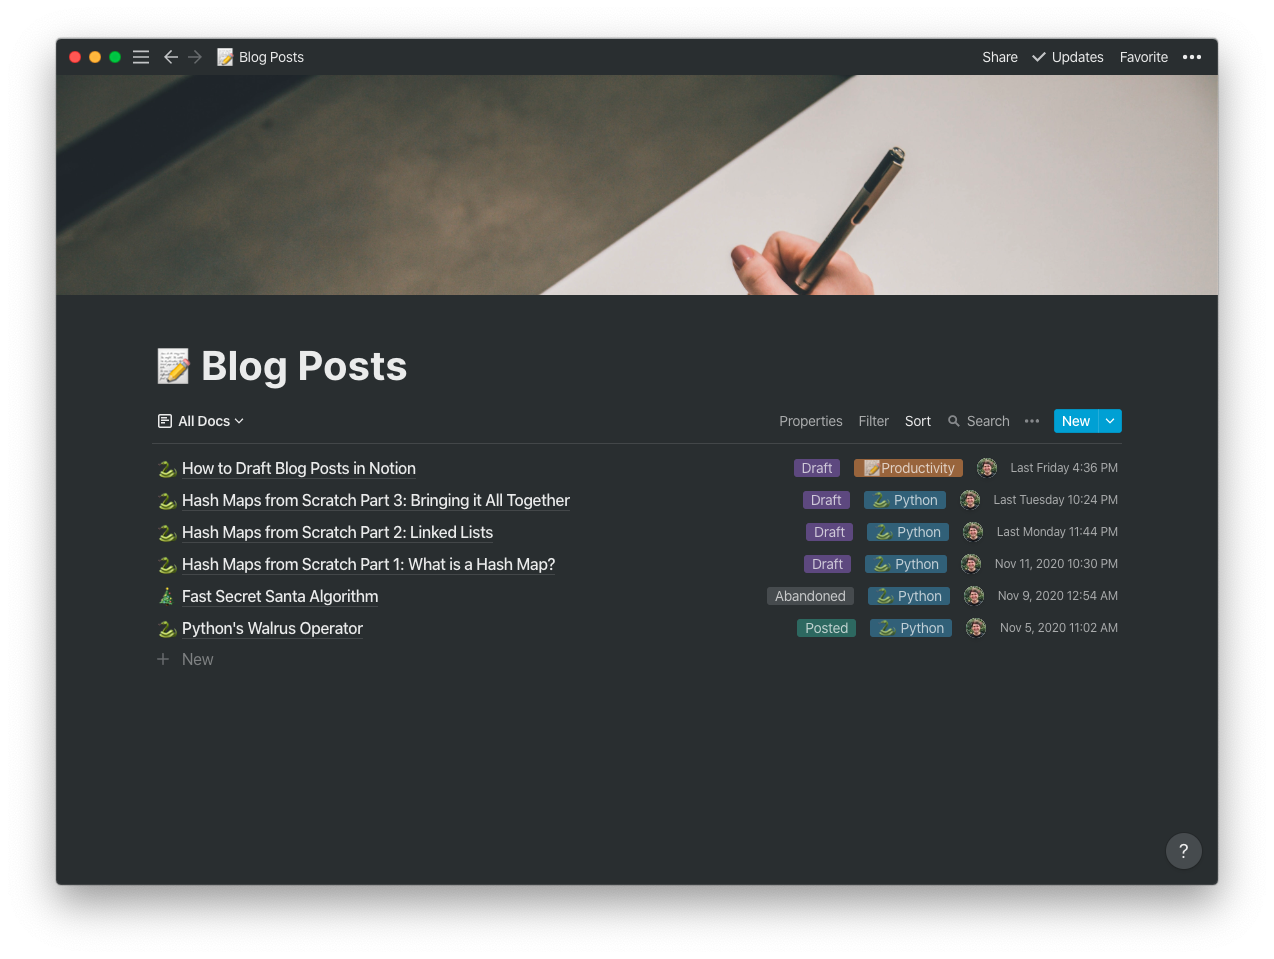
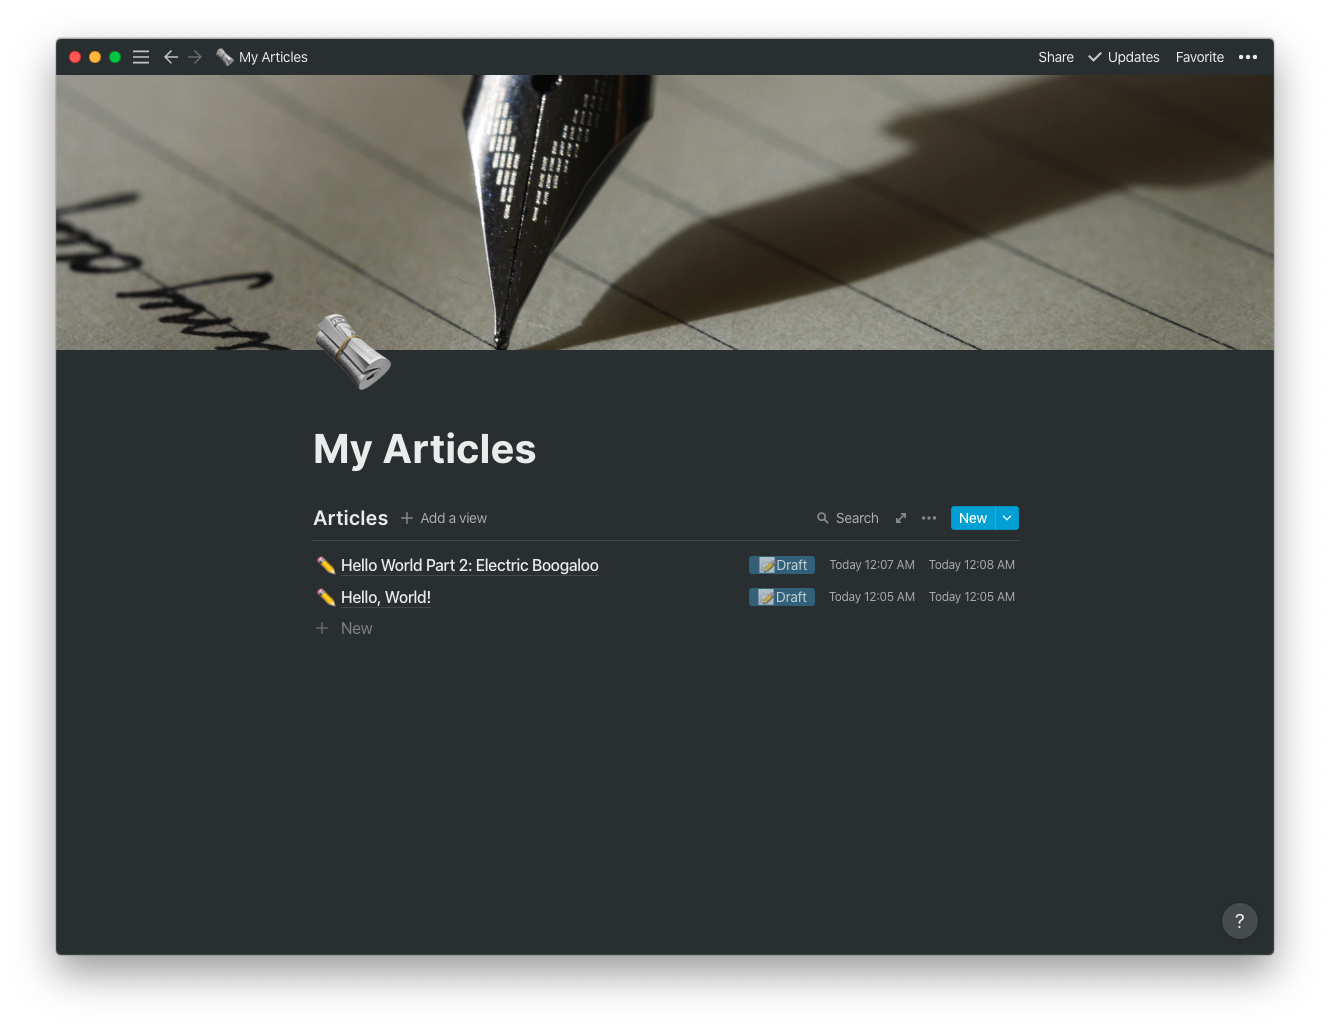
Databases in Notion let me organize and structure related pages. Now that my articles are in a database, I can label, search, and create views of articles. For example, I can look at all of my articles as a list:
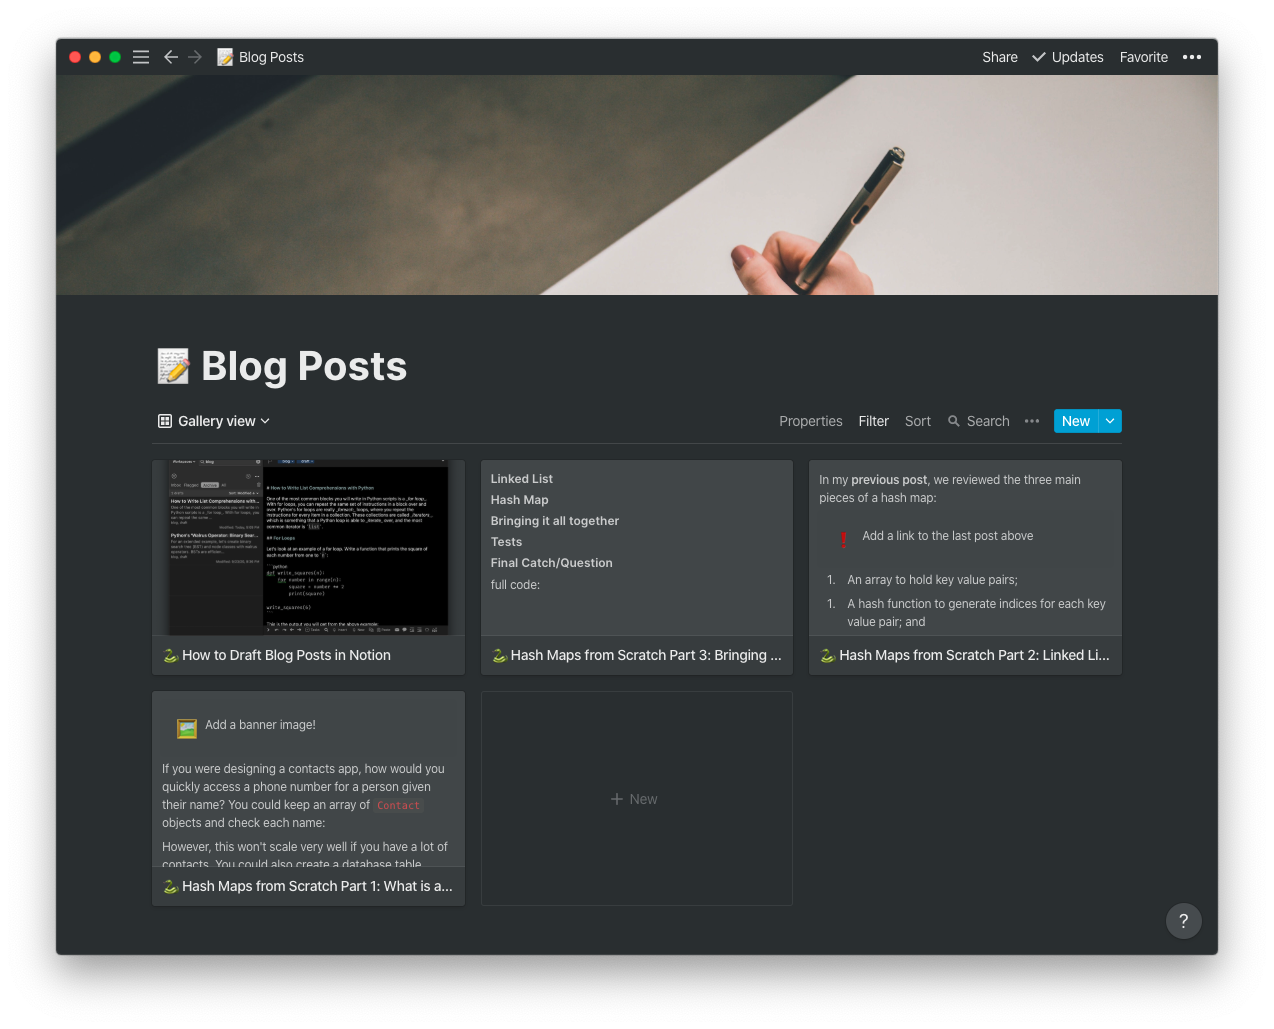
I can also view article drafts as a gallery, with a preview of each article:
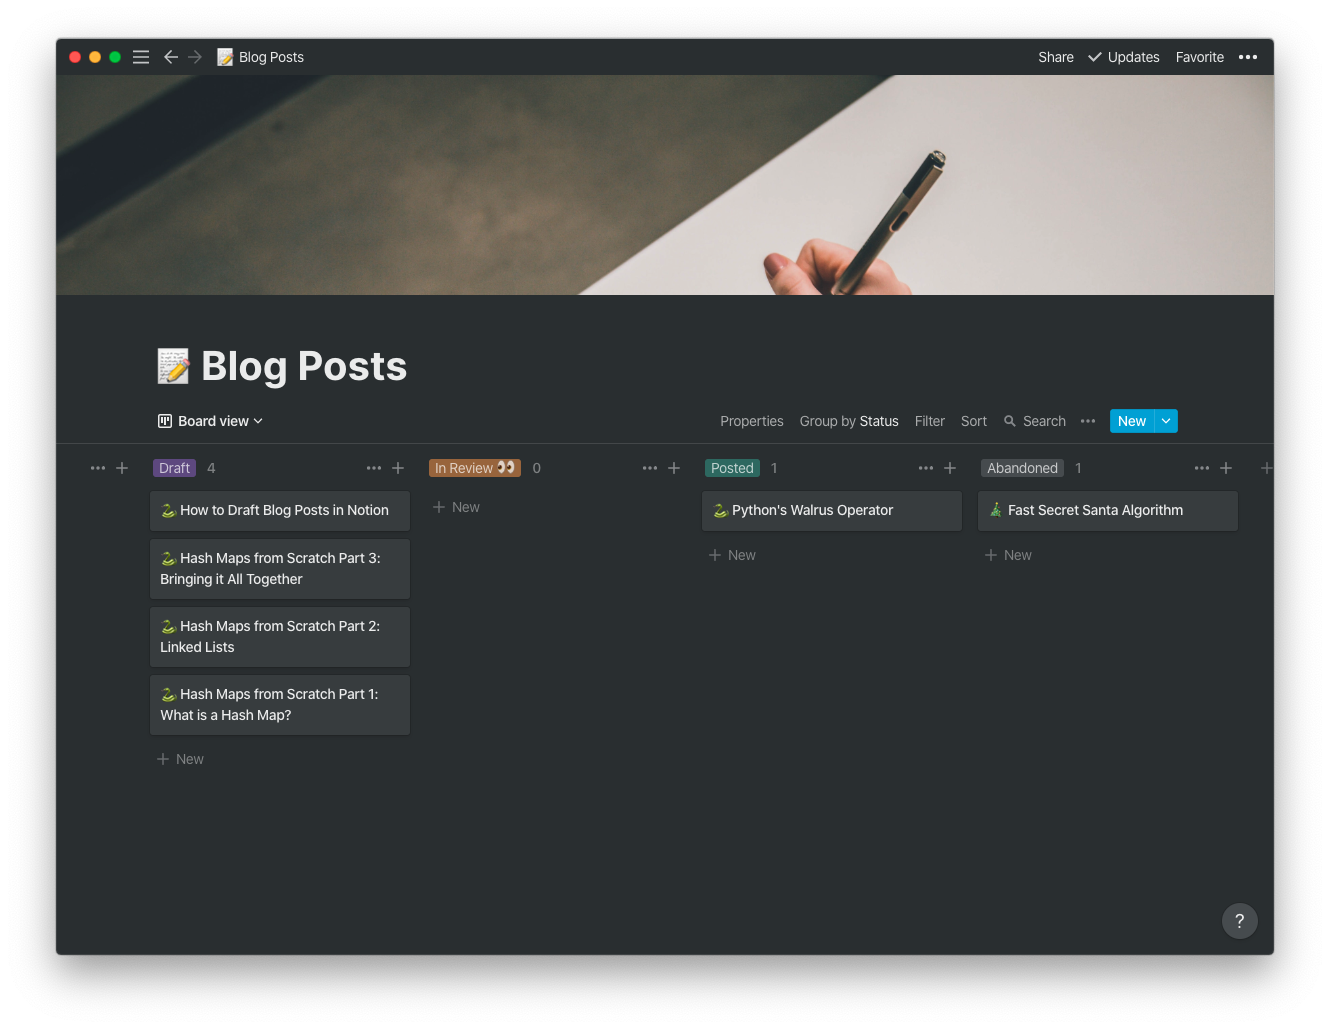
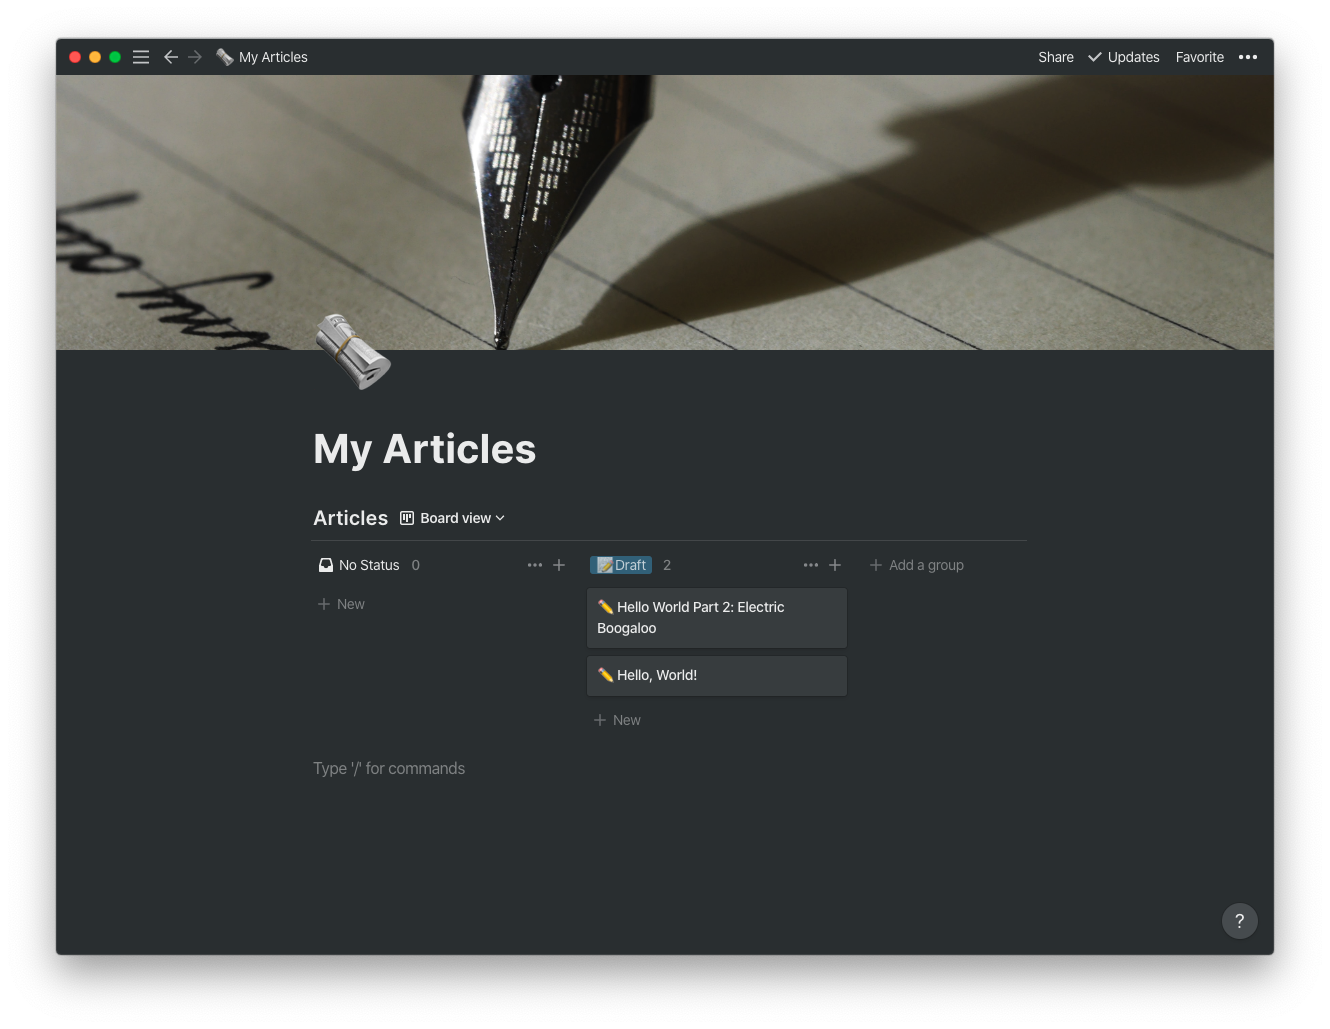
I can even view my articles as a Kanban board based on their status. I use this birds eye view to see what articles are currently being drafted, which are in review, and which have been posted or abandoned:
Creating the Table
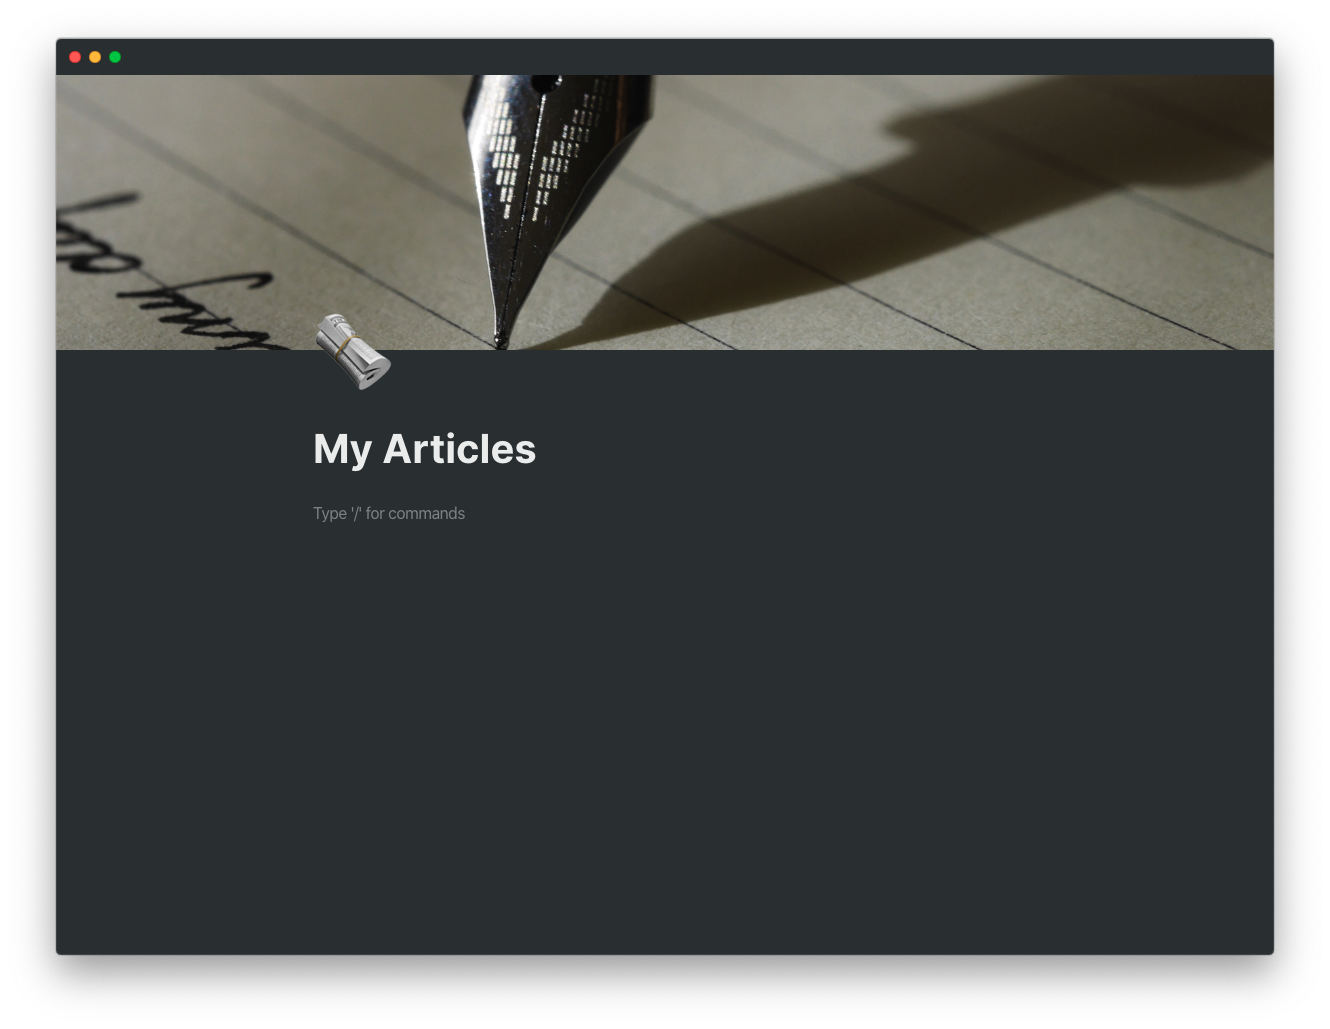
Let’s start by creating a page and a database to hold the articles. First, click “+ Add a page” on the left sidebar. Give the page any title, icon, and header that you want. I titled mine “My Articles”:
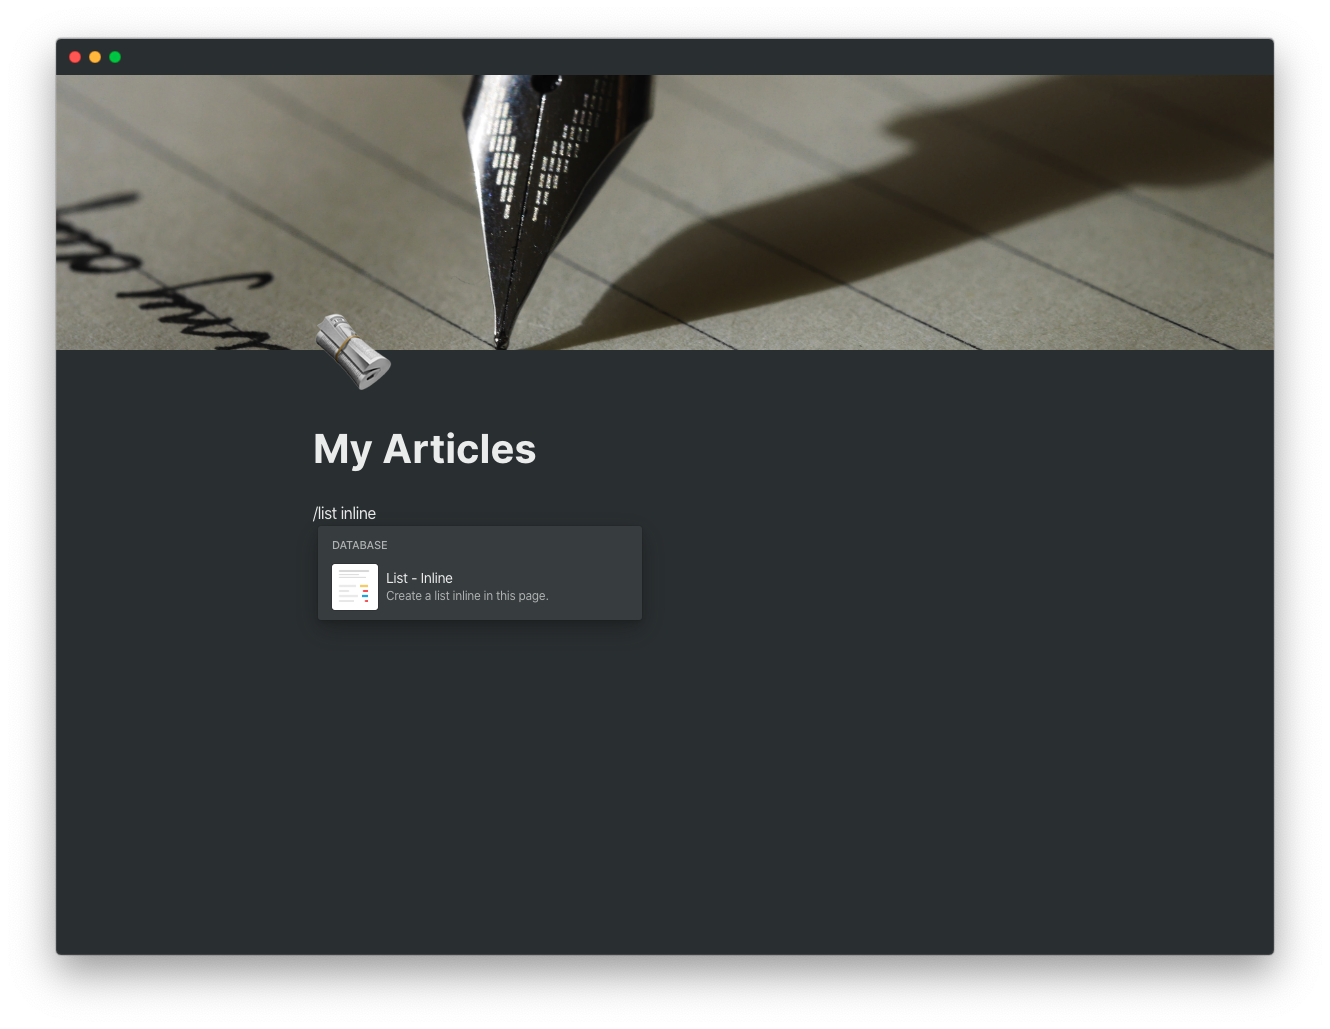
Next, we need to create an article database. Click the text that says “Type ‘/’ for commands”, then type /list inline. Choose the option labelled “List - Inline” under “Database”:
Notion will create a new list for you and populate a few example pages:
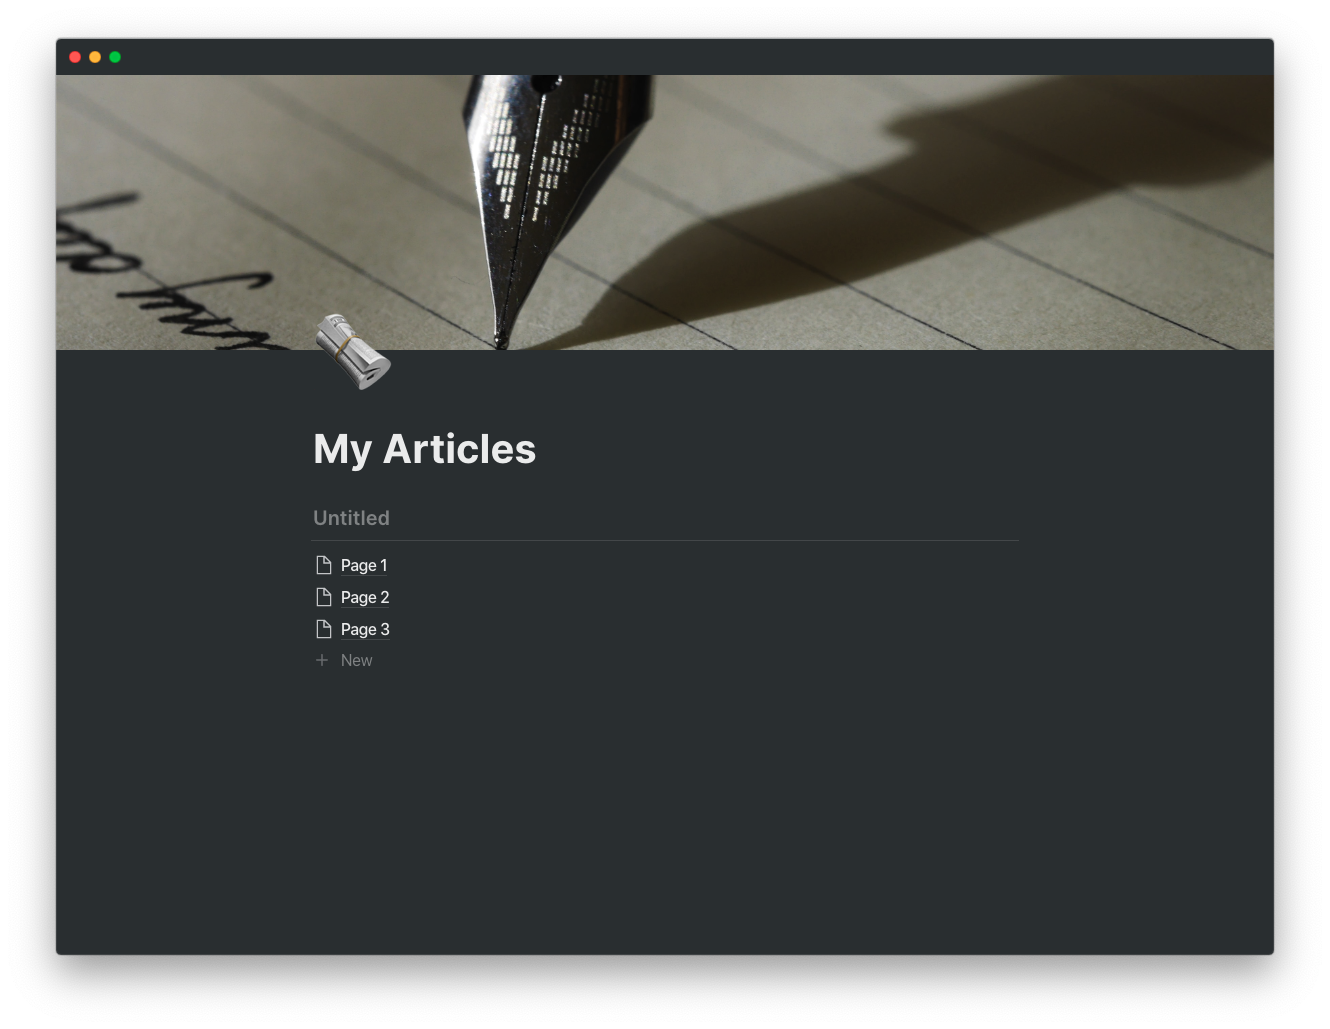
Add a title to your table by clicking on “Untitled” and adding a title, such as “Articles”:
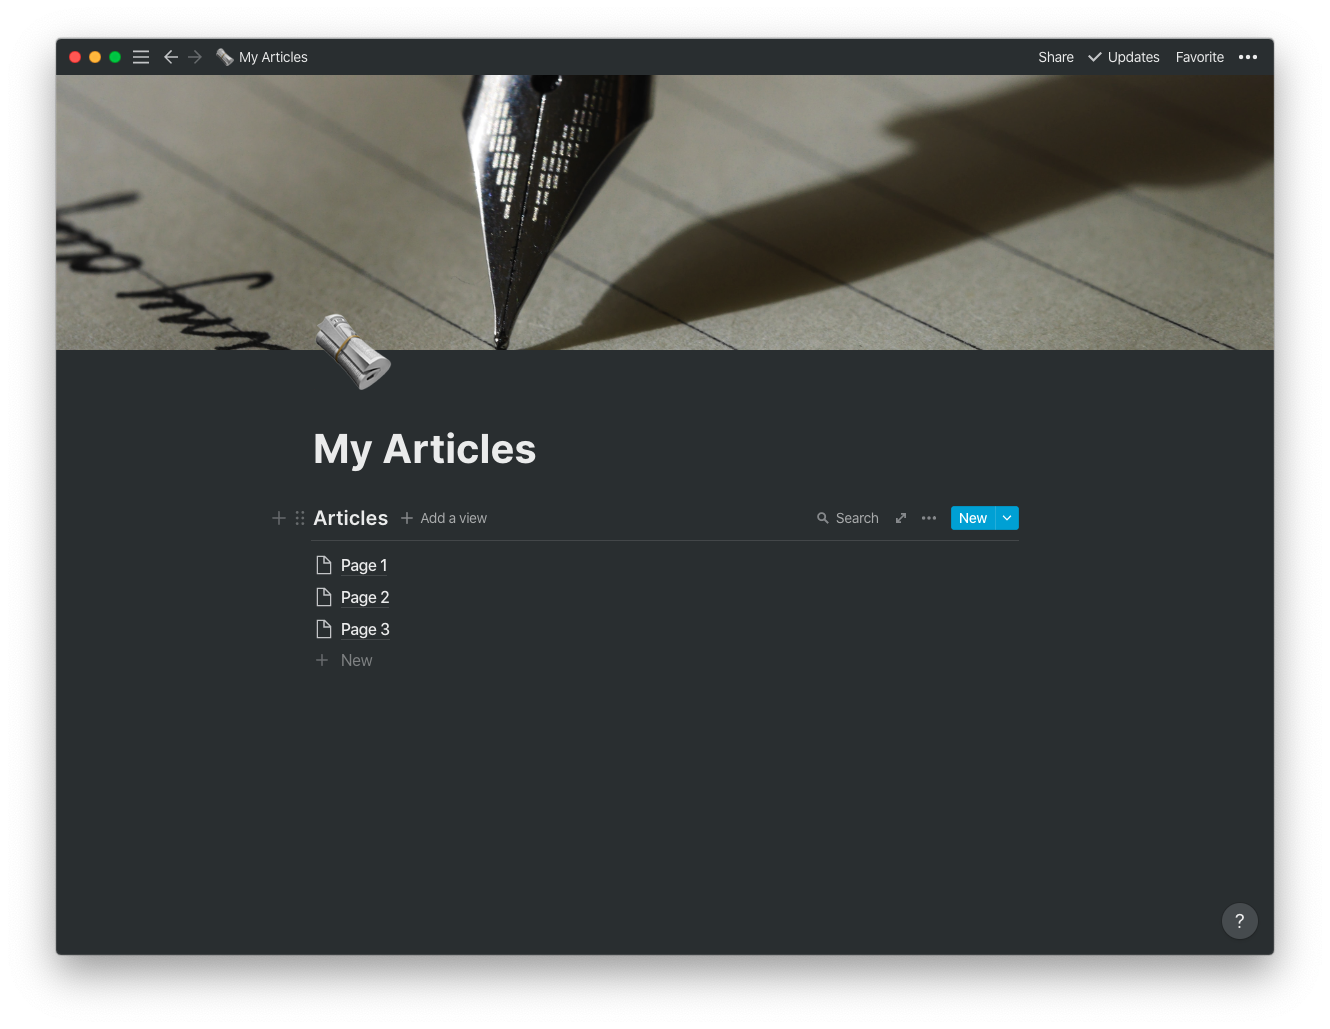
Table Properties
Let’s add some article properties for our pages. In this database, each article will be a page in Notion. Any properties we add to the Articles database will be shown in each page. Each article needs a title, creation date, last edited time, and status. For articles, the title property will be the the title of the Notion page, but we need to add the rest of the properties to the table.
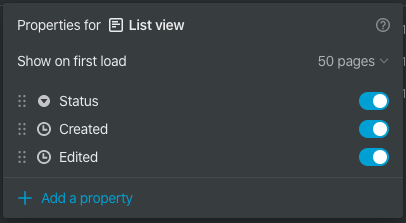
To add properties, hover over the Articles table, click on the three dots on the right, and select “Properties”. Add a status property by clicking “+ Add a property”. Then, for “Property Type”, pick “Select”. To show the property in the table view, enable the toggle next to Select. Similarly, add a “Created” property by selecting the type “Created time”, and add an “Edited” property by selecting the type “Last edited time”. Delete the “Tags” property by selecting the dots on the left, and then select “Delete”. The Articles table properties now look like this:
Now that our table is set up for articles, we can create a “New Draft” page template!
The Page is as Mighty as the Table
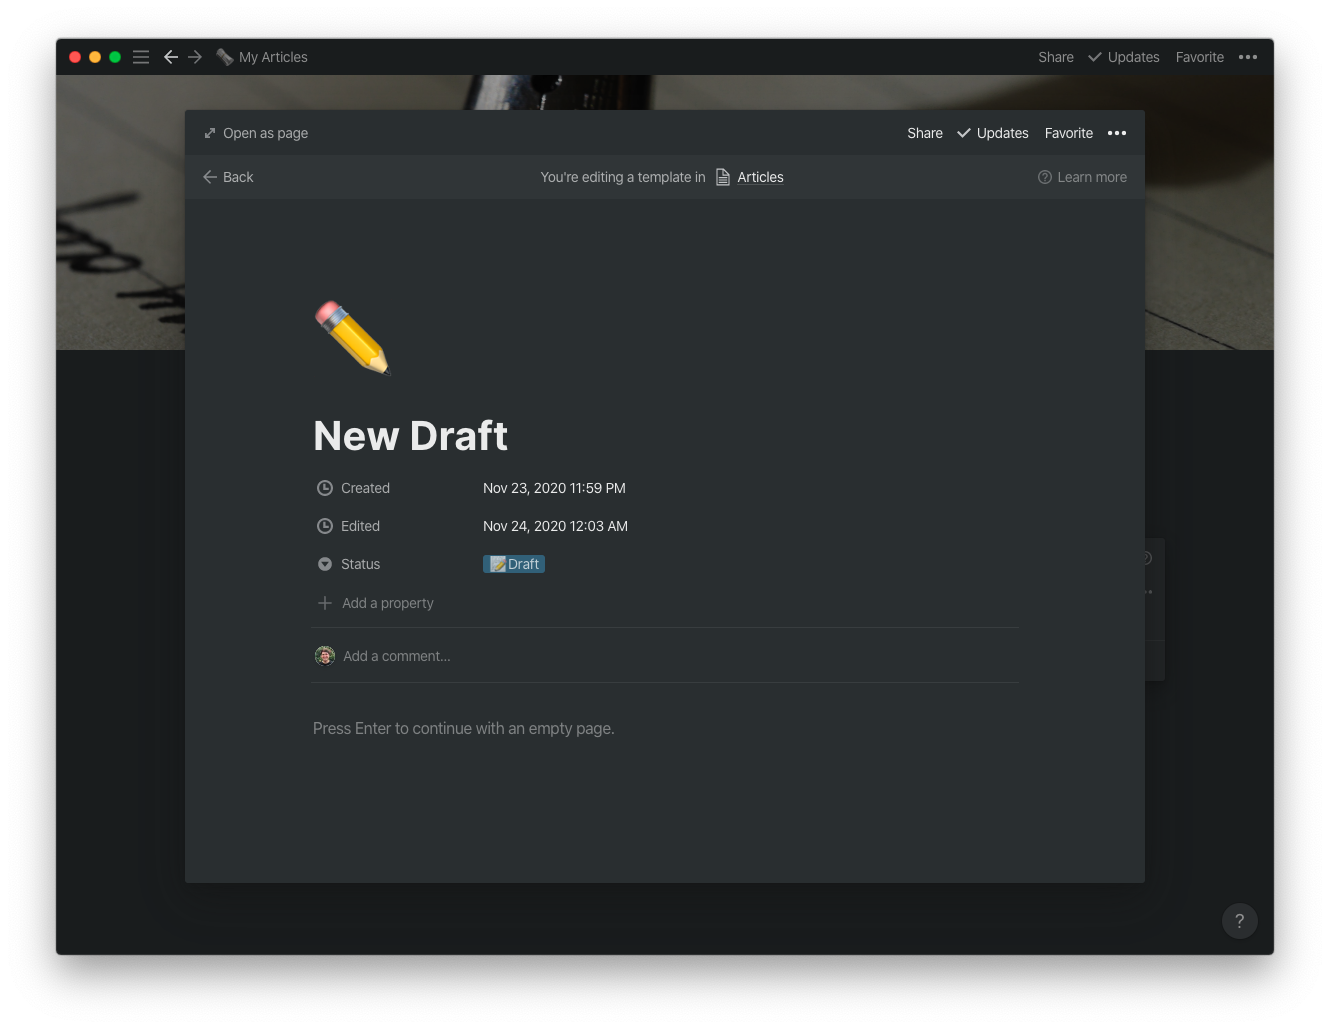
Most likely, you’ll add new pages to your Articles table when you’re creating a new draft. With a “New Draft” page template, it’s easy to start drafting and not need to worry about setting any page properties. To create a new draft, click the dropdown arrow next to “New” on the Articles table, and then click “+ New template”.
Name the template “New Draft”. We’ll want any new draft to have a Draft status, so we need to create that status. Click the text “Empty” next to the Status property, type in “Draft”. This will create the Draft status for any Article page, and assign the Draft status to any page that is created with the New Draft template. I also added a ✏️ icon to the New Draft template and the Draft that they’re easy to find in lists:
Hello World
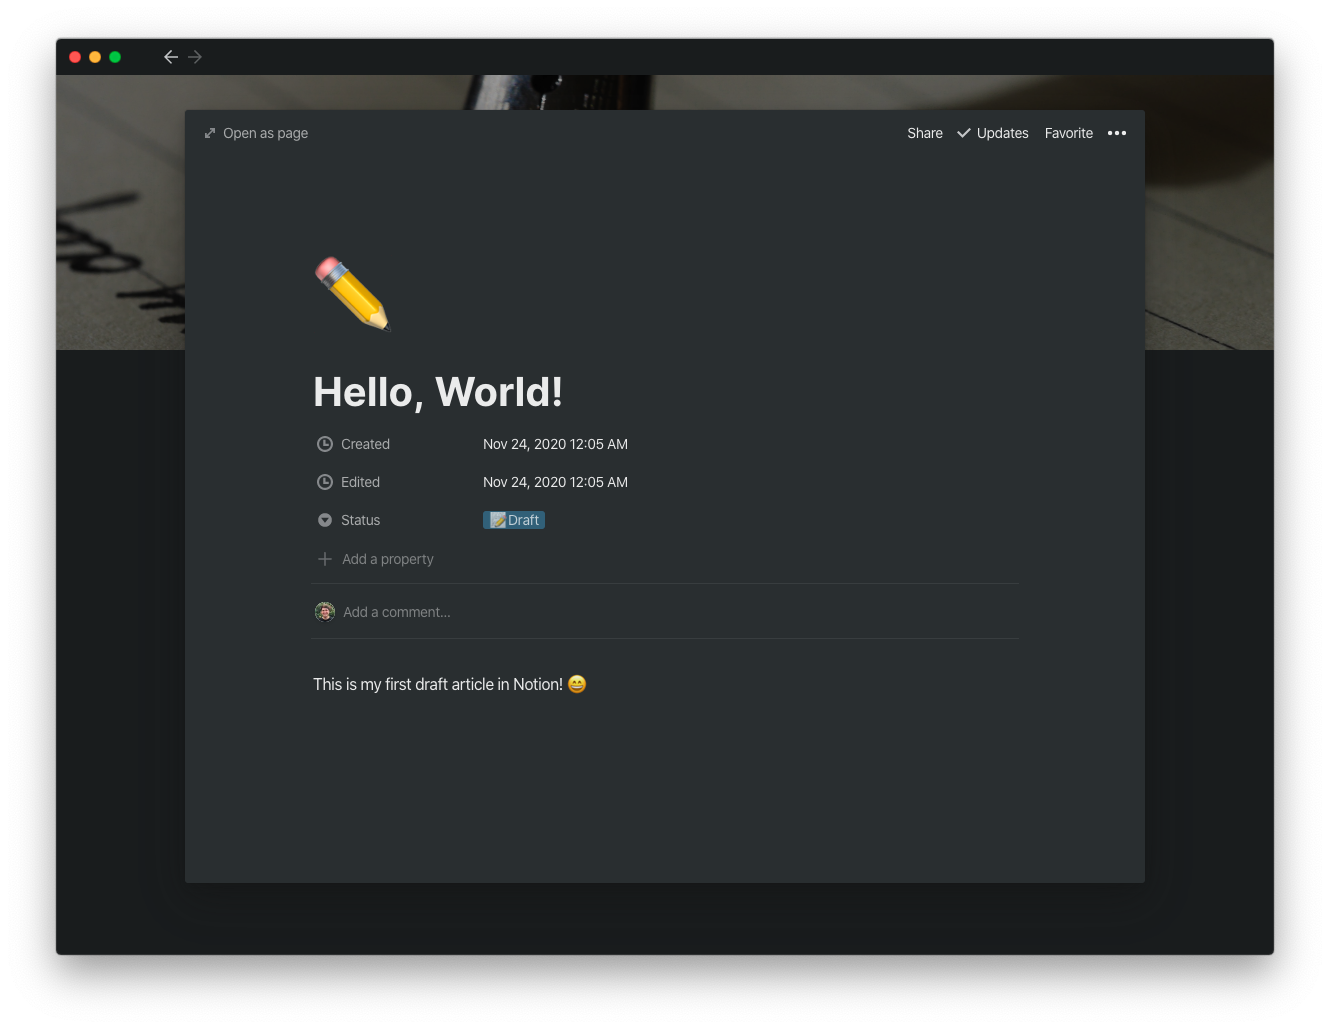
Let’s write our first article draft! Click the “Back” button to go back to the Articles table, then select “New Draft” to begin writing. Add a title and some example text for your first draft:
Click “Back” again to go to the Articles table, and delete the old example pages. Practice using Notion page templates by adding another draft:
You are Your Own Publisher
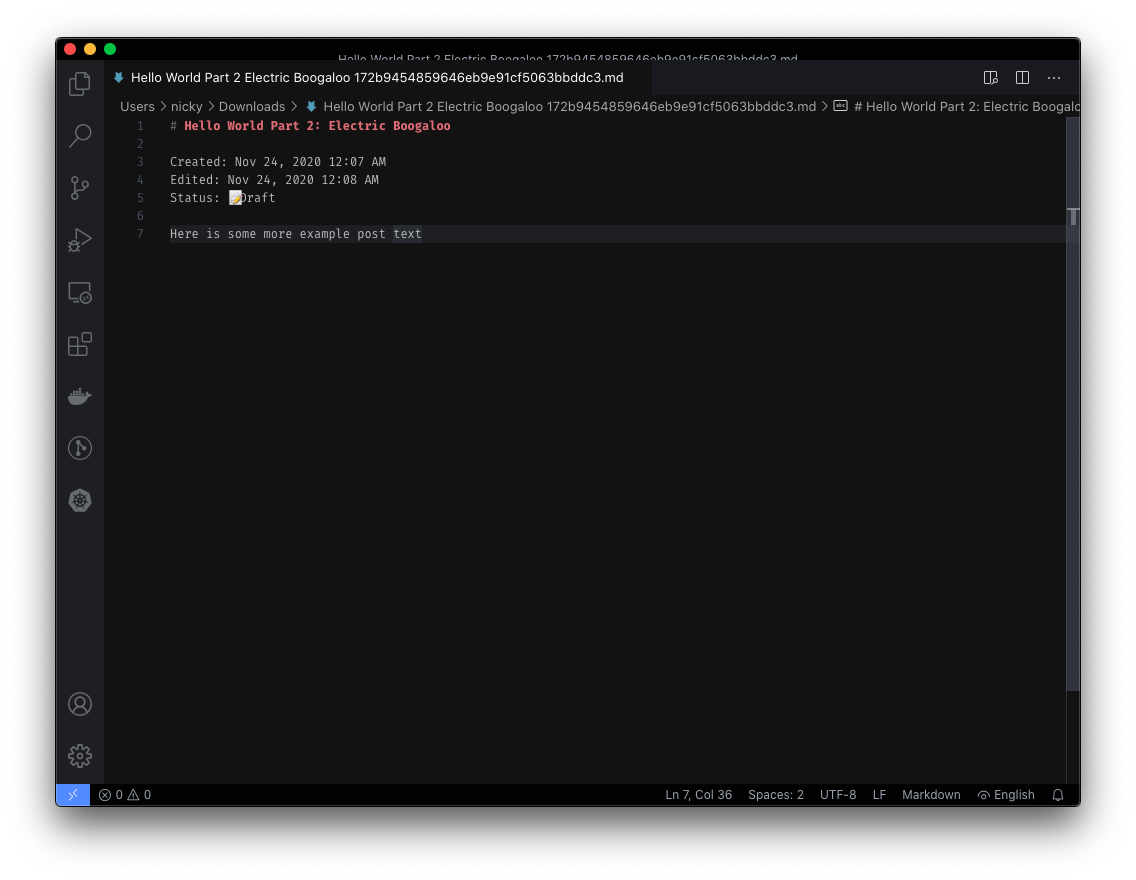
One way to publish your articles is to make the page publicly accessible in Notion. You can also use Notion’s Markdown exporter to convert a page into Markdown and then import the content into sites such as dev.to or Hashnode. To export a page to Markdown, click the three dots in the top right of a page, select “Export”, then select “Markdown & CSV”. The page contents will be converted into Markdown for cross compatibility:
Great, Now There’s Two of Them
You’ve finished editing and publishing your “Hello, World!” article. Now it’s time to change the status of that article to Posted, but we don’t have an easy way to do that yet. Let’s create a new Kanban board view of our Articles table. With a Kanban board, you can move articles as cards from one status to the next.
To create a new table view, click “+ Add a view” at the top of the Articles table. Select the “Board” option and then click “Create”. Notion will automatically set up the Board view to sort articles by the Status property:
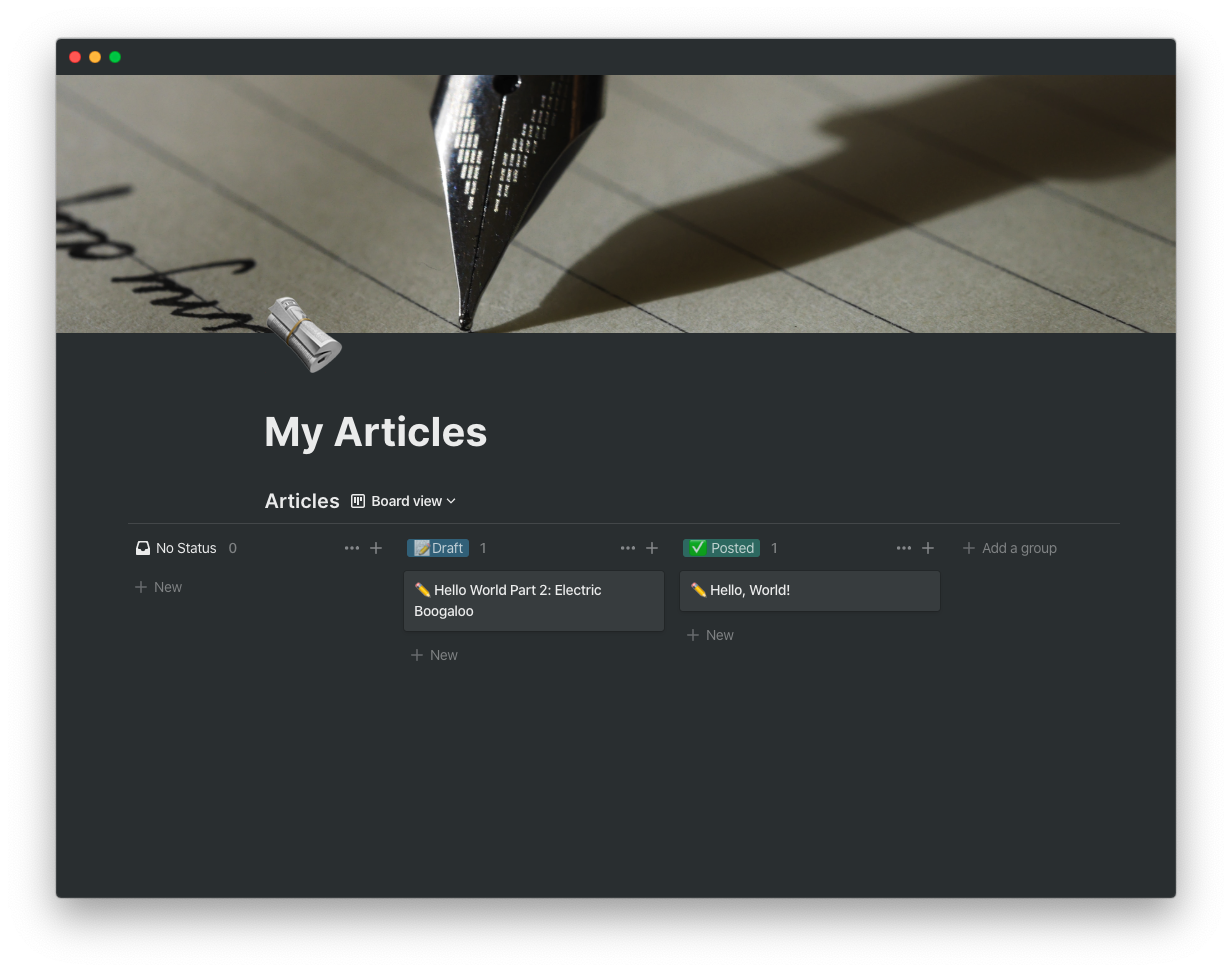
To add the Posted status, click “+ Add a group” and enter “Posted”. No pages have the Posted status yet, so the column will be empty:

To mark the “Hello, World!” article as posted, simply drag that article’s card from Draft to Posted, and it’s done!
With Notion’s databases, page properties, and custom views, you can create your own system to keep track of your blog posts and articles. I’m looking forward to using Notion more to structure my data in different aspects of my life.
 November 17, 2020
If you were designing a contacts app, how would you quickly access a phone number for a person given their name? You could keep an array of Contact objects and check each name:
contacts = [ ... ]

def find_contact(name):
	for person in contacts:
		if person.full_name == name:
			return person
	return None
This won’t scale very well if you have a lot of contacts though. What if your user has thousands of contacts on their phone? Instead, you could create a database table, index by name, and use SQL to find the contact:
db_connection = connect_to_db(...)

def find_contact(name):
	query = db_connection.sql(f'select * from contacts where name like {name}')
	return query.first_or_none()
Databases are great for this! But what if you’re keeping a list of contacts locally for a short period of time? Maybe you don’t want the hassle of maintaining a database for a small project, or you’re designing an algorithm designed to solve a problem really fast. You can use a hash map!
What is a Hash Map?
A hash map associates a key with a value. Think of a phone book, or, if you’ve never seen a phone book, think of the Contacts app on your phone. If you want to know someone’s number, you look through your contact names, select the name you want, and that person’s phone number is shown next to their name:
Johnson, Sally   317-111-1111
Whittler, Mica   431-222-2222
Rodrigo, John    228-333-3333
For a hash map to hold a list of contacts, the key could be a name, and the value could be a phone number. A key and a value together are called a key value pair.
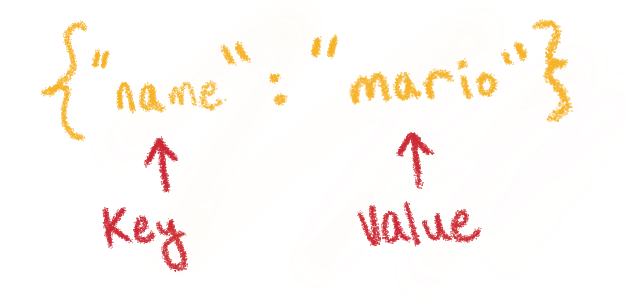
Typically, a key is a primitive data type like an integer, float, or string. Values can be any type, such as a string, number, list, or object. Hash maps are called dictionaries (or dicts) in Python, and can be used in many contexts. Here’s what a contacts dict might look like:
contacts = {
	"Sally Johnson": "317-111-1111",
	"Mica Whittler": "317-222-2222",
	"John Rodrigo": "318-333-3333"
}

# Prints "317-111-1111"
print(contacts["Sally Johnson"])
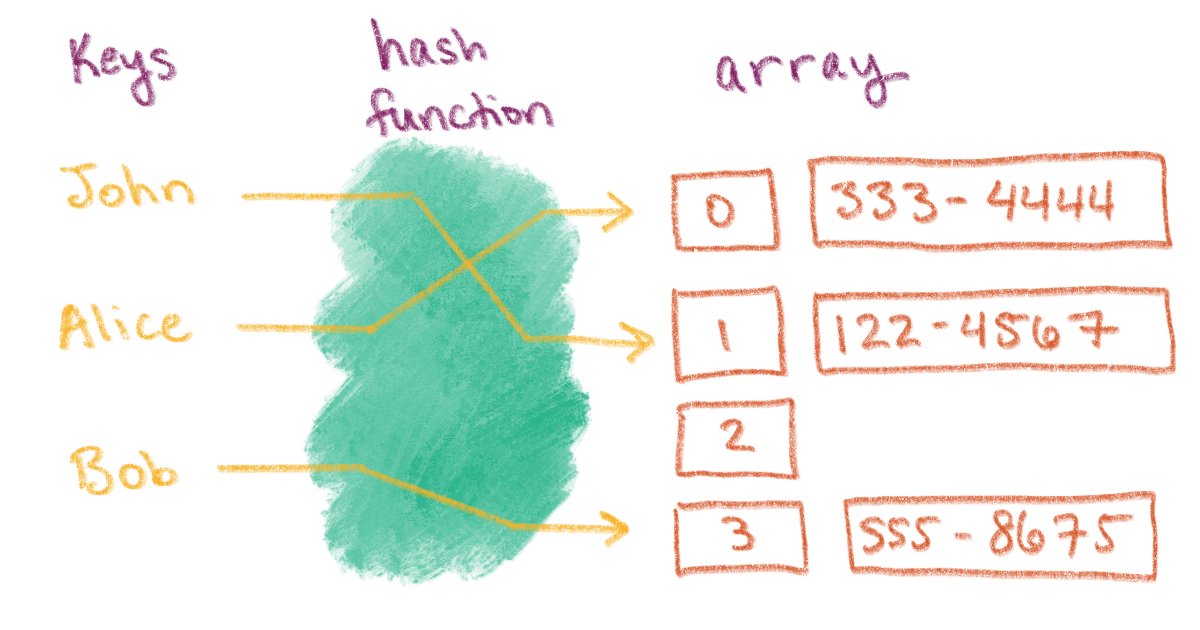
A hash map has three main parts:
- An array to hold items
- A hash function to calculate the index of an item for the array, and
- A method to handle hash collisions in the array (more on this later)
Let’s walk through an example: Cave Johnson’s phone number is 888-724-3623 (888-SCIENCE). In our contacts hash map, we want to insert the value 888-724-3623 with the key Cave Johnson. Here’s what the Python code might look like:
# Create an empty dictionary (hash map)
contacts = {}

# Add the new contact
contacts["Cave Johnson"] = "888-724-3623"

# Prints '{"Cave Johnson": "888-724-3623"}'
print(contacts)

# Prints "888-724-3623"
print(contacts["Cave Johnson"])
Behind the scenes, the contacts dictionary will compute the hash, or index, of the key Cave Johnson, and insert the key value pair ("Cave Johnson", "888-724-3623") at that index:

How can I build a Hash Map?
Let’s review the three main pieces we need to build a hash map:
- An array to hold key value pairs
- A hash function to generate indices for each key value pair, and
- A data structure inside the array to handle hash collisions
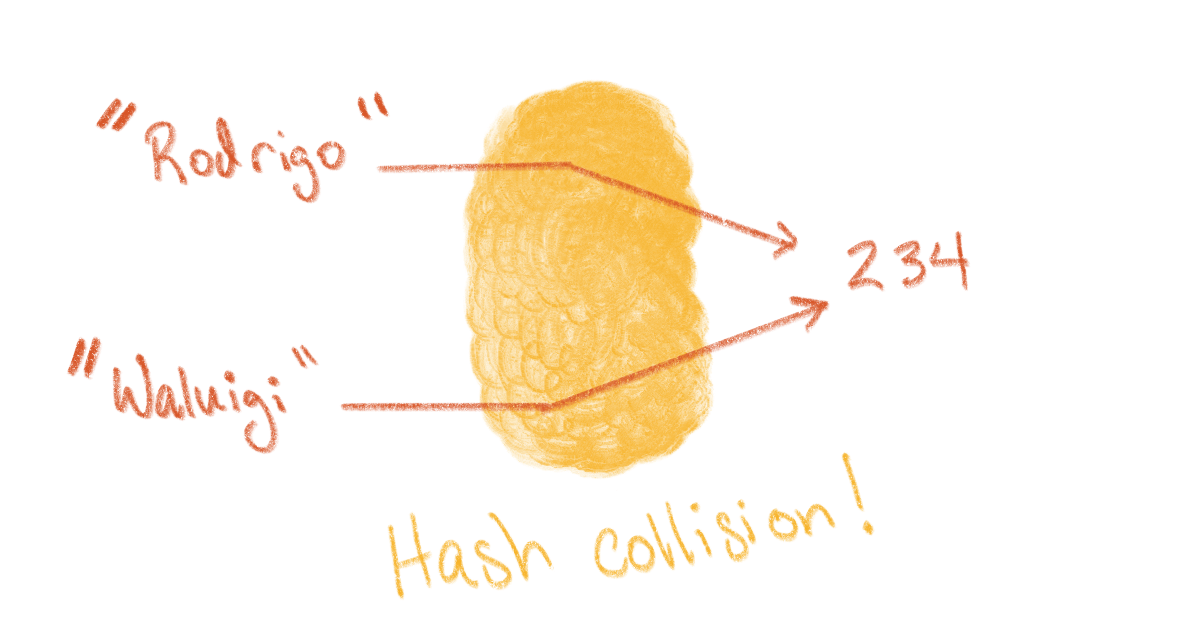
Generally, a hash map’s hash function will generate a unique index for any item inserted into the hash map. However, a hash function might return the same index for two different values, which is called a hash collision or index collision.
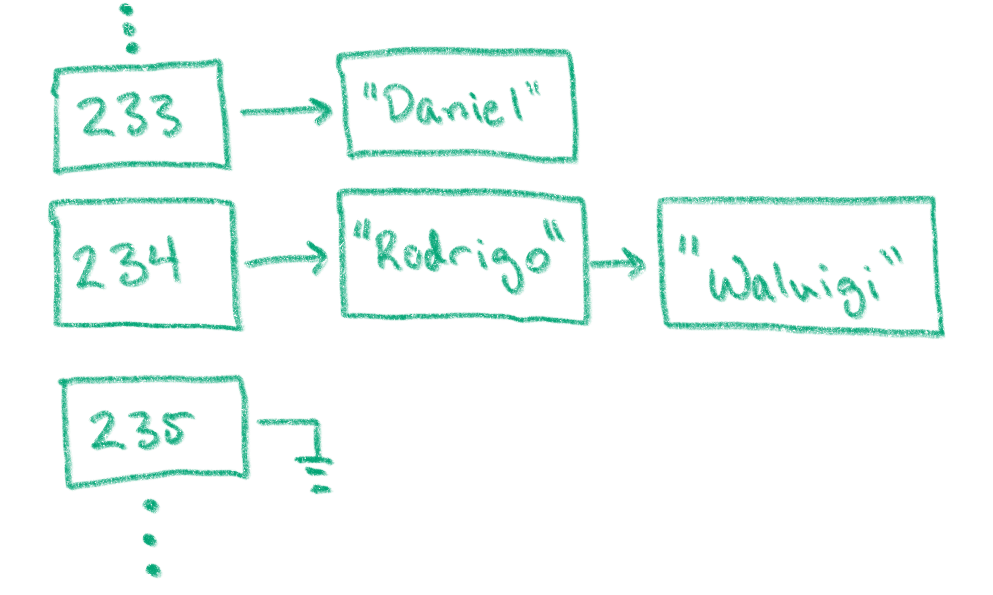
Hash maps must account for multiple key value pairs pointing to the same index. One way to account for index collisions is to create a linked list for each for each item in the main array. If two key value pairs are hashed to the same array index, the two pairs will be added to a linked list at that index:
Wrap Up
Hash maps are efficient data structures to associate keys with values. Hash maps use an array to hold key value pairs, a hash function to calculate the array index for each key value pair, and some data structure to account for index collisions.
To account for hash collisions in this series, each value of the hash map’s array will be a linked list. If any new key value pair has the same index as a previous pair, then the new pair will be added to the end of that index’s list. In the next post, we’ll learn how to build the linked list that we’ll use in our hash map class.